JPEG is probably the most popular extension for storing and transferring images. Many users prefer this format for sending photographs by email or uploading them on social networks. The reasons are obvious: JPEG can be opened with even the most basic image viewer, provides small size and decent image quality.
The format is also used as output extension by many scanning and faxing devices. Using JPEG you can get a quick and small digital copy of a document. As this is a raster format, however, what you get is an image reproduction of the document. Not an actual text. This means scanned JPEG cannot be searched or edited. Depending on your area of work, this can be a considerable problem. For example, if you scan a certificate or an invoice that you need to make quick corrections to, the JPEG format will not be of much help.
With reaConverter’s latest edition, you can now convert scanned JPEG images with text into searchable and editable PDFs. This powerful converter uses an advanced technology called optical character recognition (OCR) to transform the scanned image of a text into an actual text. OCR uses shape and pattern detection to identify letters, words and non-textual data, such as table formatting or special figures. reaConverter lets you set the language in which you want this feature to operate, thus helping you obtain optimal results.
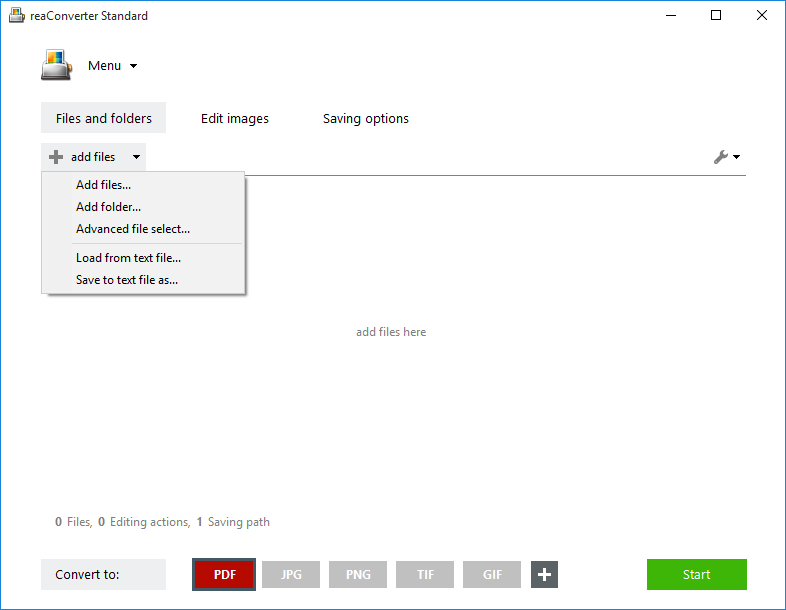
Load scanned images
Add one scanned JPEG or a group of them using reaConverter’s drag-and-drop tool. Pick them manually or load them automatically, according to size and extension, using the Advanced file select option.
Enable OCR
Go to the Menu button and then to Saving settings → Format saving settings → PDF
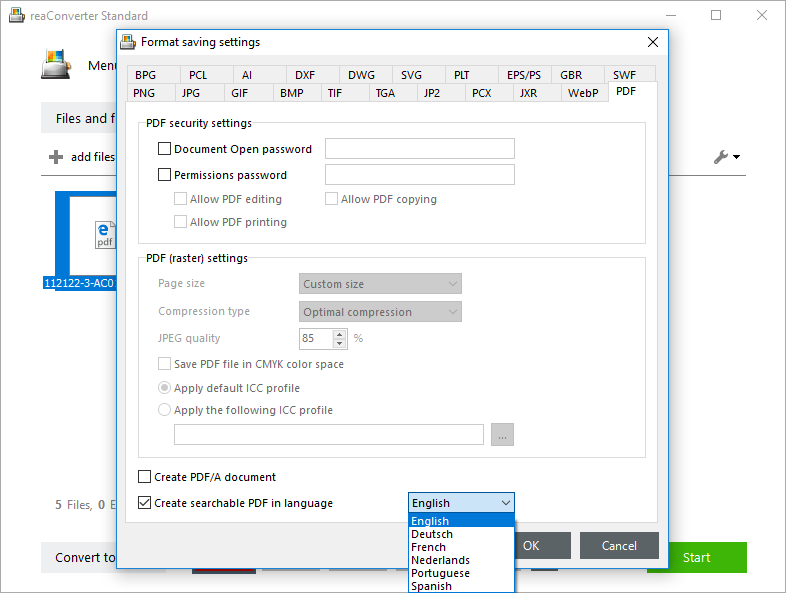
Check the box at the bottom, near Convert to searchable PDF in language. reaConverter lets you opt between 6 different language (English, French, German, Portuguese, Spanish, Dutch), for best results in rendering the text in the output PDF. You can also reach this window via a shortcut. Place the pointer on the PDF button placed in the Convert to area and then click the Settings icon that appears in its upper left corner.
Save the result
In the Saving settings tab, pick the location where you want to store the resulting PDFs. You can save them in the source folder, a subfolder or another location of your choice. Don’t forget to make sure the PDF button from the Convert to area is clicked.
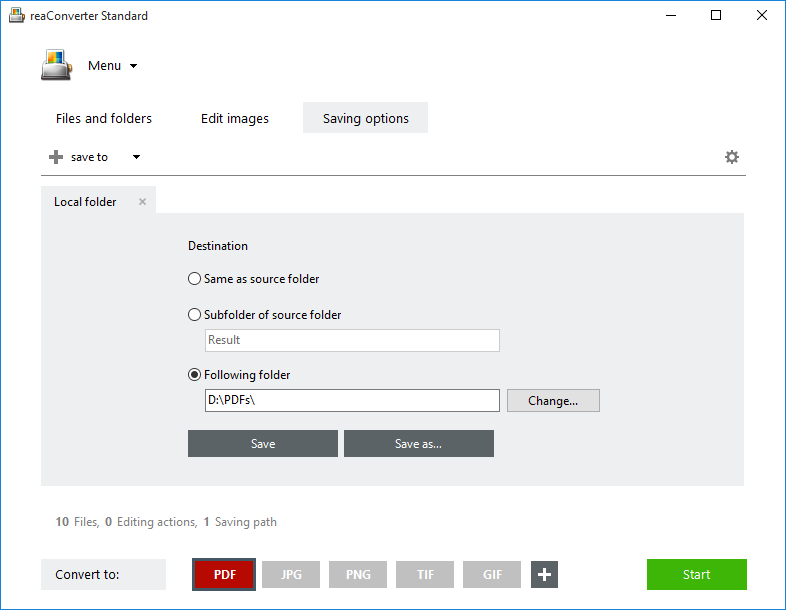
And then just press Start!
Video Tutorial
Advanced users can use OCR feature from command line interface or DLL in manual, automated or scheduled mode. You are welcome to contact our technical support when you have any questions about reaConverter.