
Many professional photographers prefer shooting RAW images — instead of the more popular JPEG — for the obvious benefits of this format. When set in RAW mode, the camera’s sensor captures everything, or as close as you can get to what you see with your naked eye. This translates into great image quality, wonderful view of details and high levels of brightness, among others. Plus, during post-processing, photographers have the chance to customize RAW photos according to several criteria, retouching and adjusting colors the way they want.
As RAW images tend to take up a lot of space and sometimes slow down the camera, not to mention they are not viewable or printable using regular viewers or printers, their conversion to more accessible formats is an actual must.
While some users are put off by the seemingly tiresome editing process, which is commonly known to require specialized software and some specific skills, with reaConverter’s latest edition it can all be managed in no more than a few clicks. Controlling photo brightness and white balance — two of the most widely applied corrections of RAW images — just got faster and easier.
How does it work?
Load one or more RAW images you intend to process. Find them by browsing the internal hard-drive of your computer or add them from an open window using the drag-and-drop tool.
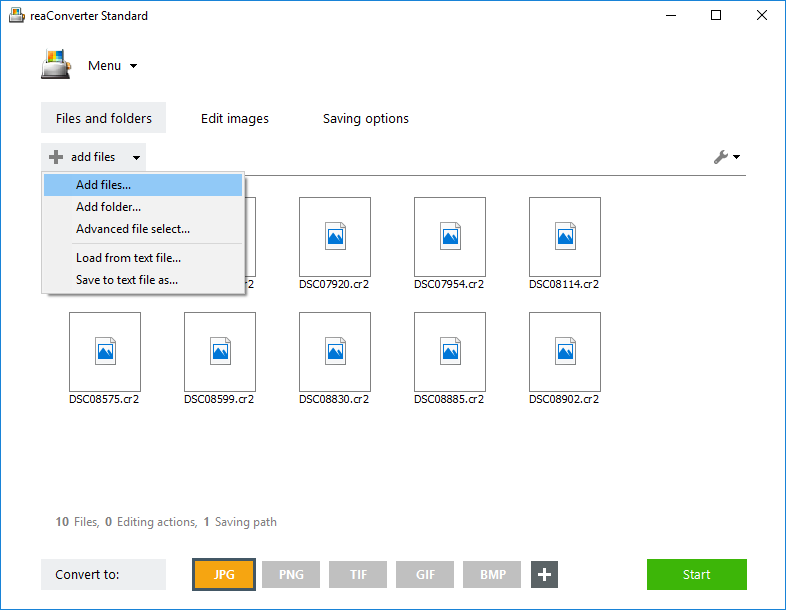
You can also add entire folders or use the Advanced file select option, which allows you to pick a designated group of files, according to their extension or size.
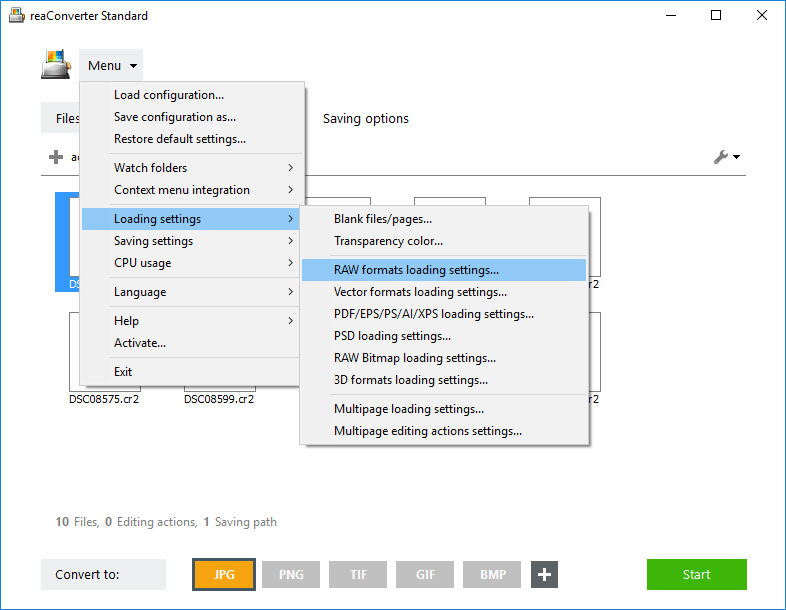
RAW loading settings
Go to the Menu button and click Loading settings → RAW formats loading settings
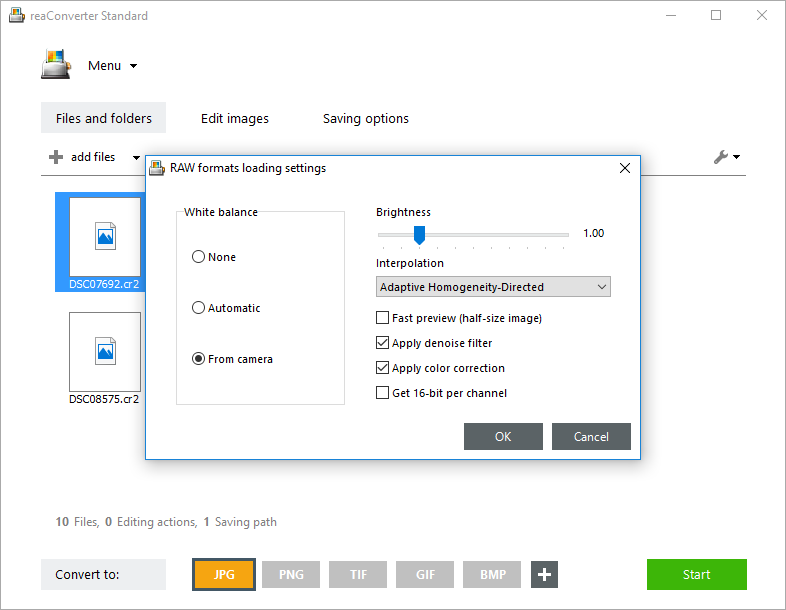
Here you can opt for automatic white balance, for the camera’s default white balance options or for no balance at all. You can also adjust brightness manually, according to your needs. Other available options here are customizing the interpolation, which is connected to resizing or remapping the photo, and correcting aspects such as noise and color.
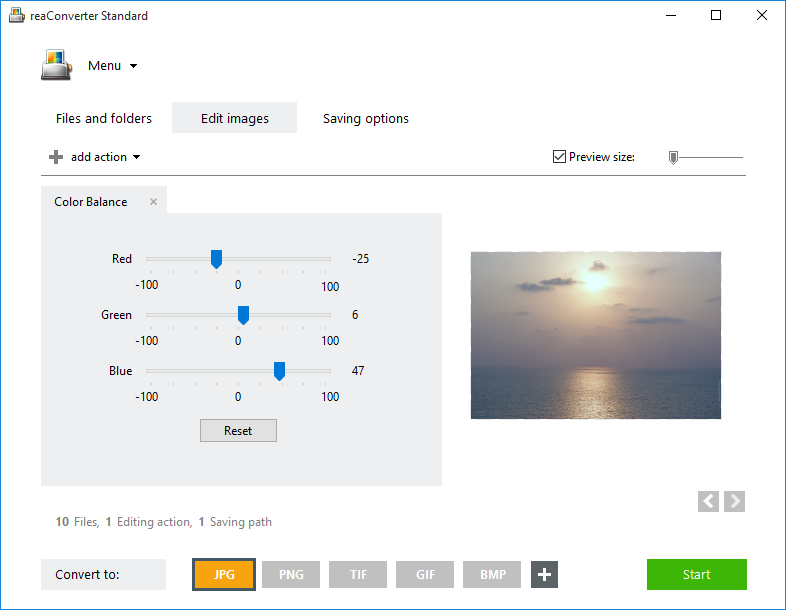
Edit images
Optionally, go to the Edit images tab and apply further actions, including Color adjustments (contrast, filters etc.), Creative retouching (border, change background, lens correction etc.) and many more.
Save the result
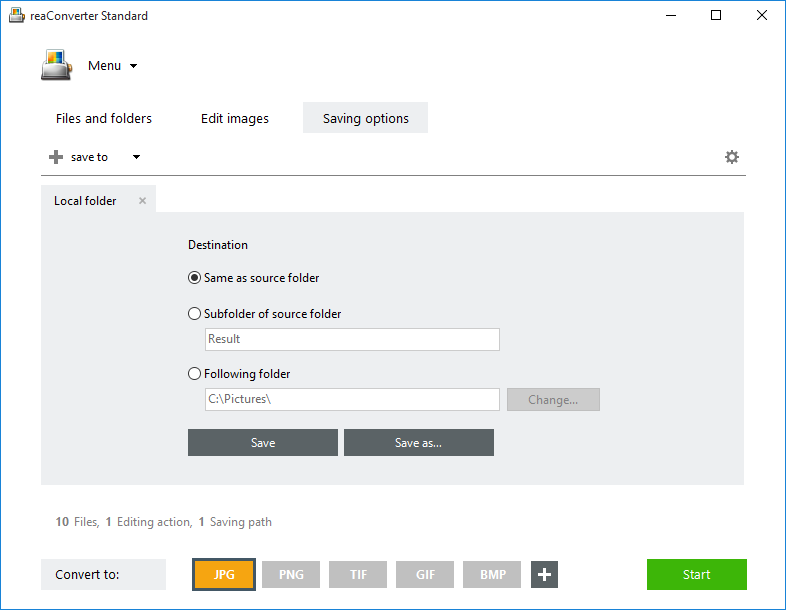
Decide on a particular output format — JPG, PNG and TIFF are among the most popular — and select it from the buttons conveniently placed in the lower part of the window. Then go to Saving options and pick a location for the resulting images.
Next, simply press Start and your newly converted RAWs will soon be ready.
Video Tutorial
Advanced users can process RAW photos using command line interface or DLL in manual, automated or scheduled mode. You are welcome to contact our technical support when you have any questions about reaConverter.