
Using ICC profiles is an absolute must when you want to do effective color management. The reason is simple: they contain all essential data needed for the correct rendering of colors.
ICC stands for International Color Consortium — an independent organization launched in 1993 by eight vendors with the aim of promoting color management systems across different platforms. The ICC profile of an image contains detailed descriptions of how its colors should be rendered, including color space and distribution, how the lightest and darkest tones are dispersed and combined throughout the image pixels etc.
When transferring images from one device to another — for example, from a scanner or camera to your computer — the ICC profile helps you maintain the correct rendering of colors. Changing or preserving the ICC profile of an image can impact its appearance significantly. For this reason, reaConverter’s latest release includes additional options to customize the ICC profile during conversion. This gives you not just the possibility to apply and remove it, or copy and retain it, but also to assign any a new ICC profile to the output images.
How to apply new ICC Profile to a bulk of images?
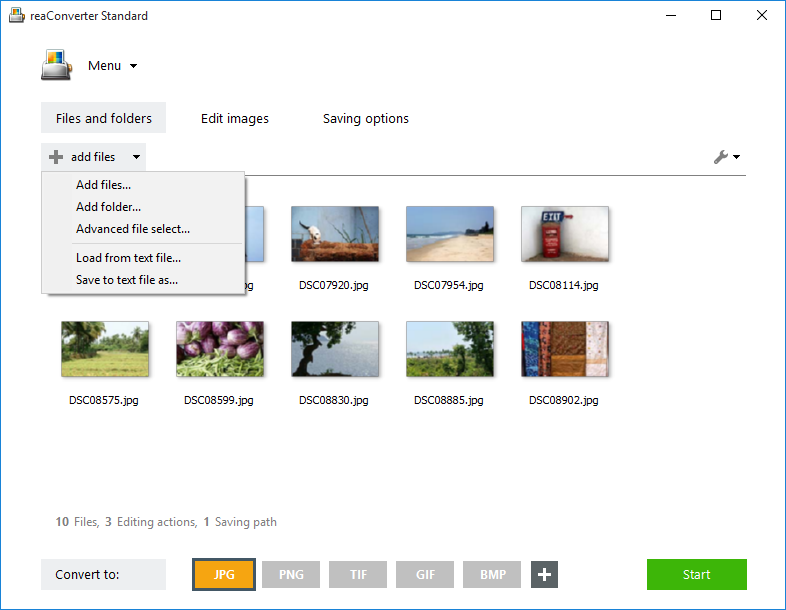
Add one or several images to process. reaConverter lets you select them individually, by folder or by using the Advanced file select option, which allows you do to automatic selections according to extension and file size.
ICC Profile settings
Go to Menu → Saving settings → ICC profiles
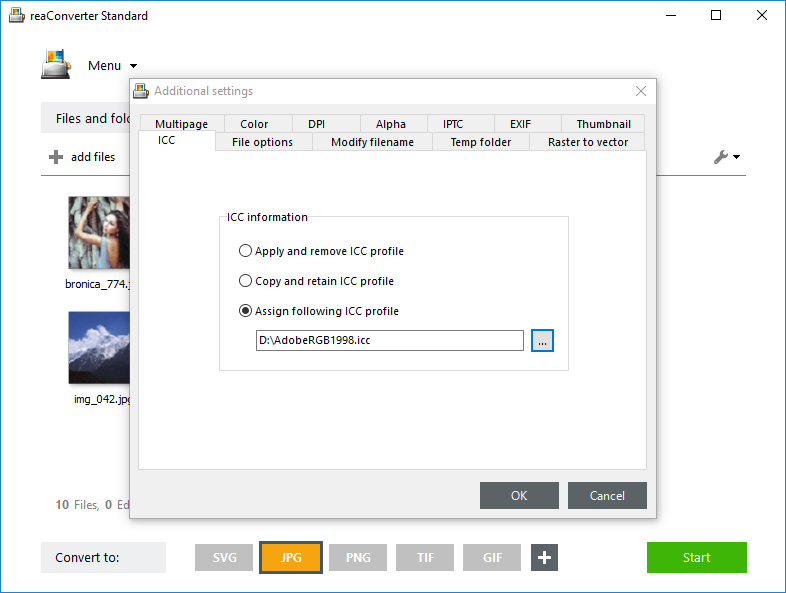
Here you can opt for applying and removing or copying and retaining the ICC profile from the input to the output image. A third option allows you to assign a new ICC profile by browsing your computer and selecting an adequate file.
Apply image editing
Optionally, go to the Edit images tab and select one or more from the actions available. reaConverter works as a truly advanced image editor allowing you to apply a variety of editing features.
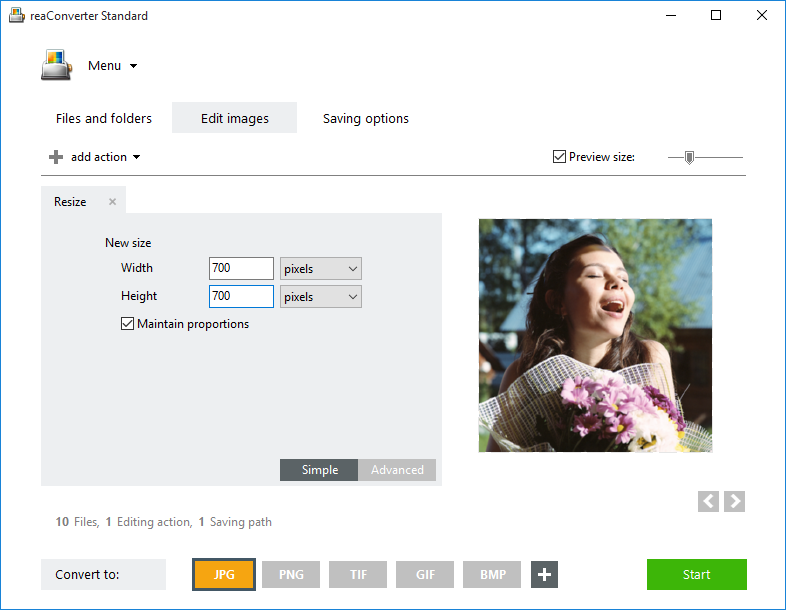
Here you can also tick the Preview box and see how your output images will look like, in real time.
Start processing
In the Saving options tab, choose a location for the output images. They can be saved in the source folder, a subfolder or another local folder of your choice.
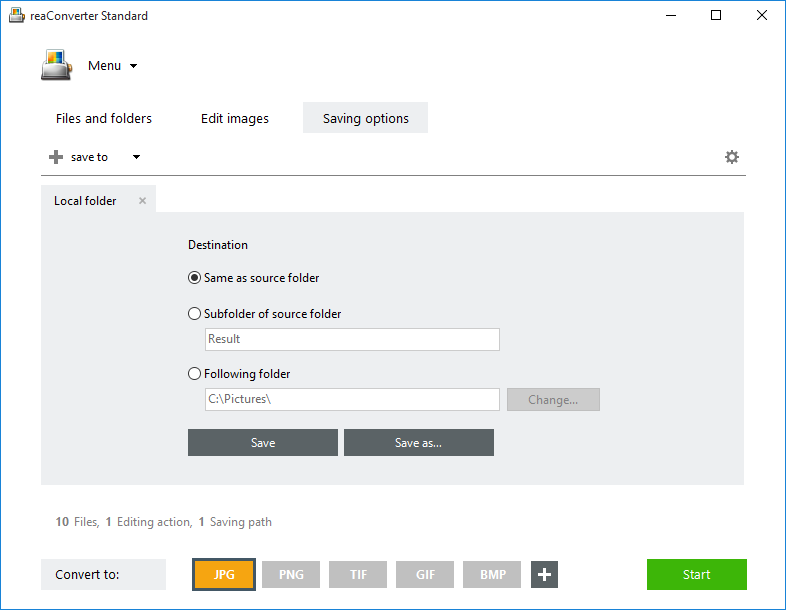
Last but not least, select the output extension from the Convert to area, and then simply press Start.
Video Tutorial
Advanced users can apply ICC profiles from command line interface or DLL in manual, automated or scheduled mode. You are welcome to contact our technical support when you have any questions about reaConverter.