
EPS (Encapsulated PostScript) is a vector format used for storing images and drawings. Such files can contain maps, logos or detailed layouts and can include both vector and bitmap data. Compared to the similar PS format, EPS not only uses the PostScript language to describe graphics, but also stores an “encapsulated” preview of low-resolution, that can be displayed by some programs.
Creating EPS files usually requires advanced graphics software, such as Adobe Illustrator or Corel Draw. But with reaConverter’s latest edition, it can also be done through conversion, in no more than a few clicks. This powerful software can read over 600 image formats, including vector, 3D and CAD extensions. Such formats can now be easily converted into EPS with preview, helping users catch a glimpse of the image content via a TIF thumbnail supported by some software and plug-ins.
How does it work?
Select one or more files you intend to convert to EPS, then drag-and-drop them into the reaConverter window.
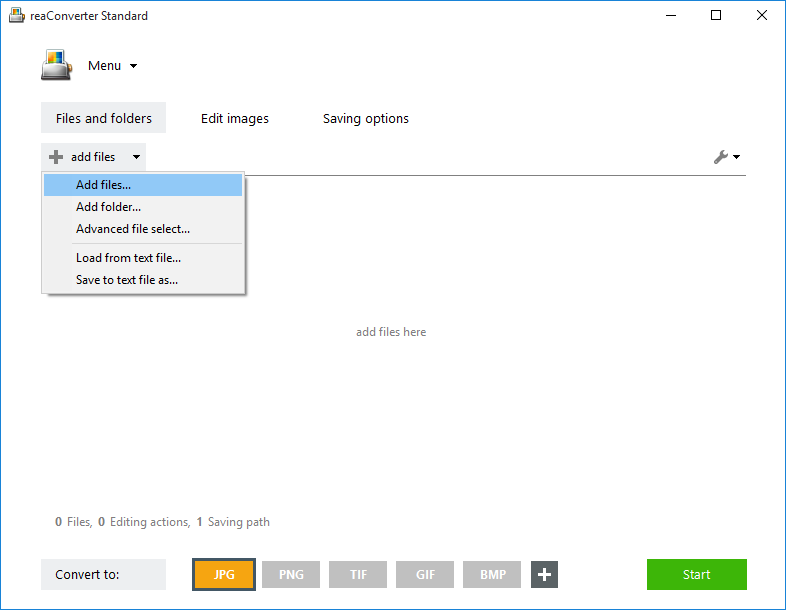
In case you need to pick a number of files for conversion from a designated folder, use the Advanced file select option and automatically add them according to extension and/or size.
Enable Previews
Go to the Menu button and then to Saving settings → Format saving settings → EPS

In this window make sure you check the box next to Create EPS with preview. You can also reach this location by placing the pointer over the EPS button from the Convert to area, and then clicking the Settings icon from its upper left corner. There is also additional option to Save EPS in CMYK color space.
Image Editing
Optionally, go to the Edit images tab and apply one or more of the available actions.

Color Depth, Canvas Size and converting to black-and-white are just a few of the available options. Here you can also tick the Preview box that gives you a chance to check in real time how the EPS images will turn out.
Save the Result
In the Saving options tab, choose a location for the output file. reaConverter allows you to save in a local folder or directly online, using one of the supported cloud storage services.

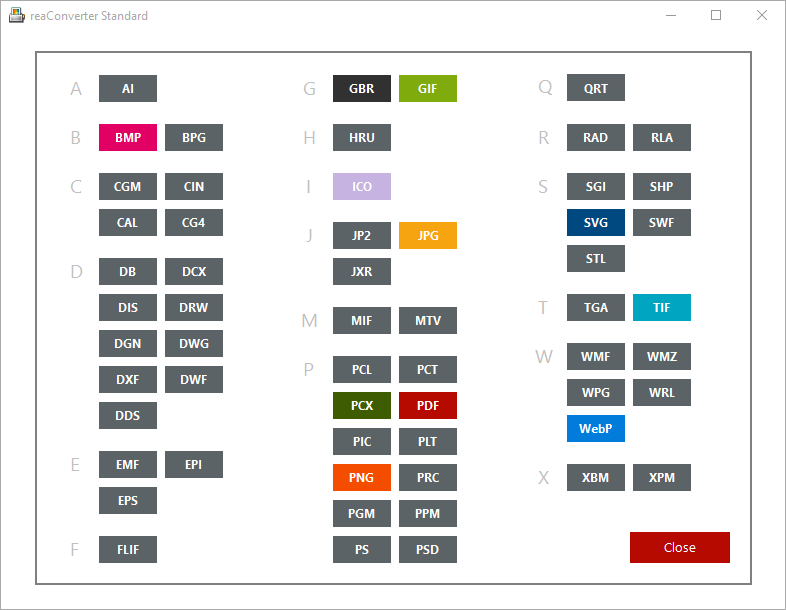
Don’t forget to select EPS from the Convert to area buttons. In case you don’t see it there, click the Plus button and get a full view of all output formats supported by reaConverter.
Next, click Start and your newly converted EPS files with preview will soon be ready!
Video Tutorial
Advanced users can create EPS images with preview using command line interface or DLL in manual, automated or scheduled mode. You are welcome to contact our technical support when you have any questions about reaConverter.