


JPEG is the most popular format for storing and sharing decent quality images or uploading them online. But in case you want to process a JPG file via a computer-aided design program such as AutoCAD, you will need to vectorize it. Or, in other words, turn it from a raster file made up of pixels — into a vector file made up of points, lines and curves.
Vectorizing a JPG picture into an AutoCAD DXF drawing can be done in no more than a few clicks using reaConverter’s latest edition.
How does it work?
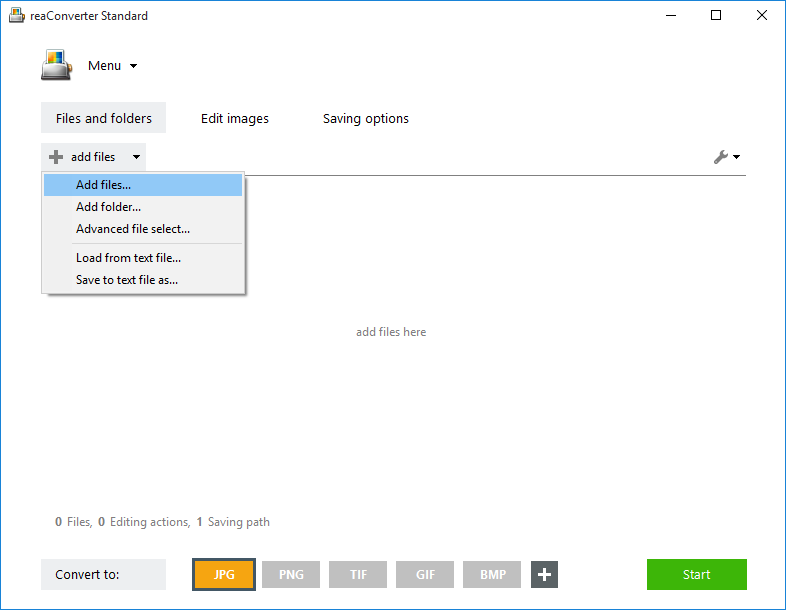
Start reaConverter and load one or more JPEG images you intend to convert. Drag-and-drop them or add them manually.
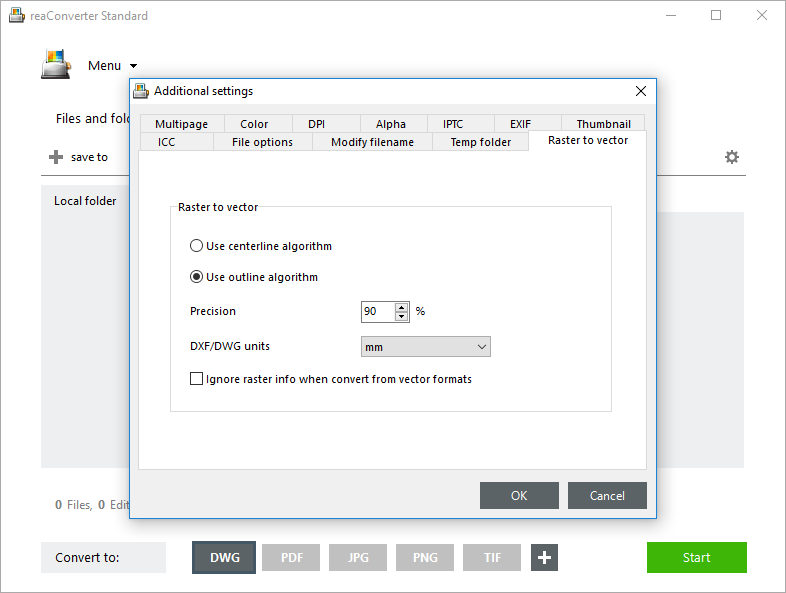
Go to the Menu button, click Saving settings → Additional saving settings and then the Raster to vector tab. Here you can choose the vectorization algorithm which is most suitable for your image. Centerline is recommended in the case of drawings, whereas outline works better in the case of images or clipart pictures.
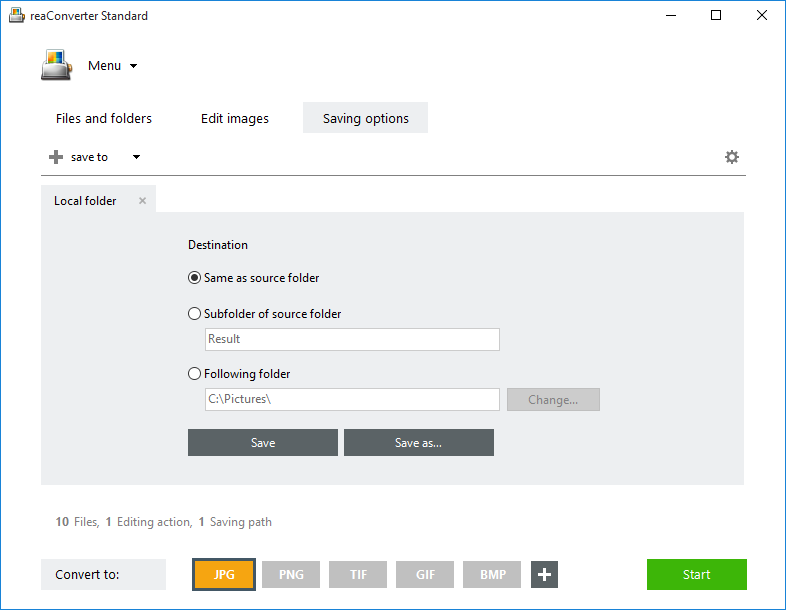
Next, decide where the DXFs will be saved by clicking the Saving settings tab. Pick the format and location of the output files.
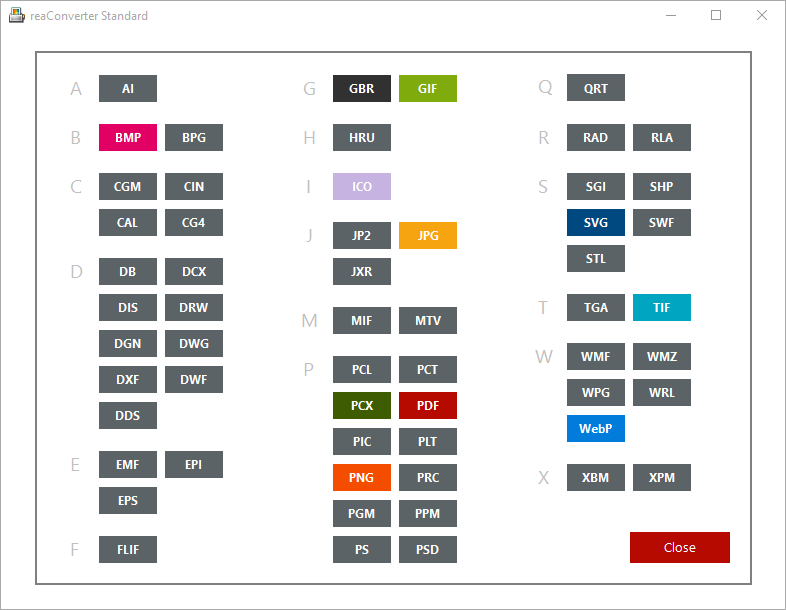
In case a DXF button is not among the ones placed at the bottom of reaConverter’s main window, click the Plus button and find it in the list of available formats.
Then simply press Start and your newly converted DXF files will be ready in a few moments.
Video Tutorial
Advanced users can handle JPG to DXF vectorization using command line interface or DLL in manual, automated or scheduled mode. You are welcome to contact our technical support when you have any questions about reaConverter.