
PLT is an image format associated with plotters — a type of printing devices that use vector graphics as input files, as opposed to regular printers, which can only print raster images. Plotters can be of different kinds, including pen plotters — printing devices using a pen to draw lines and curves on paper, and cutting plotters — using knives to cut shapes into paper or other types of materials.
Files with the PLT extension usually store maps, posters, detailed designs of machines and other types of monochrome or full-colored graphics. PLTs can be created using computer-aided design software, such as AutoCAD and Adobe Illustrator. Or they can be obtained via conversion from other image formats. The main advantage of PLT over other graphics extensions is that the image can be sent directly to the plotting device.
reaConverter’s latest release helps users manage batch conversion to PLT while also supporting output file optimization features, such as setting pen width. The latter can be done using plotter units (1 mm = 40 plotter units), using the software’s GUI interface or via command-line. Setting pen width offers better control over how the output file will look like and helps users make sure the image design will stay the same from screen to print.
How does it work?
Load one or more files that need to be converted to PLT.

Drag-and-drop them from an opened folder, add entire folders or use the Advanced file select option and automatically pick a group of files according to their extension or file size.
How to set pen width?
Click the Menu button and then go to Saving settings → Format saving settings

Here check the PLT tab and tick the box near Set pen width to

Insert the desired number of plotting units, while keeping in mind that 1 mm equals 40 plotter units. In this window you can also opt for other ways to optimize the output PLT images, including the removal of duplicated lines or rotation of the PLT image.
If you want to edit images before conversion
Optionally, check the Edit images tab, where you can find a real-time Preview box, offering you a glimpse of how the output image will look like.

In this section you can choose one of the many editing actions available, such as cropping, changing canvas size or adding watermarks.

Convert to PLT
In the Saving options tab, choose the folder where the output PLTs will be stored. It can be the same as the source folder, a subfolder or another folder of your choice.

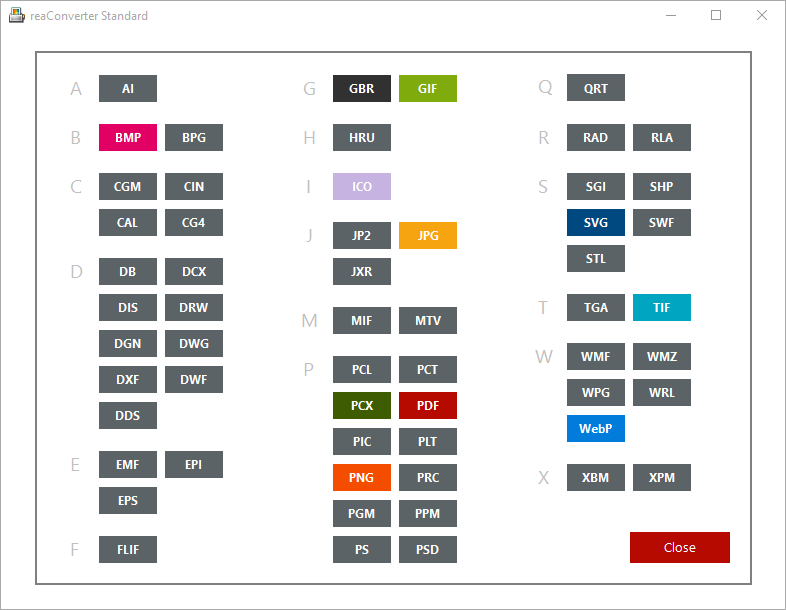
Finally, don’t forget to click the PLT button in the Convert to section, from the lower part of the window. In case it isn’t there, find it by clicking the + Plus button.
Once it appears on the main window, you can place the pointer over it and click the Settings icon from its upper left corner, thus finding a shortcut to the window described above on this list (Format saving settings → PLT).
Finally, press Start and your newly converted PLTs will soon be ready!
Command-line Interface
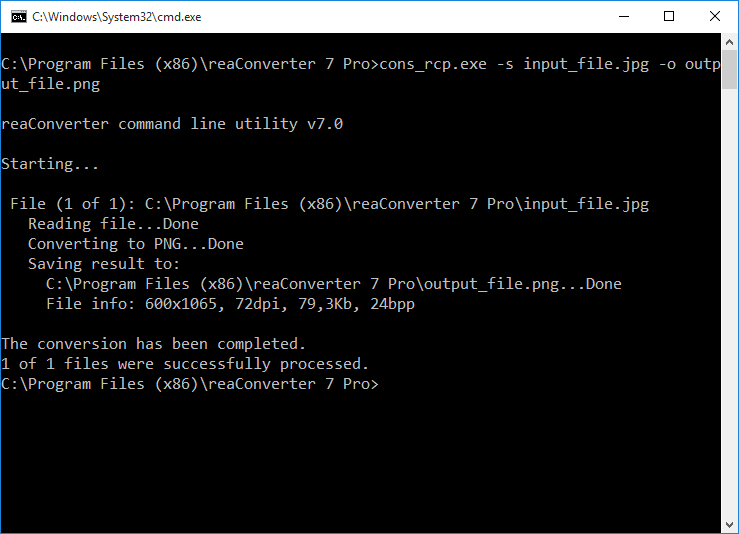
Converting files to PLT with the possibility of setting customized pen width is not just supported by reaConverter’s GUI interface, but can also be processed via command line using cons_rcp.exe this code line:
-plt_pw
Video Tutorial
You are welcome to contact our technical support when you have any questions about reaConverter.