


Professional photographers or image editors often have mixed feelings about the use of JPG. On the one hand, they like this format because it doesn’t take too much space, it is easily compatible with any image viewer you can think of, on any type of device (including smartphones, tablets etc.), and it is the default format used by all image sharing websites, from Google to Facebook.
On the other hand, the image quality of JPGs is not exactly the best you can get. To put it simply, JPG is a lossy compression format. This means that having a small size comes with the downside of discarding some of encoding information that ensures an optimal image quality. If you plan to use a photo only on the web, JPG will probably be just fine. But if you plan to print it or add graphics editing, you will need to convert it to a different format.
TIFF (Tagged Image File Format) is a good option because it can ensure a lossless compression of the image, which translates into better quality. Though TIFFs tend to have a larger size, they also offer a much more detailed rendering of the image, storing it with more accuracy than the JPG format. And this means the image will look better in print and it will also be more suitable for advanced graphics editing.
Converting a JPG into a lossless TIFF can be as easy as 1-2-3 when you use a quality piece of software as reaConverter.
Here are below the quick steps you need to take:
Load JPEG Files
Select all the images you intend to convert and get them ready for batch conversion by adding them to the file list. As opposed to other free online converters, reaConverter not only offers you advanced settings and options, but also the possibility to convert all the files you need at once.
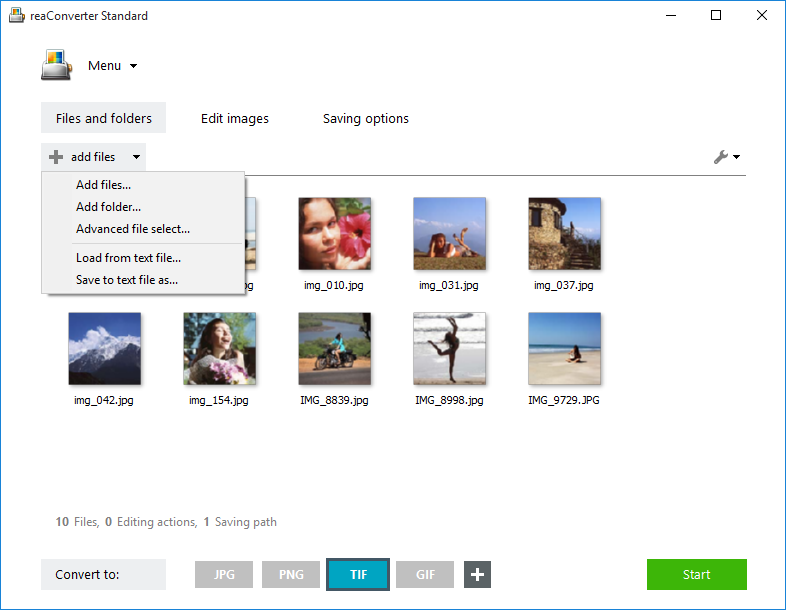
This powerful converter supports over 550 image formats, including archaic and rare.
Edit Images
Go to the second step of the conversion process and decide how you want to tune up your images. reaConverter offers a comprehensive set of tools to handle the way in which your output image will look like.
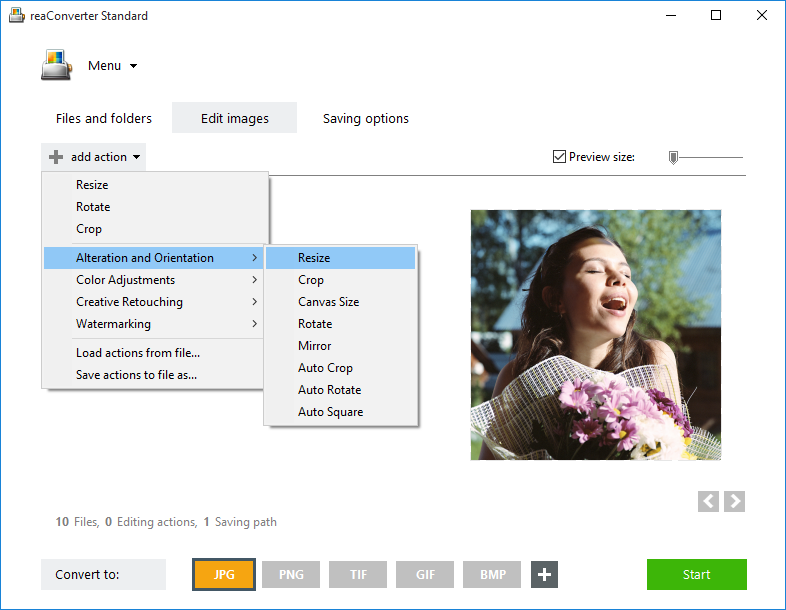
You can opt for rotating, resizing and cropping your image, mirroring or changing the canvas size. You can also add a wide array of image effects and filters, or correct color noise and brightness.
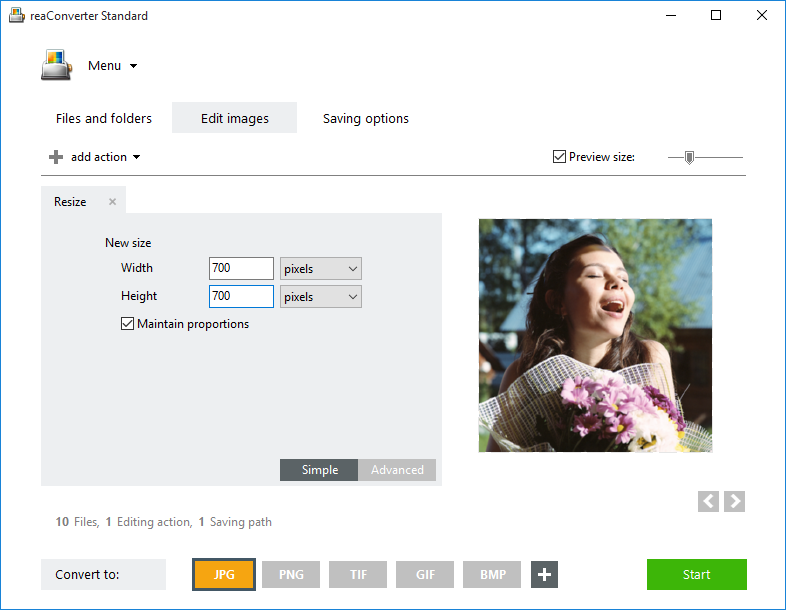
Tick the “Preview” box on the lower right side of this window and all the editing will almost instantly become visible, so you can check the results of your settings in real time.
Save to TIFF
In the final step of the conversion process, select the destination folder and TIF as the extension of the output file. If you want to opt for lossless TIF, click the Format settings icon. Here you can apply additional commands regarding the conversion process. Choose No compression in the Compression type section.
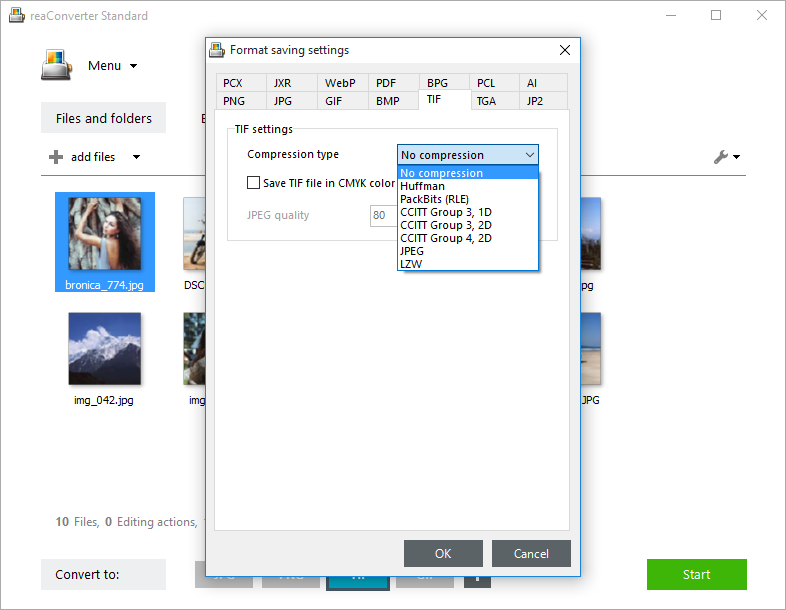
Then just click OK and Start the conversion. The newly converted images will be ready fast!

Advanced users can handle JPG to TIFF conversion using command line interface or DLL in manual, automated or scheduled mode. You are welcome to contact our technical support when you have any questions about reaConverter.