Change Color Model

How to Change the Color Model of JPEG Images?
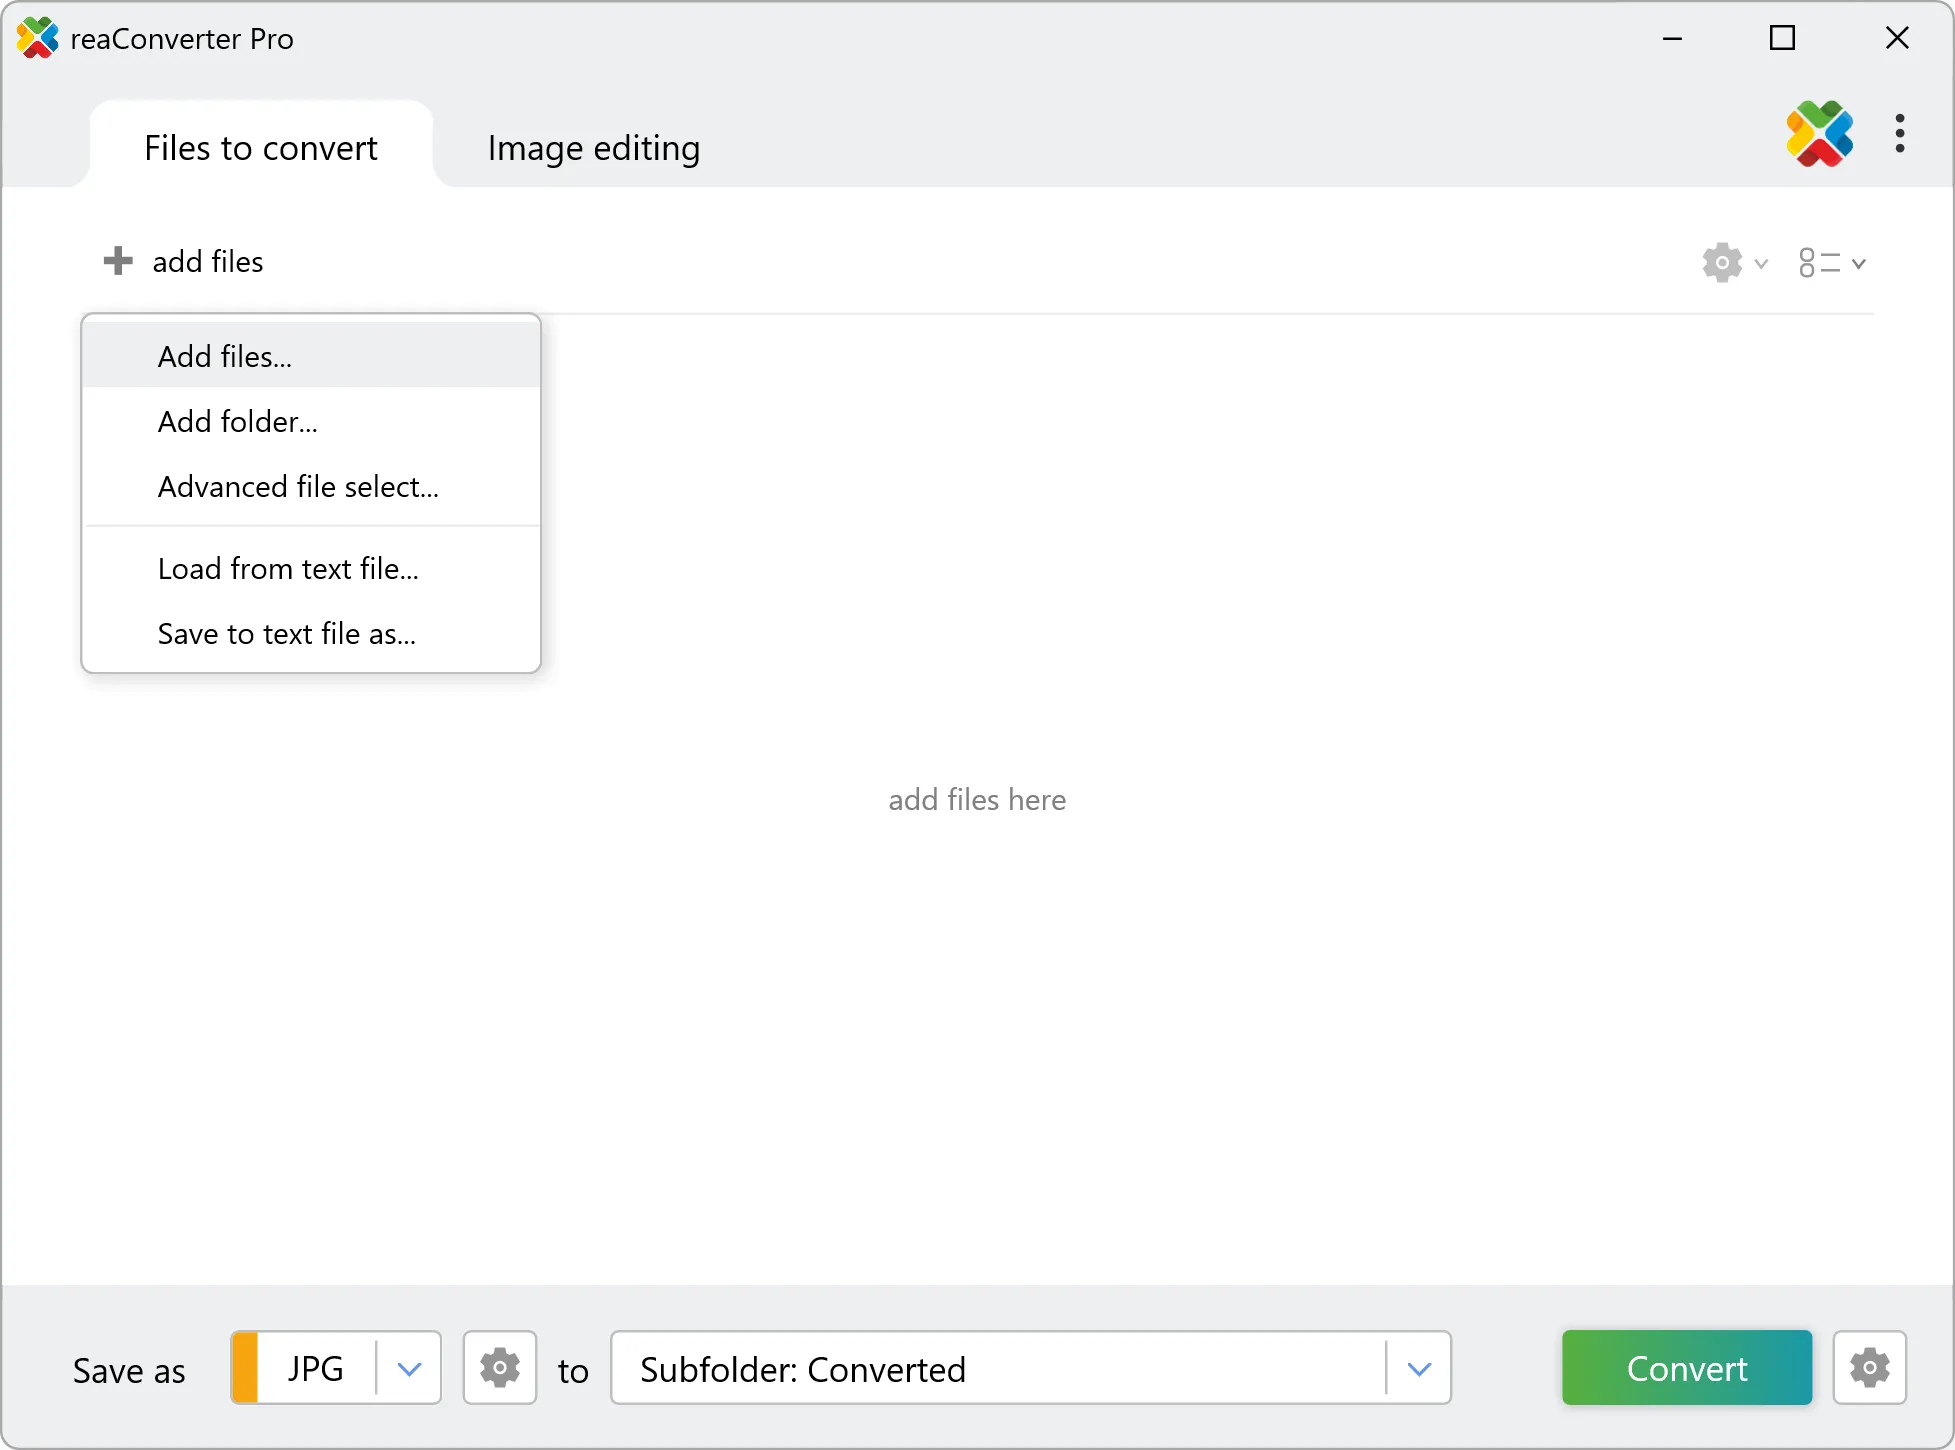
1. Open Images
Load all the images in which you plan to change color model. Select them manually or add them in groups using the drag-and-drop tool or by adding entire folders.
2. Change Color Model
Go to the Menu button and then to Saving settings → Format saving settings
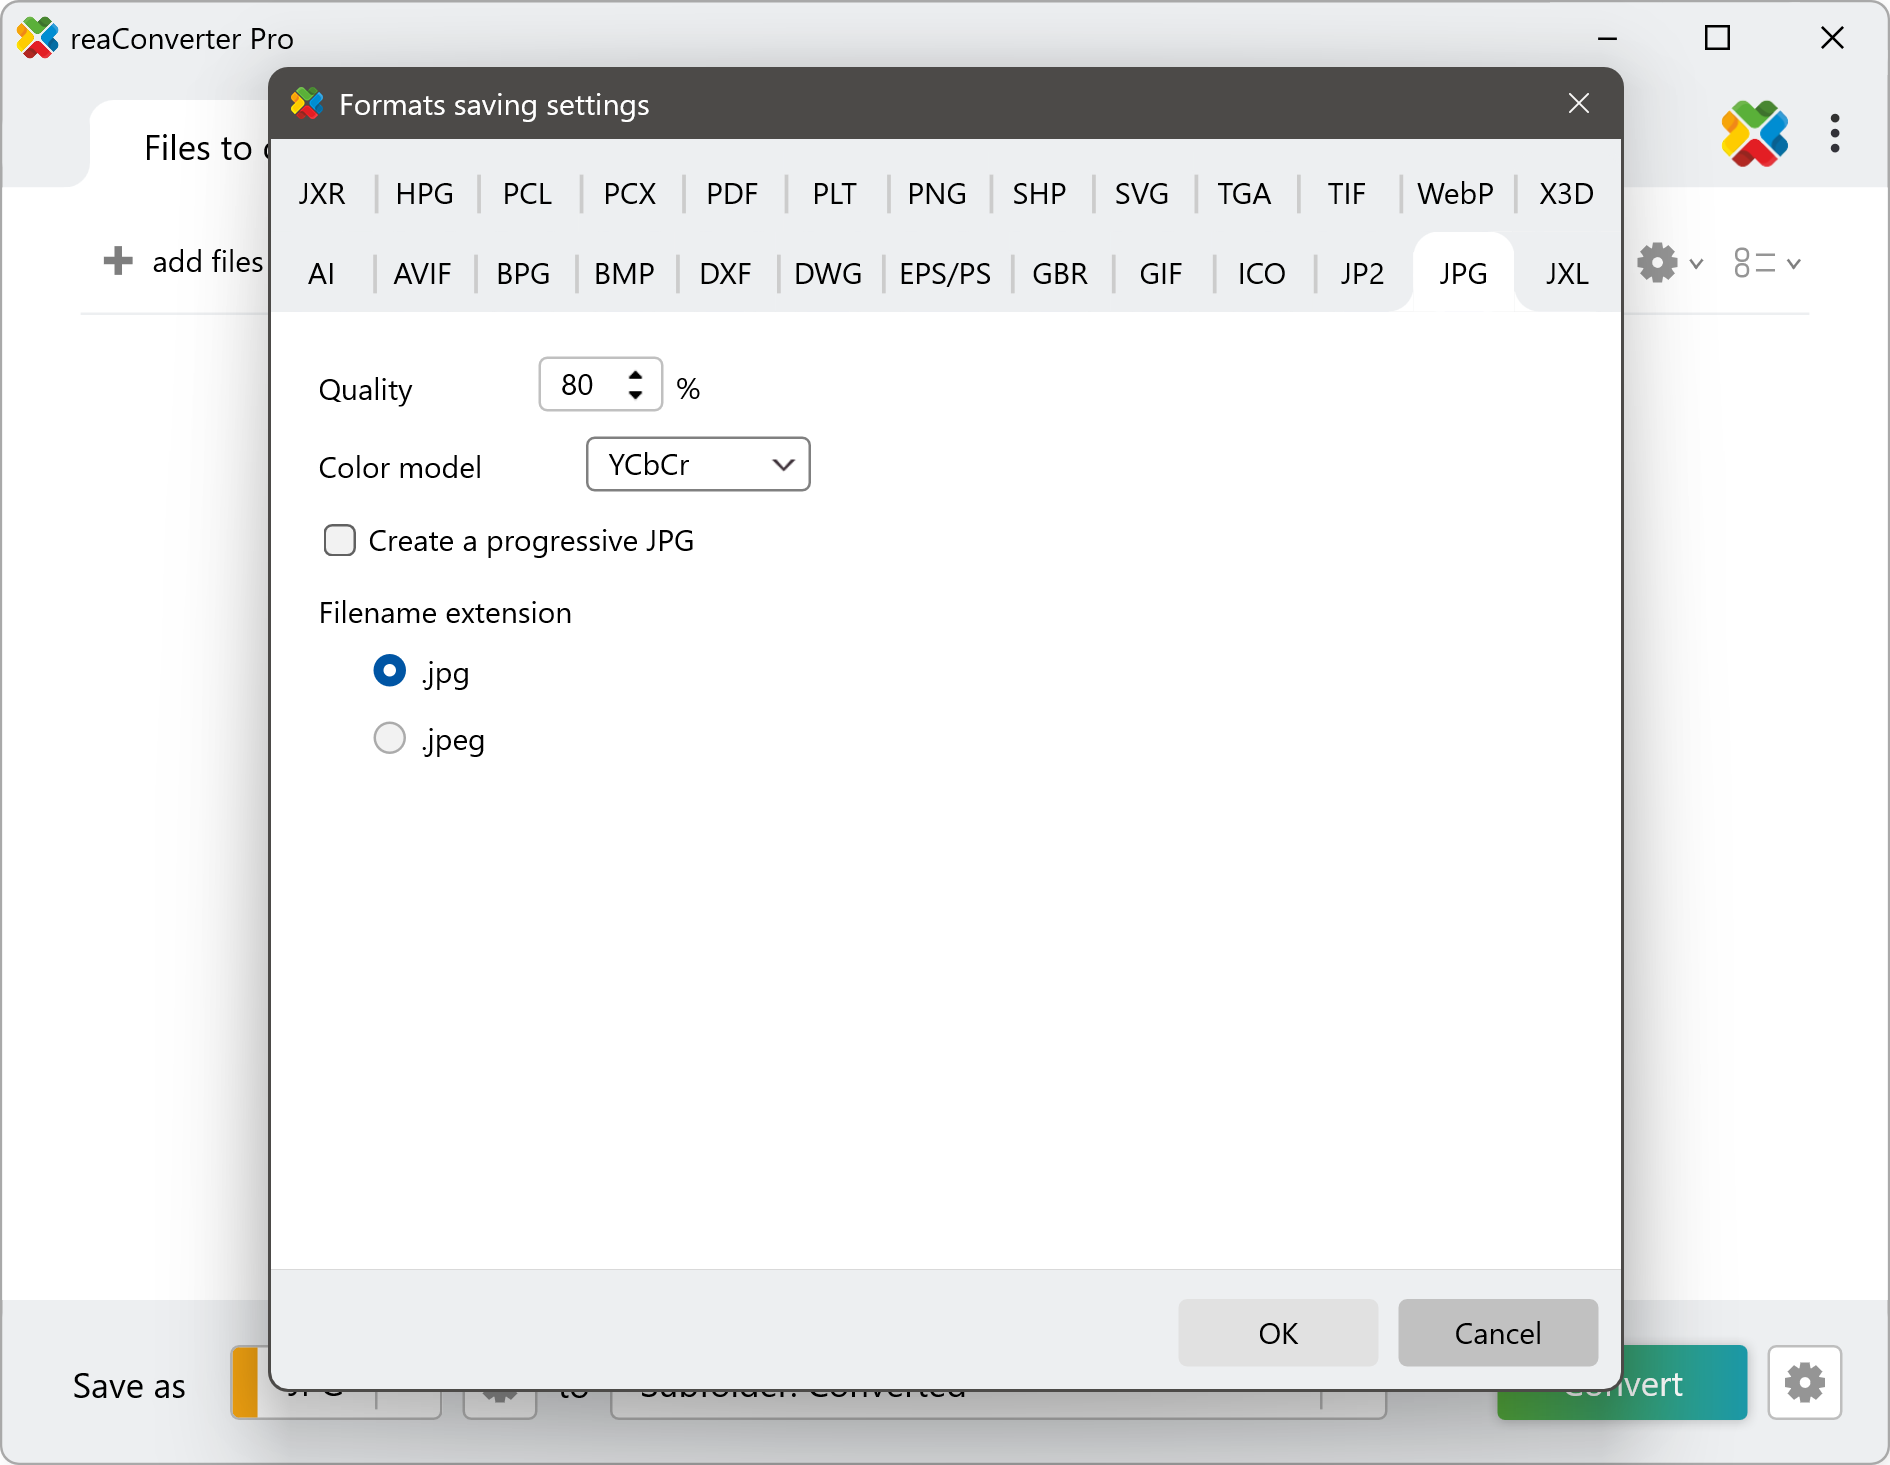
Here you will be able to pick the desired color model from the dropdown menu, and customize the quality of the output JPEG image.
YCbCr
The default and most widely used JPEG color model. It separates brightness (luminance) from color data, making it ideal for web use and standard digital photography due to efficient compression and broad compatibility.
CMYK
A color model designed for print workflows. Use this when preparing images for offset printing or any print-related production to ensure color accuracy on paper.
RGB
Best for digital displays and editing. Choose this if you need color fidelity for on-screen visuals, such as web design, presentations, or digital artwork.
YCbCrK
An extended variation of YCbCr that includes a black channel. Useful in specialized imaging systems or prepress workflows where deeper black separation is needed.
GRAY
Converts the image to grayscale. Ideal for reducing file size or creating monochrome versions for printing, scanning, or archival purposes.
3. Save the Result
In case you don't want to apply any image editing (such as resizing, rotation, cropping or many other available features), go directly to the saving options, where you can decide on a location for your new image files. You can save them in the source folder or in a newly created one.
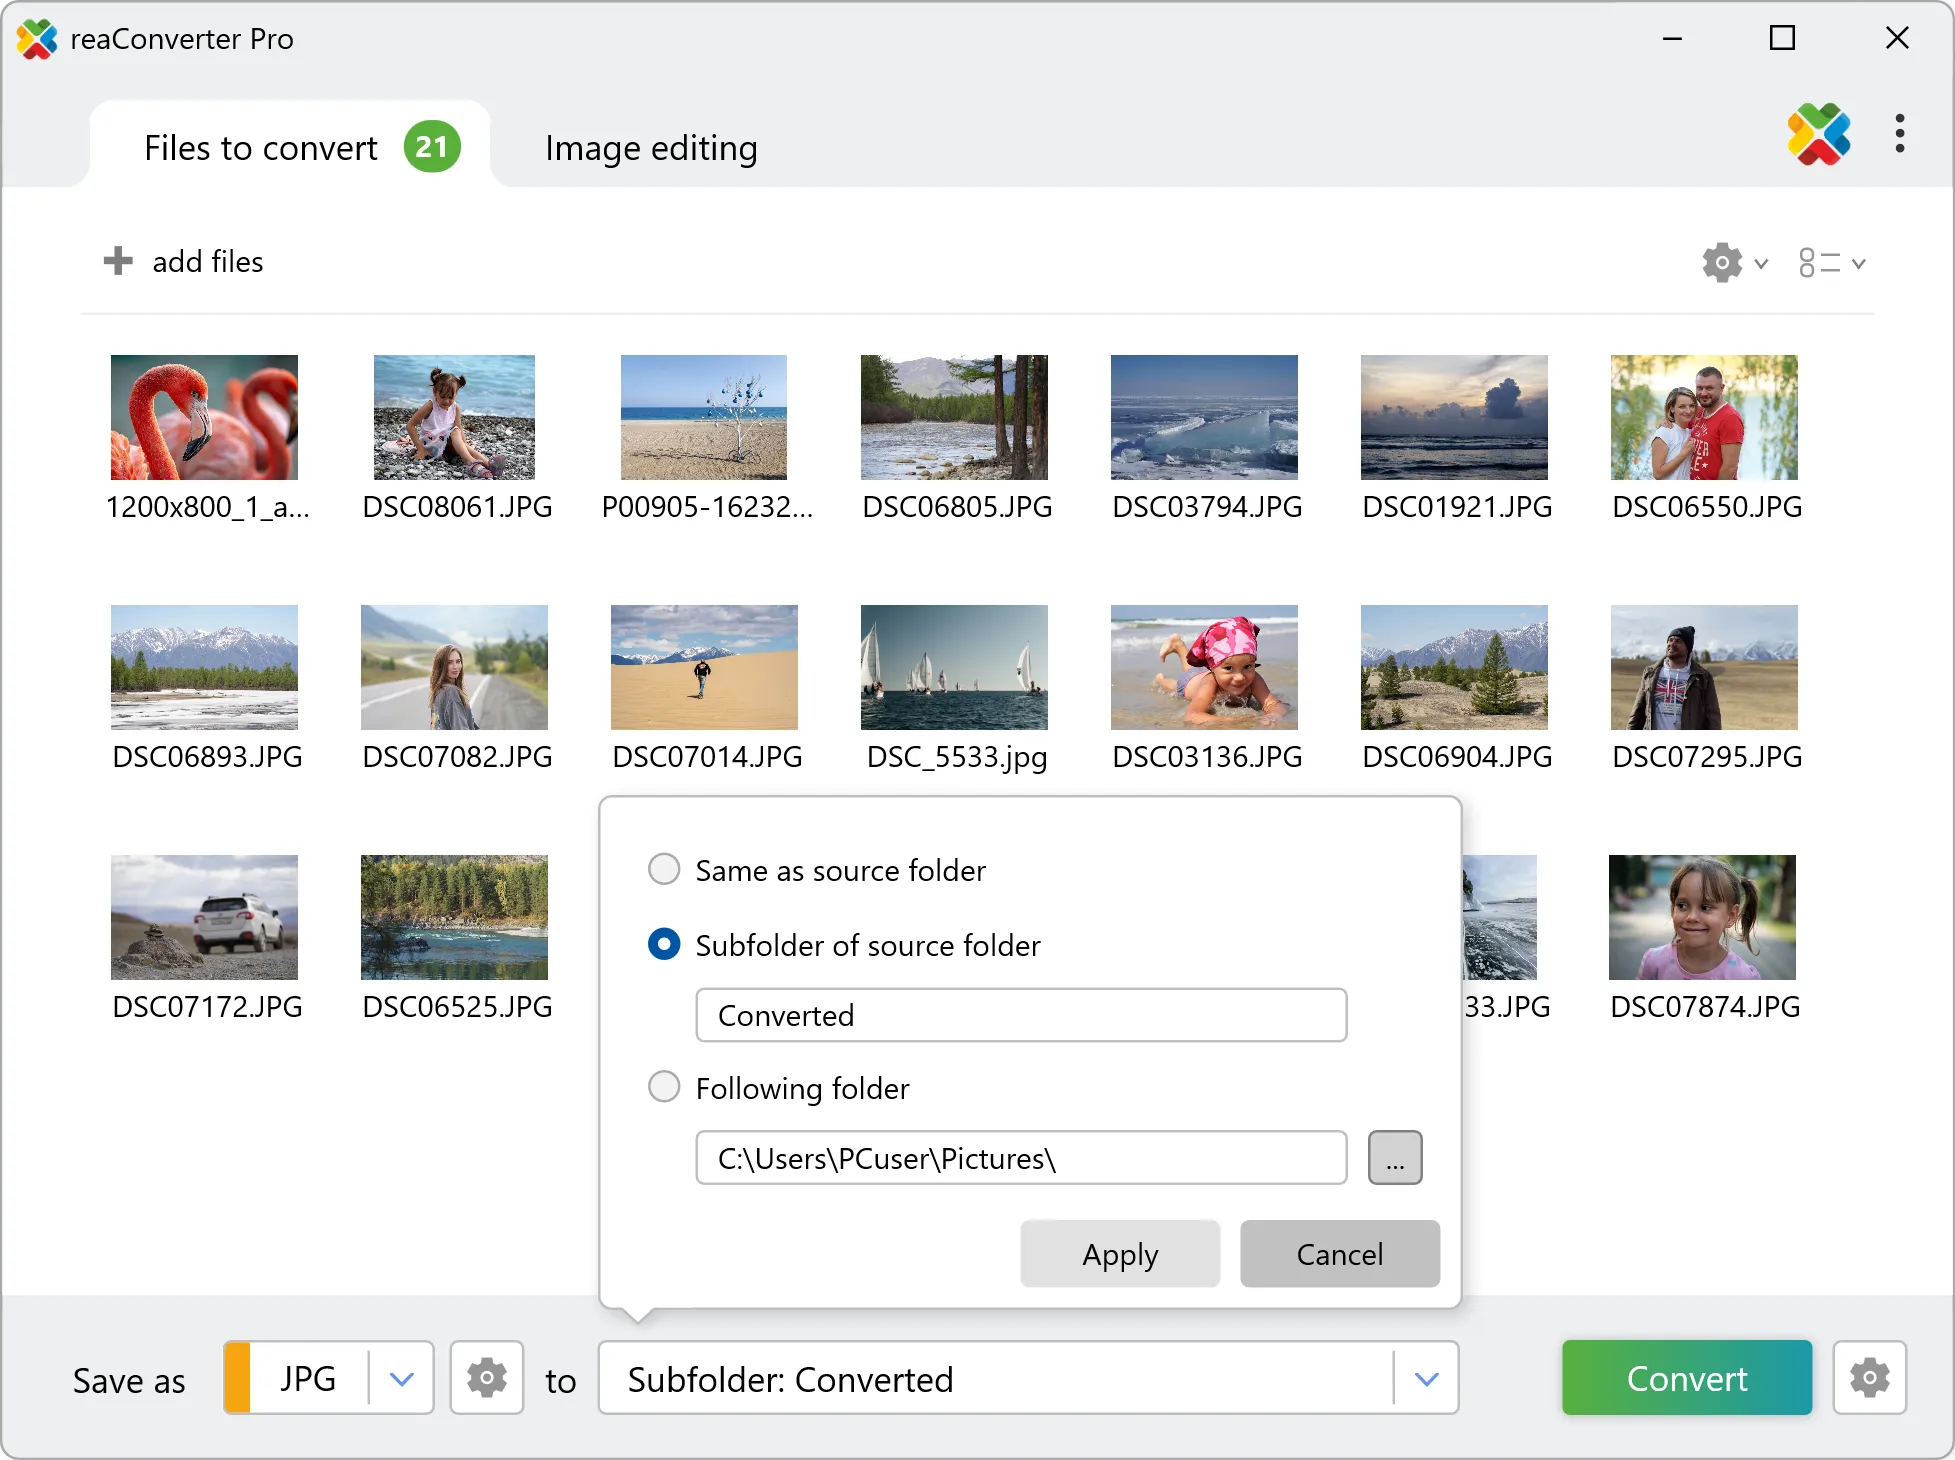
Finally, press the Convert button and wait no more than a few seconds for your converted images to be done.
Convert files on Your PC
The fastest and easiest way to set a new color model for your JPEG images is with reaConverter. Just a few clicks and your files are ready for screen, print, or archiving.
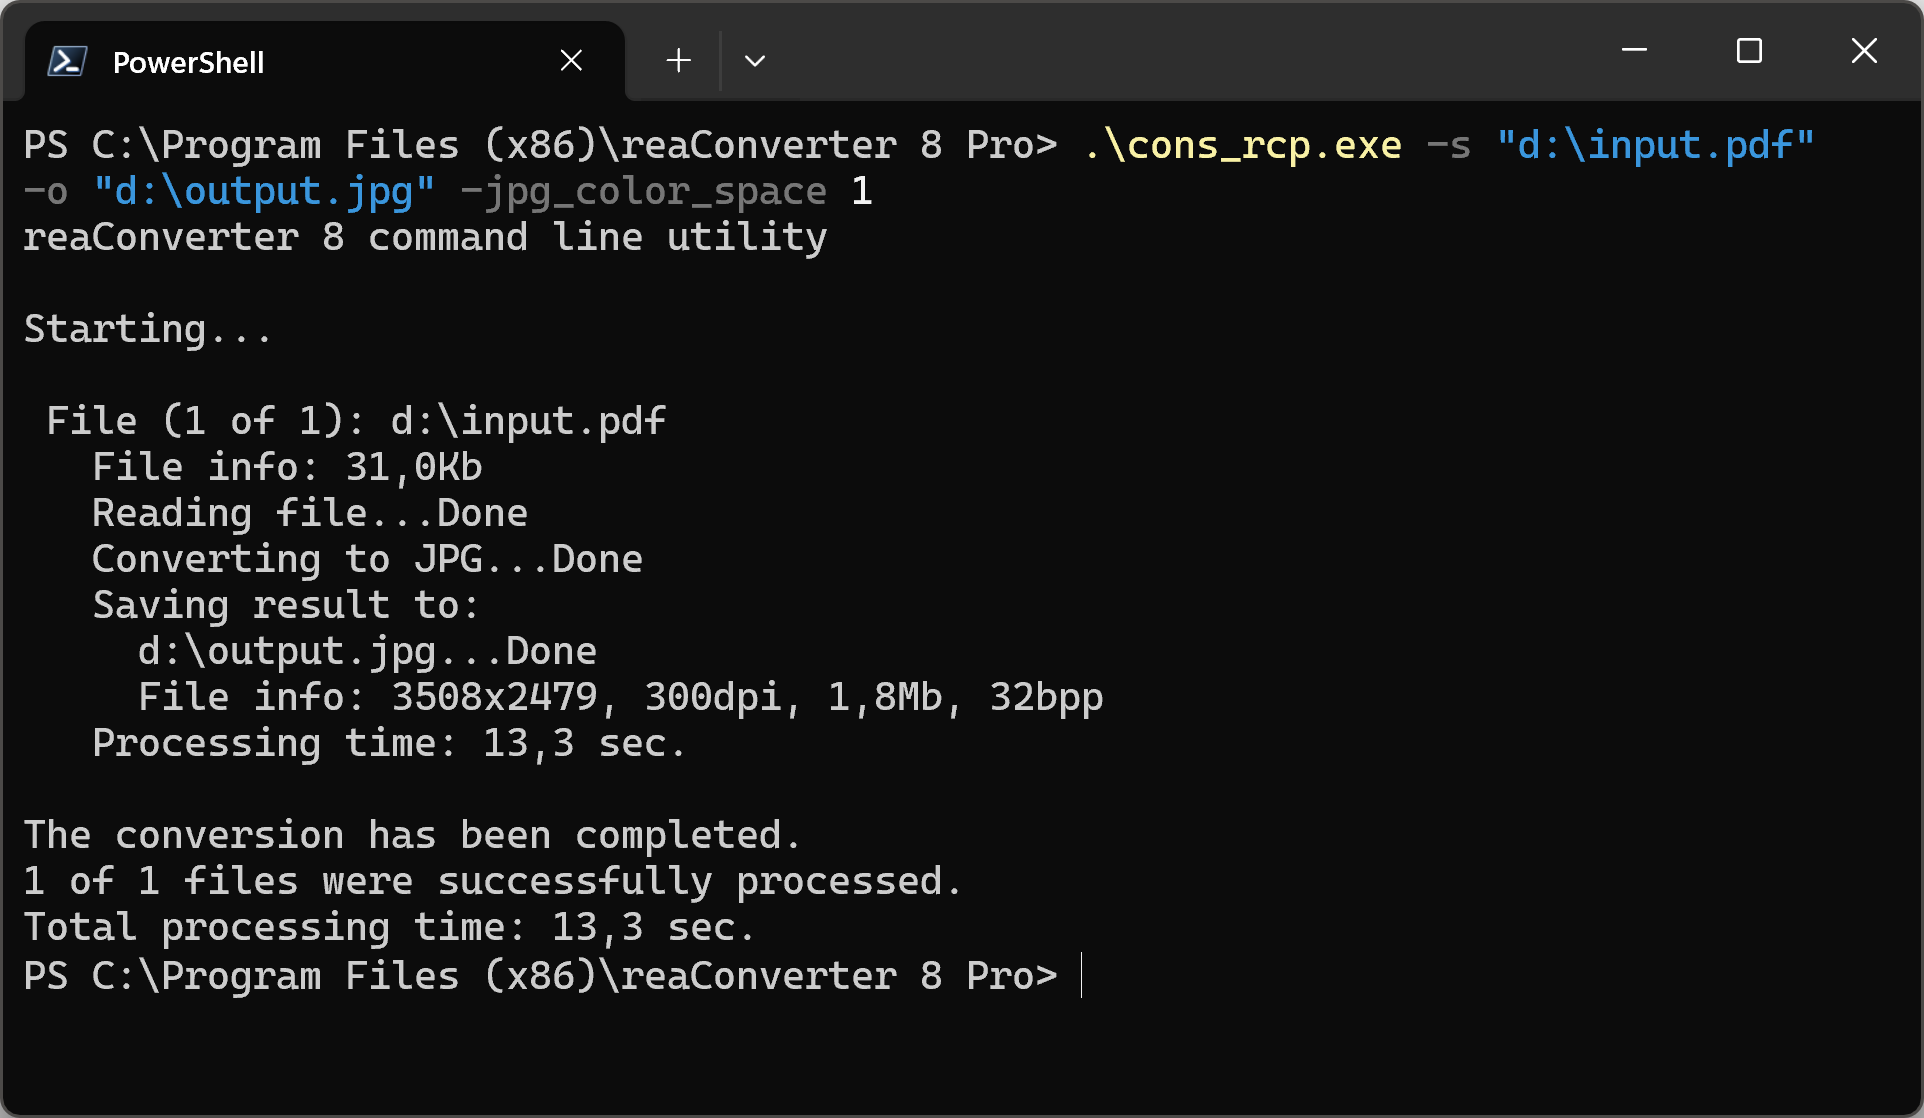
Change color model with command-line tool
You can also set new color model using command-line interface, either manually or through automated scripts. reaConverter Pro includes a command-line tool called cons_rcp.exe — an advanced feature designed for professional use, available exclusively in the Pro edition.
Change color space example:
cons_rcp.exe -s "C:\Path_to\input_file.jpg" -o "C:\Path_to\output_file.jpg" -jpg_color_space 1
Manual
-jpg_color_space
  where value = color model used to create JPG files (0 - YCbCr; 1 - CMYK; 2 - RGB; 3 - YCbCrK; 4 - Gray)
You are welcome to contact our technical support when you have any questions about reaConverter.
Discover more