


How to Convert Multiple ORF Images to WEBP?
1. Download and Install reaConverter
reaConverter installs quickly on any Windows PC. No dependencies, no bloatware — just a clean setup that's ready to use immediately. You can also resize, crop, and adjust images during conversion.

2. Load your ORF files
Open reaConverter and import your .orf files. No file limits, no slowdowns. Add as many as you need.
You can drag-and-drop files, browse to a folder, or add entire directory trees including subfolders.

3. Select WEBP as output format
Pick WEBP as the output format. Set the destination folder and optionally configure resolution, quality, or file naming.
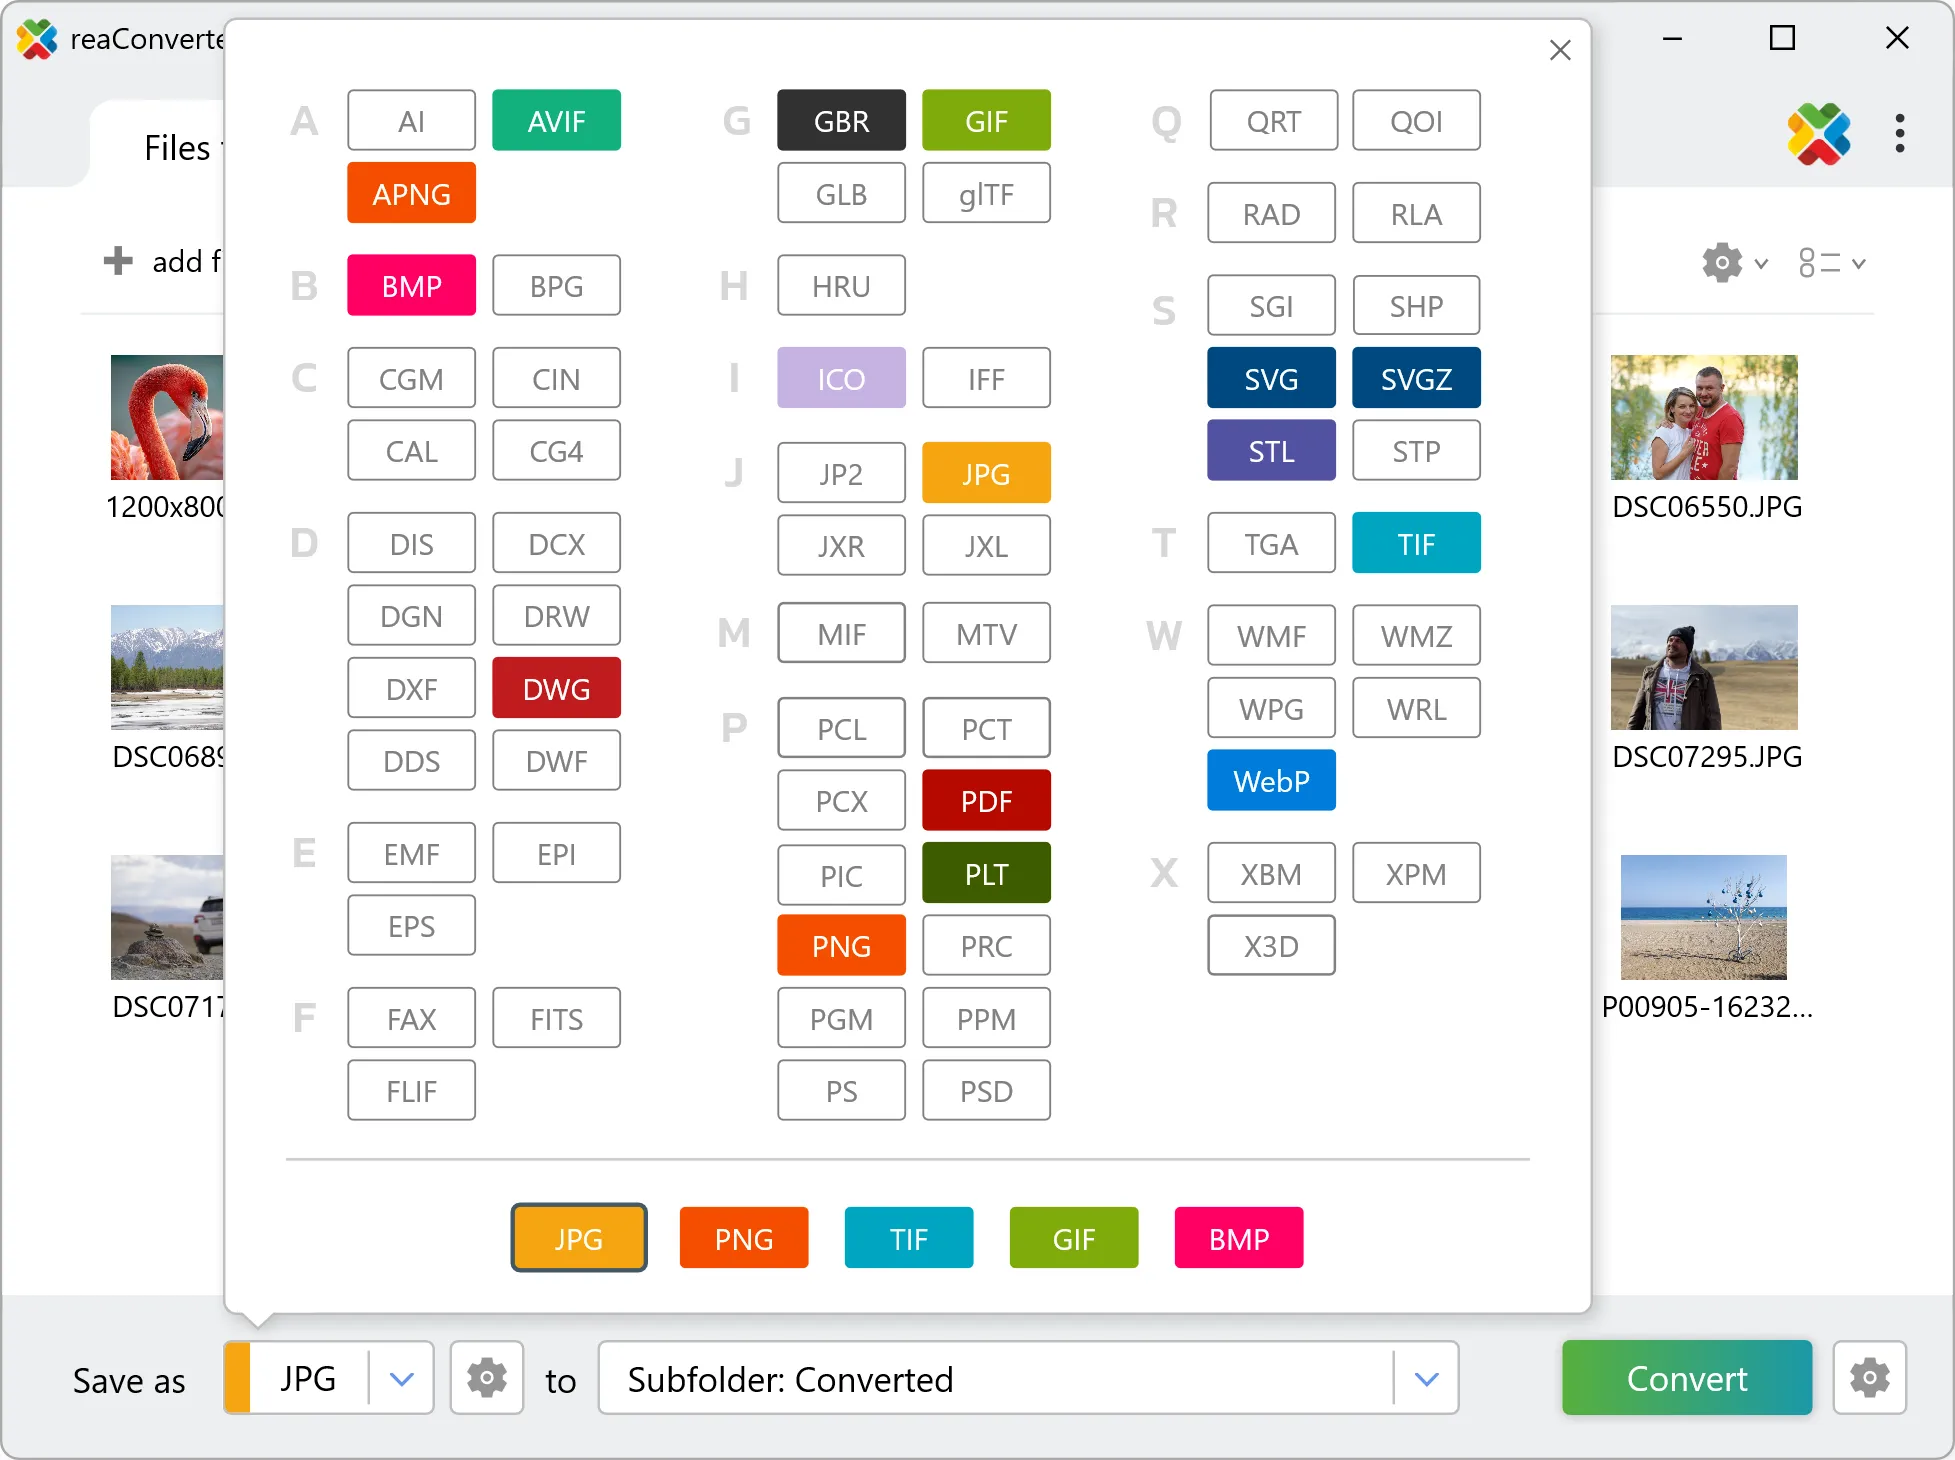
4. Start ORF to WEBP conversion
Click the Convert button to start. reaConverter will process all your files with the settings you selected.

When finished, your new .webp files will be waiting in the destination folder.
ORF to WEBP: what carries over and what does not
ORF files hold unprocessed sensor data, so white balance and exposure are still adjustable. Converting to WEBP bakes those decisions into the pixels, and highlight recovery is no longer available afterwards. Set white balance and exposure before the run rather than after. ORF carries 12 bits per channel and WEBP carries 8, so tonal steps get coarser during conversion. It shows up first in smooth gradients such as skies. If the result will be edited further, move to an 8-bit format only at the very end.