FAQ
HEIC to JPG Conversion
What are HEIC files?
HEIC (High Efficiency Image File Format) is a new image container format from the developers of MPEG. HEIC format is used by Apple as default image format on iOS. HEIC is used to save phone memory and considered as a better and easy way to distribute images.
What are JPG files?
JPG is one of the most popular image file formats currently in use, often referred to as a standard for uploading images online and for displaying photographs. One of its main advantages is providing a good image quality in a relatively small file size, which is easy to store and transfer. JPG uses a type of compression that prioritizes the quality of some image sections over others, thus assuring that most favorable quality/size ratio.
Can reaConverter convert HEIC to JPG?
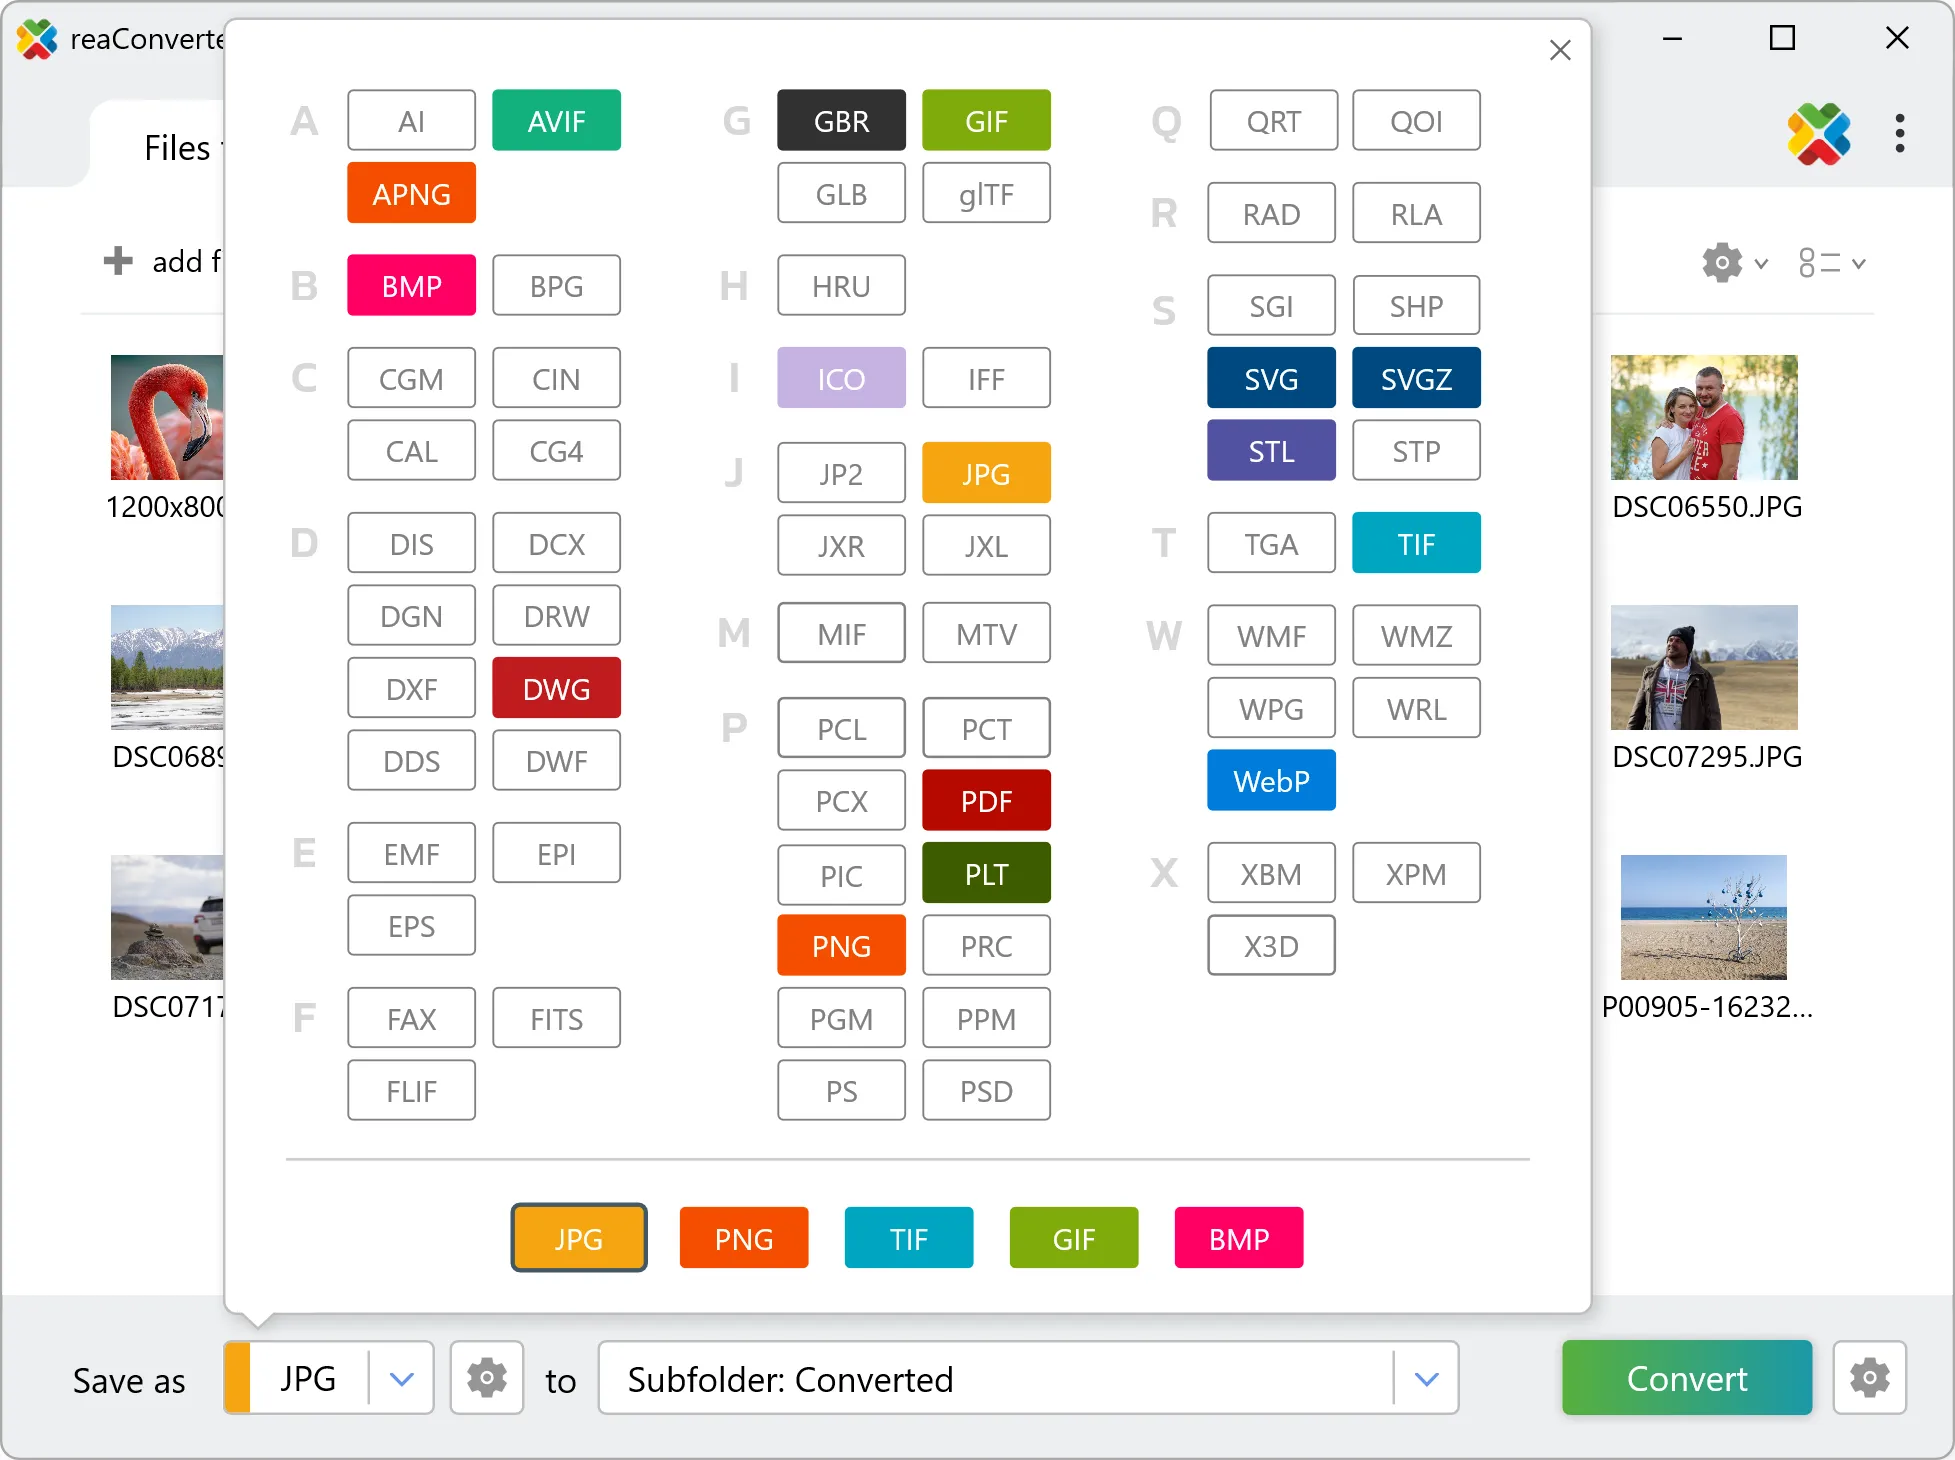
Yes! reaConverter instantly converts .heic to .jpg with perfect quality preservation. With its batch processing feature, you can convert multiple files at once in just a few clicks. You can even convert images directly from Windows Explorer using the right-click menu — fast and convenient.
Is reaConverter free?
Yes — reaConverter Lite is completely free to use! It offers powerful batch image conversion, right-click integration, and support for popular formats, all without requiring an internet connection. For advanced features like automation, metadata editing, and support for rare formats, you can upgrade to the Pro edition anytime.
What is reaConverter used for?
reaConverter is a software program used for converting images and other types of files from one format to another. It supports a wide range of file formats and allows users to convert multiple files at once, making it a valuable tool for graphic designers, photographers, and other professionals who work with digital images. reaConverter also includes features for resizing, cropping, and editing images, along with batch processing capabilities that help automate repetitive tasks.
Can I convert HEIC to JPG in my browser?
Yes — with our free web-based HEIC to JPG converter, you can convert .heic files instantly, right in your browser. No installation, no uploads — perfect for quick, local conversions.
Is reaConverter free?
Yes — reaConverter Lite is completely free to use! It offers powerful batch image conversion, right-click integration, and support for popular formats, all without requiring an internet connection. For advanced features like automation, metadata editing, and support for rare formats, you can upgrade to the Pro edition anytime.
How can I turn HEIC files into JPG on my computer?
The best way to change HEICs to JPGs on your PC is to install a quality piece of software, such as reaConverter. This software is extremely efficient in managing a wide range of batch files conversions, including conversion from HEIC to JPG.
How can I automate HEIC to JPG files conversion?
reaConverter supports all the most useful automation features such as right-click сonversion and Watch Folders for the most efficient automated files conversion in any software of this type.
Is there a way to convert HEIC files to JPG using the command prompt?
reaConverter provides full access to all its features via Windows command line, including a high-performance command-line heic to jpg converter for batch processing.
What else can I do with reaConverter?
Convert CAD formatsSet file dateConvert Gerber imagesChange image color spaceConvert GIS files
Related conversions
Other ways to convert HEIC files, and other sources that convert to JPG.