
How to Convert Multiple NEF Images to JPG?
1. Download and Install reaConverter
First, grab reaConverter from the download button below. Installation is fast, and the software runs offline — no account or signup needed. Apply image edits like resize, crop, or color adjustment while converting.

2. Load your NEF files
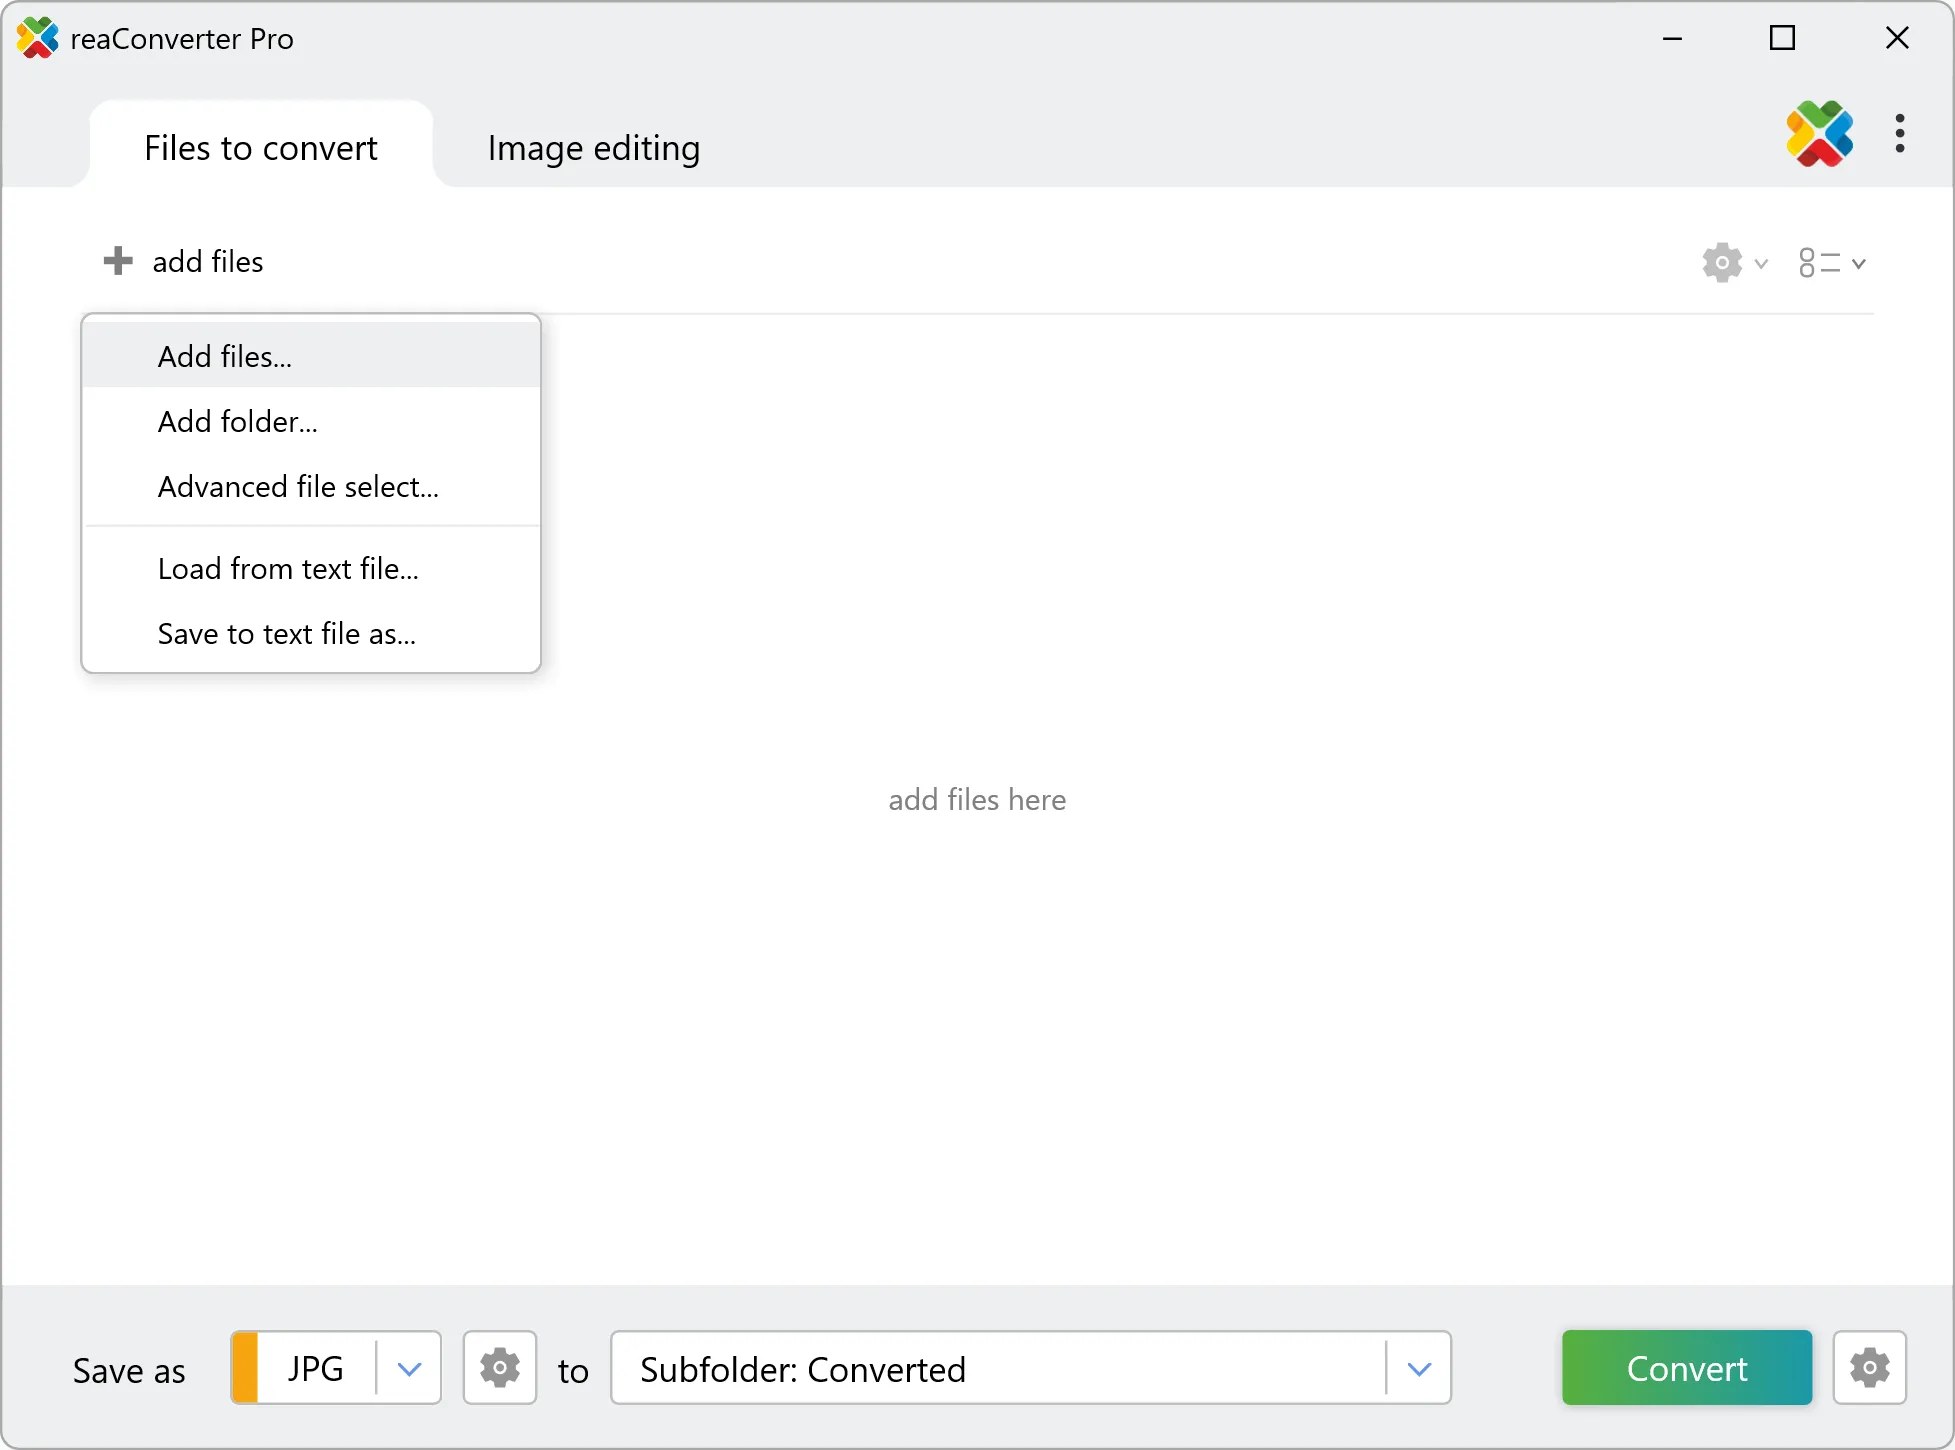
Open reaConverter and add your NEF files. You can load individual files, entire folders, or even nested subfolders.
Select NEFs from a folder or drag-and-drop them directly into the reaConverter window.
3. Select JPG as output format
Pick JPG as output format and choose the destination folder where you want to save new .jpg files.

4. Start NEF to JPG conversion
Press the Convert button and reaConverter takes care of the rest. Processing time depends on file size and volume.
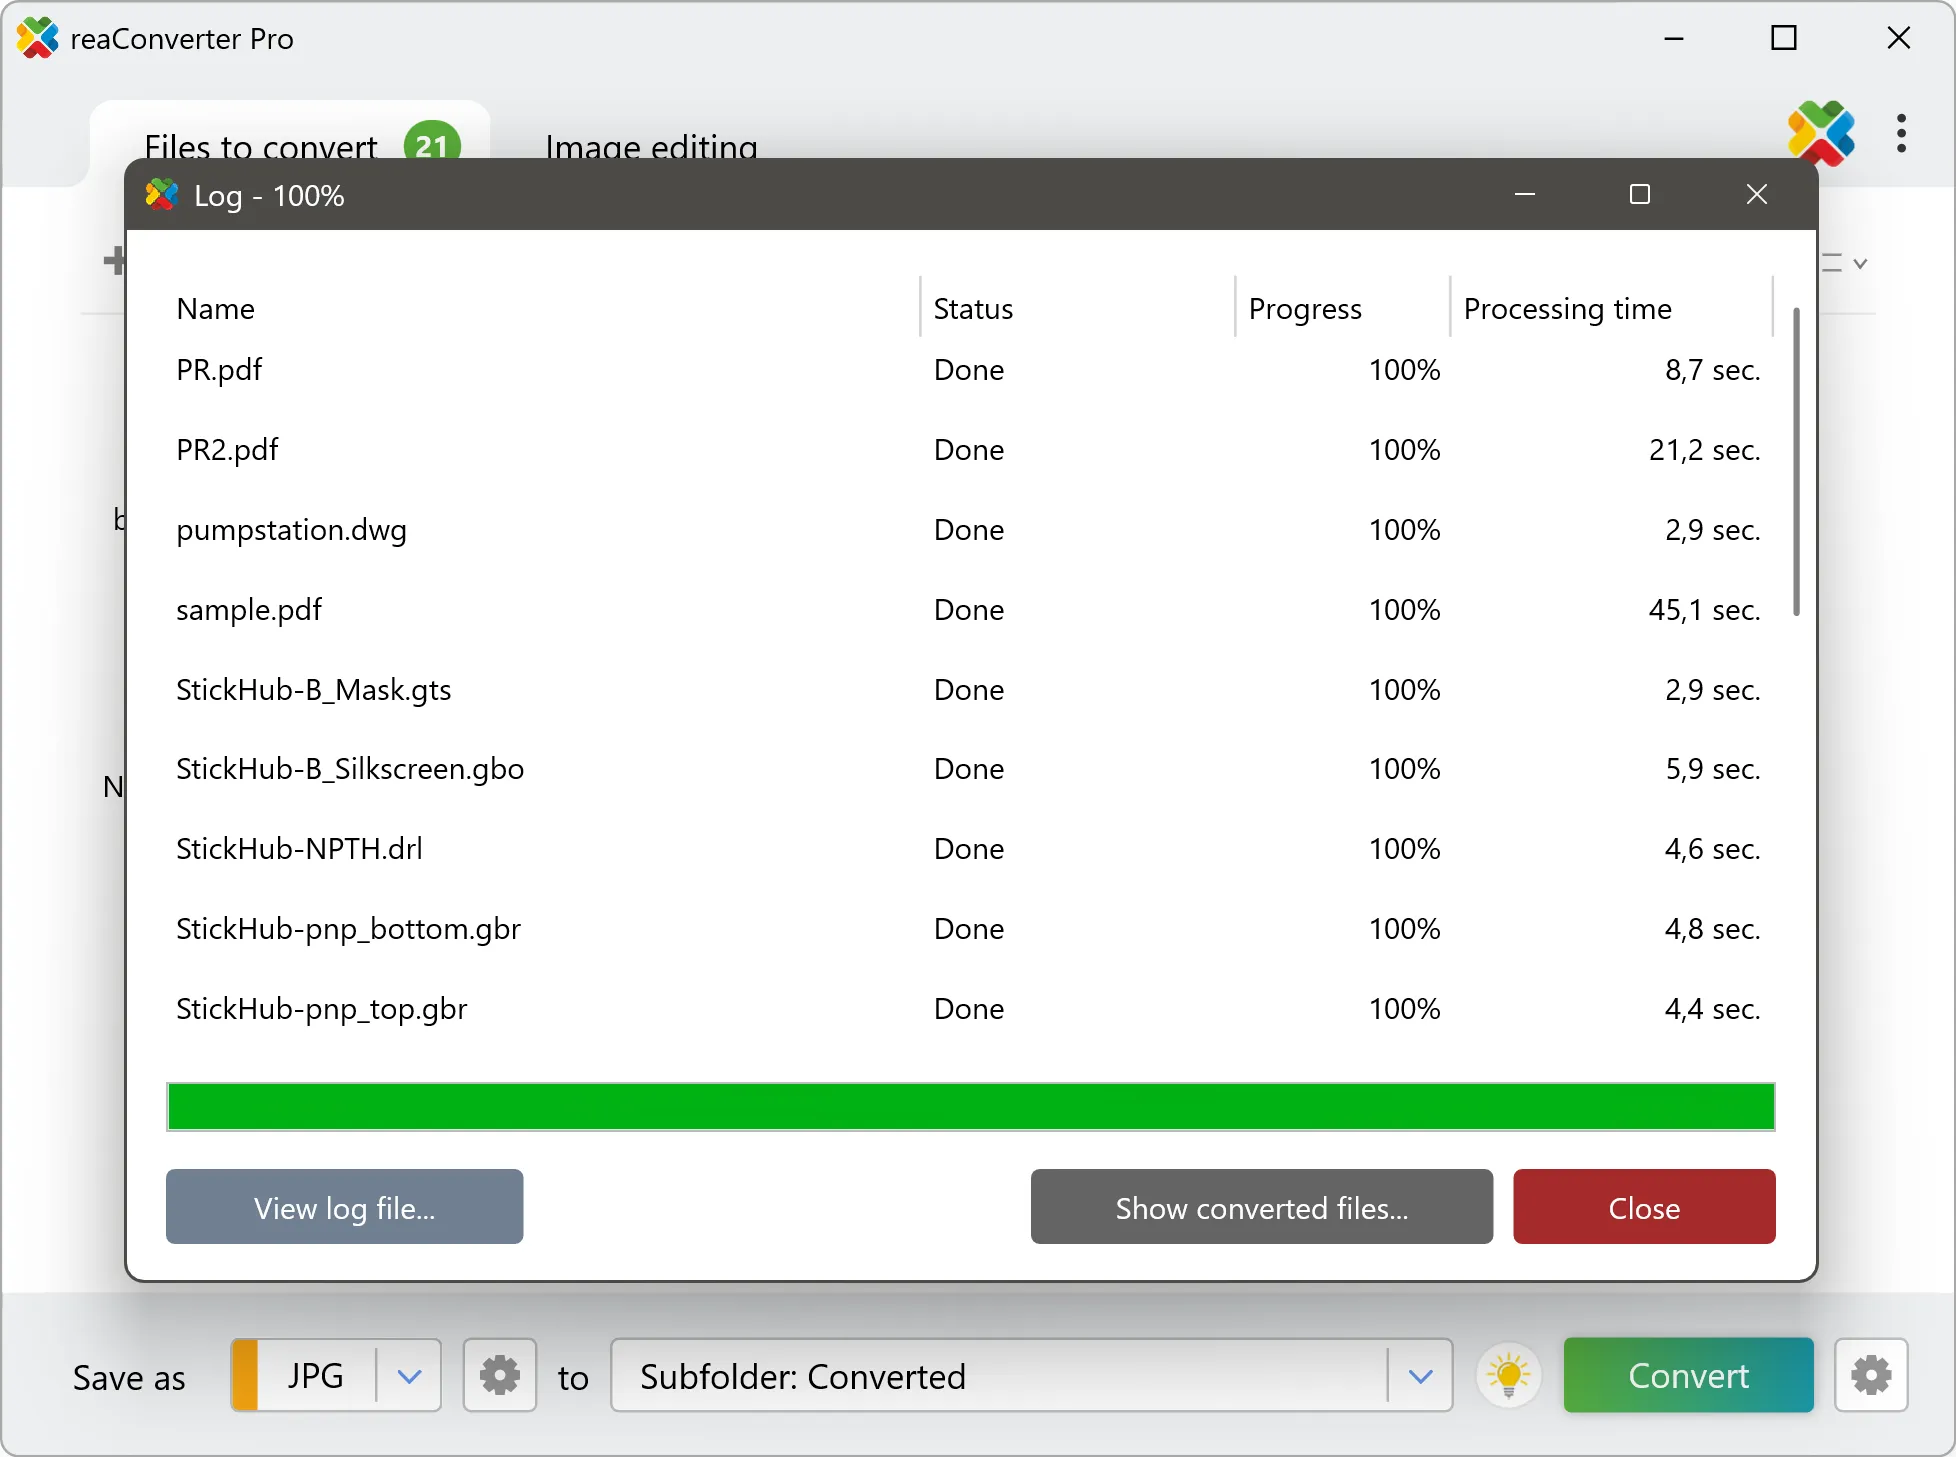
After processing, find all your new .jpg files in the output location. The log shows details for each conversion.
NEF to JPG: what to expect from the conversion
NEF files hold unprocessed sensor data, so white balance and exposure are still adjustable. Converting to JPG bakes those decisions into the pixels, and highlight recovery is no longer available afterwards. Set white balance and exposure before the run rather than after. NEF carries 14 bits per channel and JPG carries 8, so tonal steps get coarser during conversion. It shows up first in smooth gradients such as skies. If the result will be edited further, move to an 8-bit format only at the very end.