Multipage Settings

How to Convert Multi-Page Files in Bulk?
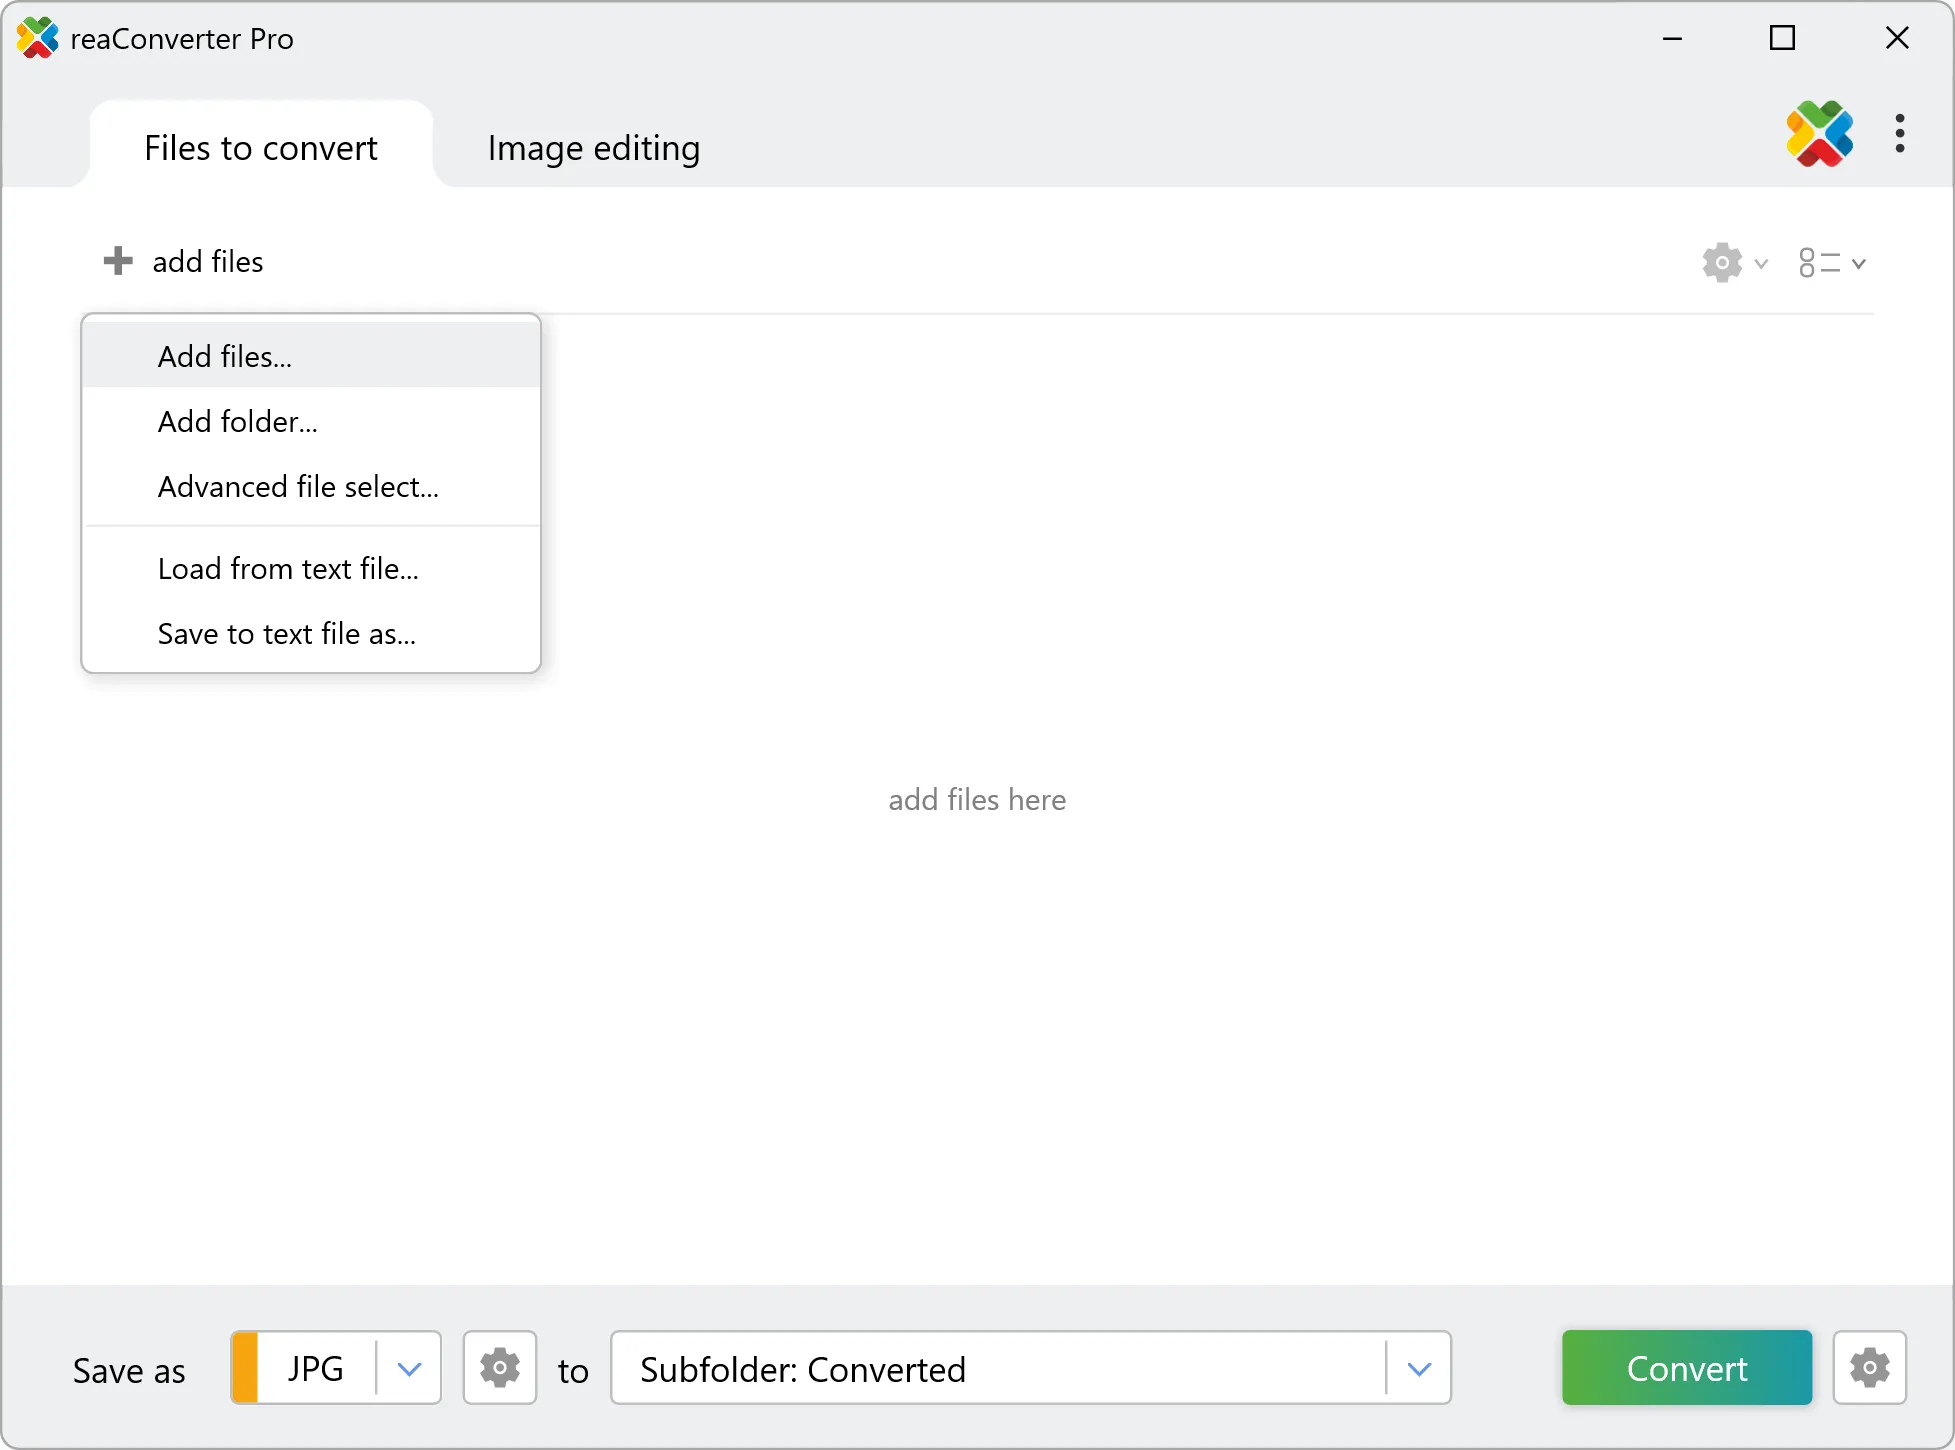
Open Files
Load one or more files you intend to operate with. Add them manually, one by one or by selecting entire folders, or use the drag-and-drop tool.
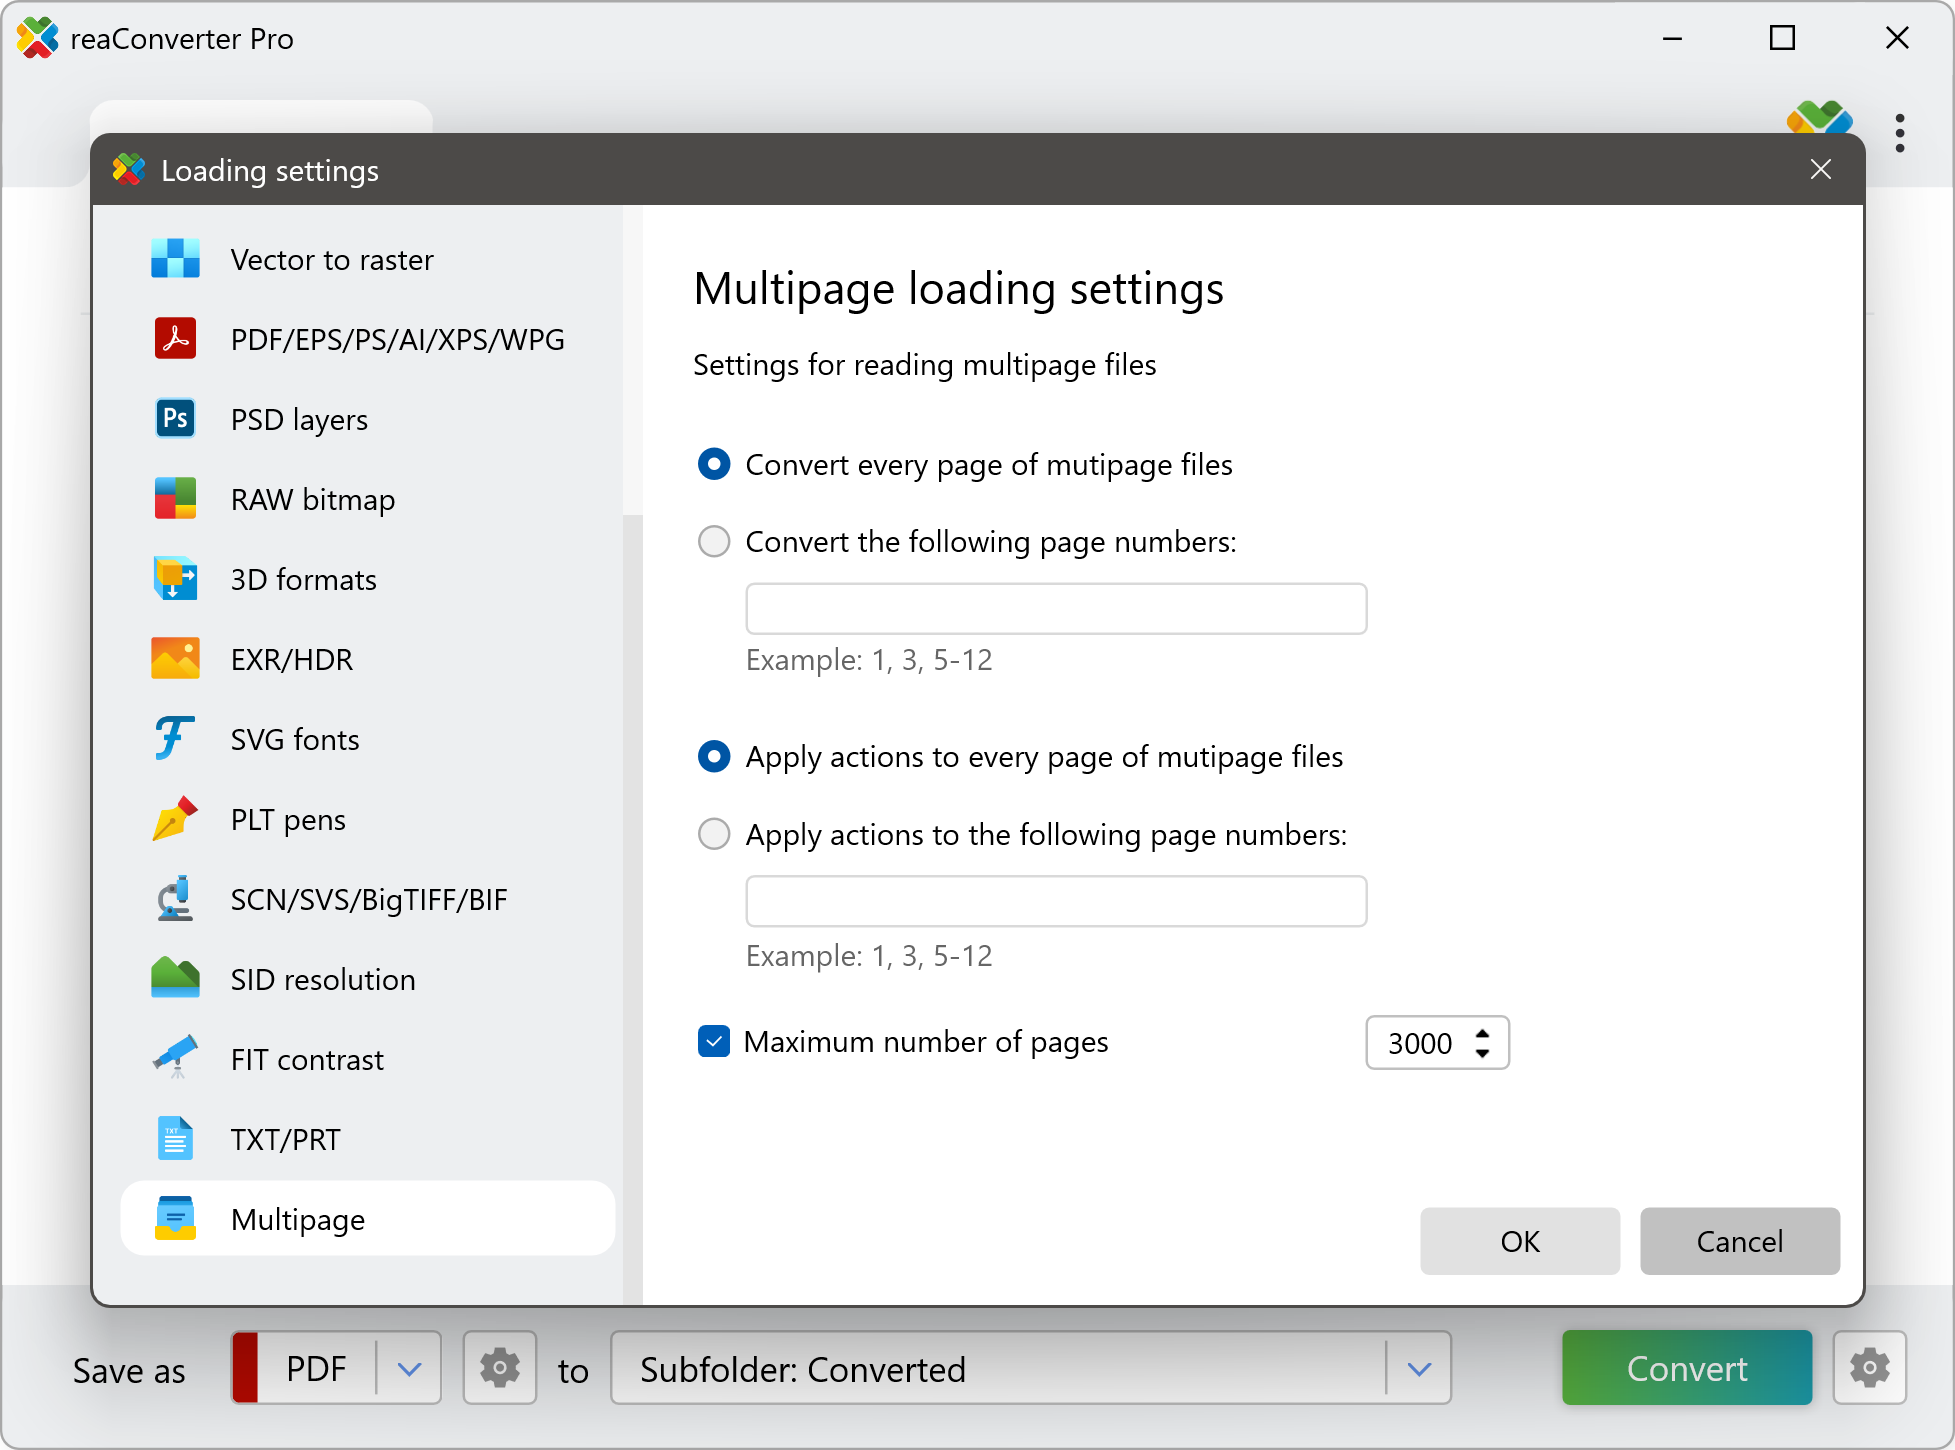
Multipage Loading Settings
When the input file is a multipage one, you can also choose to convert only some pages or layers from it. Simply go to Menu → Loading settings → Multipage loading settings and insert the desired page numbers.
Additionally, when processing multipage files you can now choose to apply editing only to a limited number of them. reaConverter includes a feature where you can easily opt between applying editing to all pages or inserting the specific page numbers which you want to edit.
Go to the Menu → Loading settings → Multipage editing actions settings and select the desired page numbers.
Multipage Saving Settings
Go to the Menu button, click Saving settings → Multipage files, there are several options to choose from in terms of converting your files.
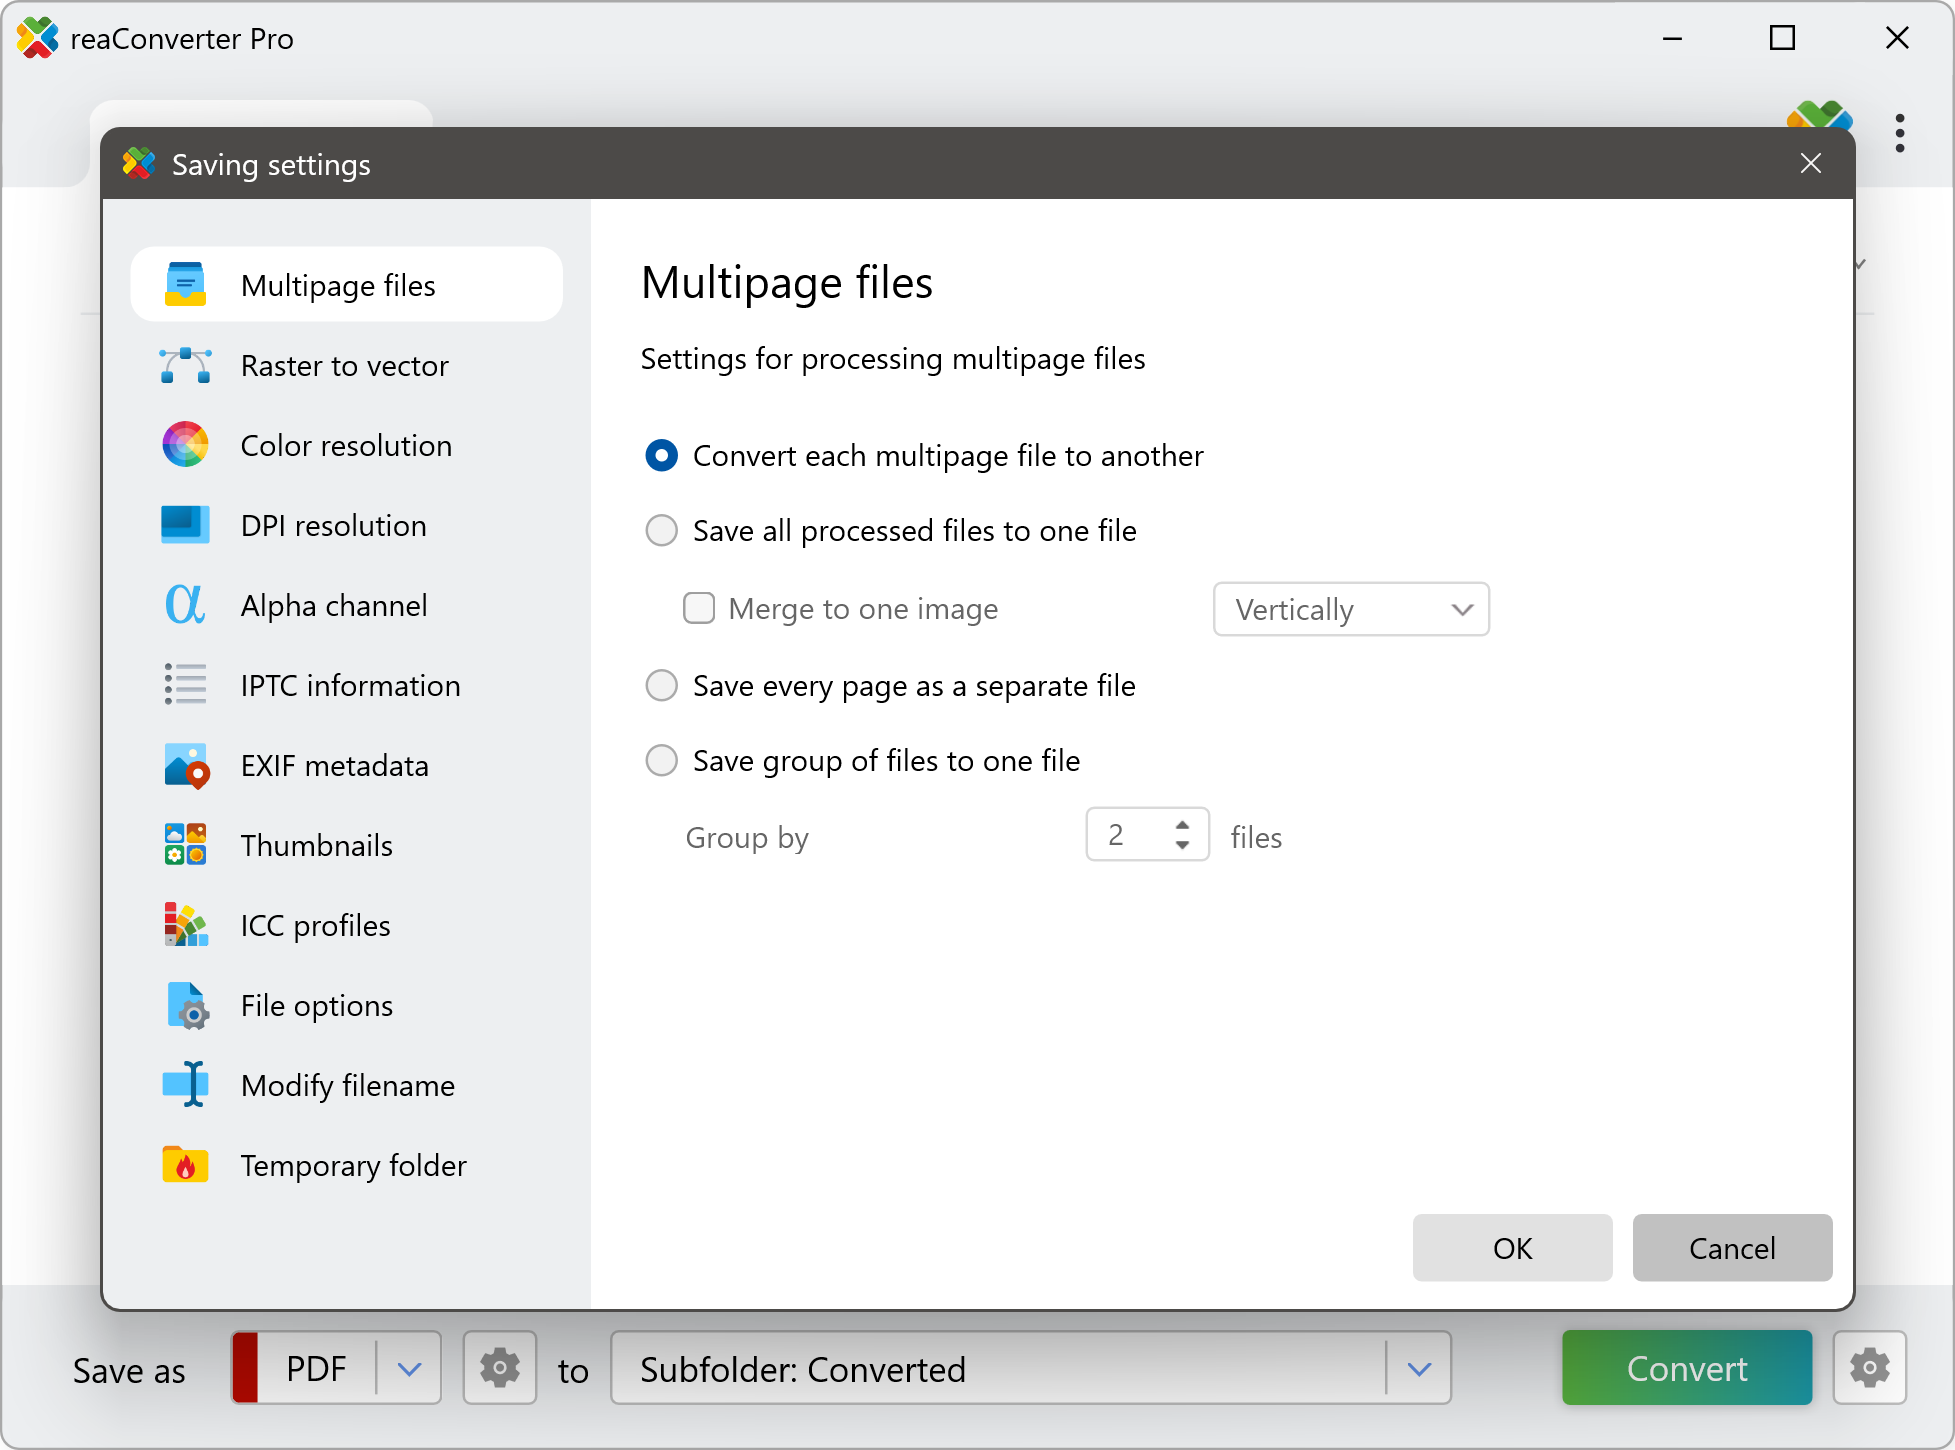
Click Convert each multipage file to another if you want to transform a DOC into a PDF, for example. Save all processed files to one file will help you merge separate image files into a single multipage one, like in the video tutorial below.
A similar option here allows you to save groups of a particular number of files into separate multipage image files. In case you are already operating with a multipage file and would like to split it in several documents, or extract layers tick Save every page as a separate file.
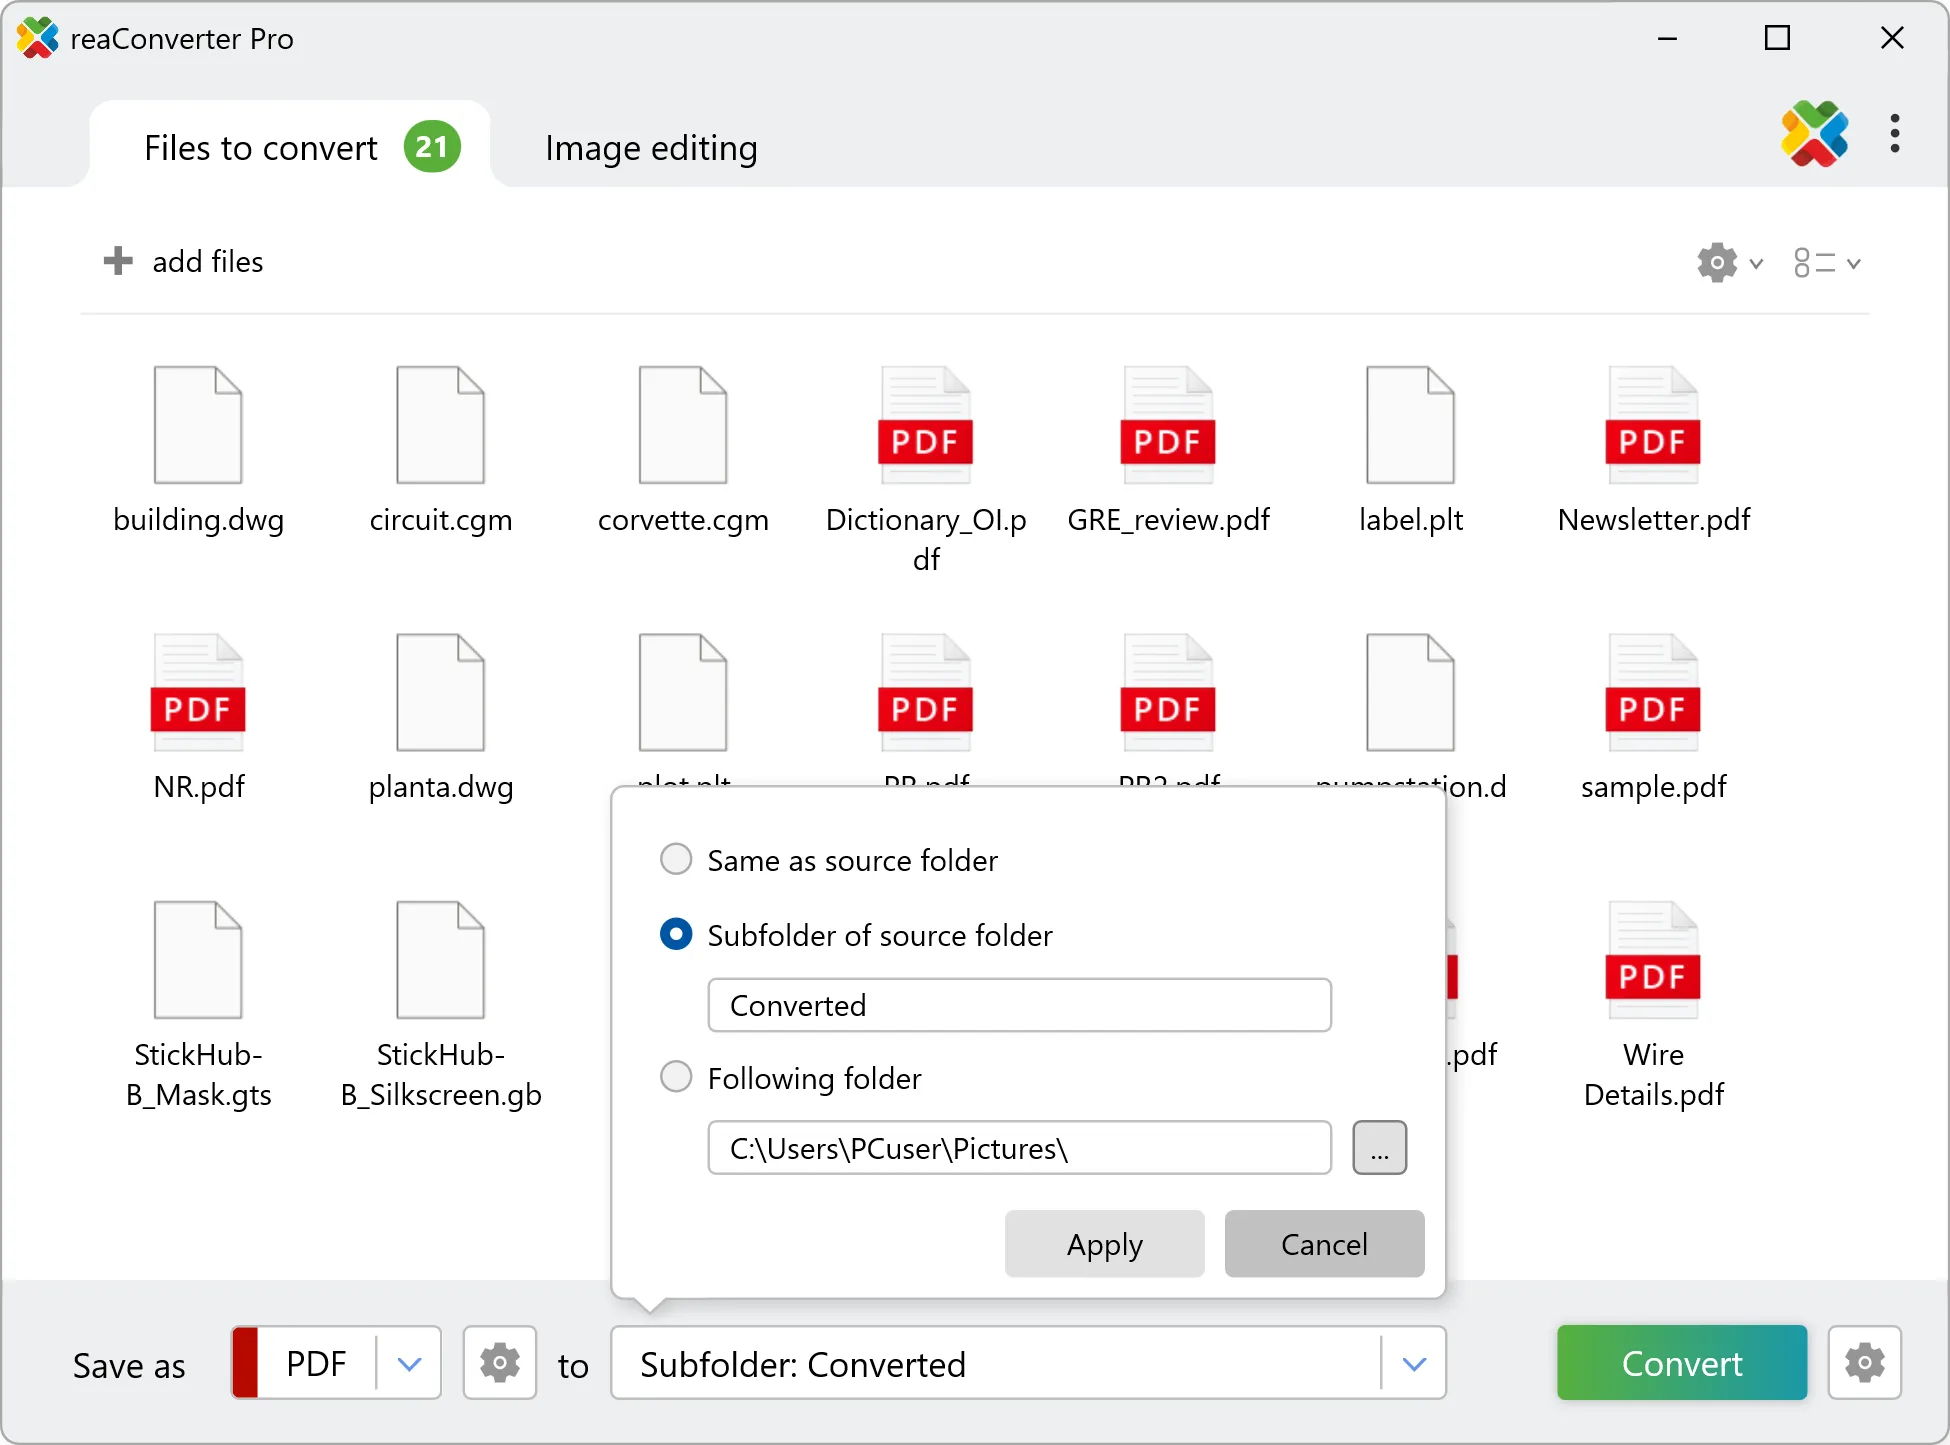
Save the Result
Go to the saving options and decide on the location of your converted files. You can save them locally — in the source folder, in a newly created subfolder, or in a customized location.
Finally, pick the new extension your files will have after conversion and then click Convert. The new files will be done in no time!
Handle files on your PC
Convert batches, split/merge PDFs, extract AI layers, and more. Your files remain private and protected – reaConverter works entirely offline with no cloud uploads required.
Multipage settings for command-line tool
You can convert multipage files with command-line interface, either manually or through automated scripts. reaConverter Pro includes a command-line tool called cons_rcp.exe — an advanced feature designed for professional use, available exclusively in the Pro edition.
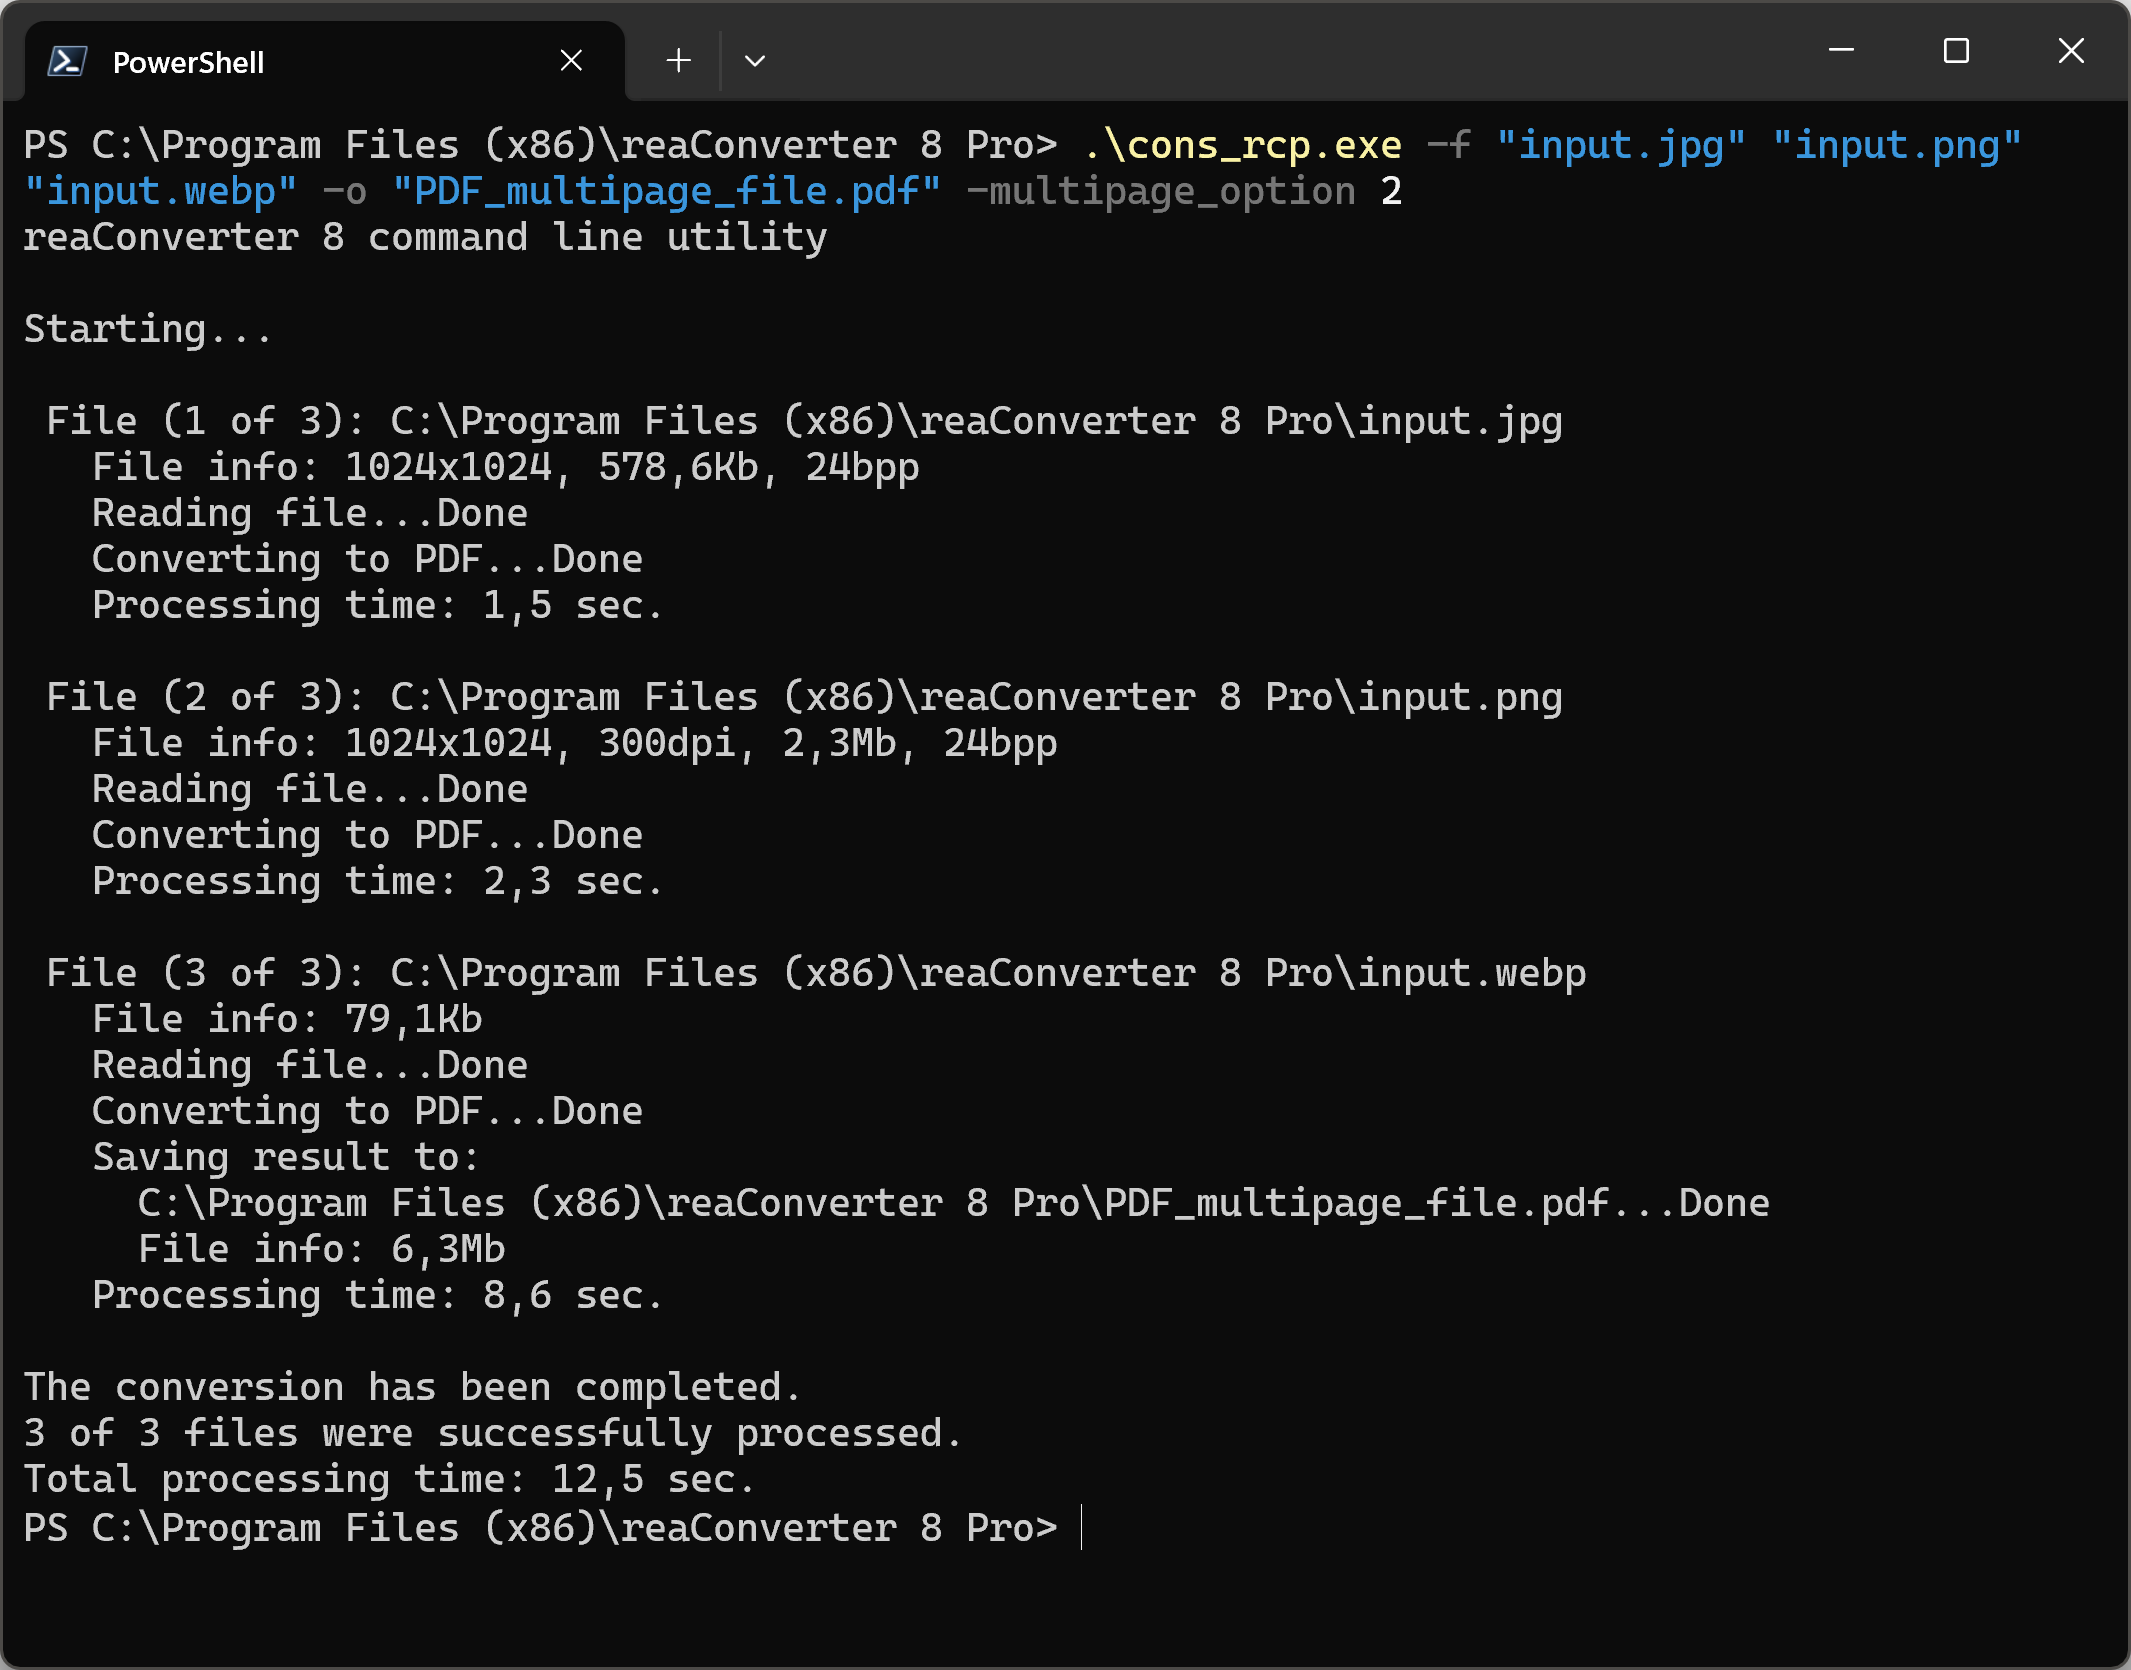
PDF merge example:
cons_rcp.exe -f "JPEG_file_1.jpg" "JPEG_file_2.jpg" "JPEG_file_3.jpg" -o "PDF_multipage_file.pdf" -multipage_option 2
Manual
-multipage_loading_option
  where value = 0 if you want to convert every page of multipage files, 1 if you want to convert pages specified in the "Multipage_Loading_pages" option
-multipage_actions_option
  where value = 0 if you want to edit every page of multipage files, 1 if you want to edit pages specified in the "Multipage_Apply_actions_pages" option
-multipage_loading_pages
  where value = list of page numbers you want to convert (example: 1, 3, 5-12)
-multipage_apply_actions_pages
  where value = list of page numbers you want to edit (example: 1, 3, 5-12)
-multipage_option
  where value = 1 if you want to convert each multipage file to another, = 2 to save all processed files to one multipage file, = 3 to save every page of converted file as a separate file, and = 4 if you want to save group of files to one file
-multipage_group
  where value = number of files in a group (if Option = 4)
-merge_to_one
  where value = 1 to merge vertically, = 2 to merge horizontally (works with -multipage_option 2 only)
You are welcome to contact our technical support when you have any questions about reaConverter.
Discover more