Auto Contrast

How to Adjust Contrast Automatically for Multiple Images?
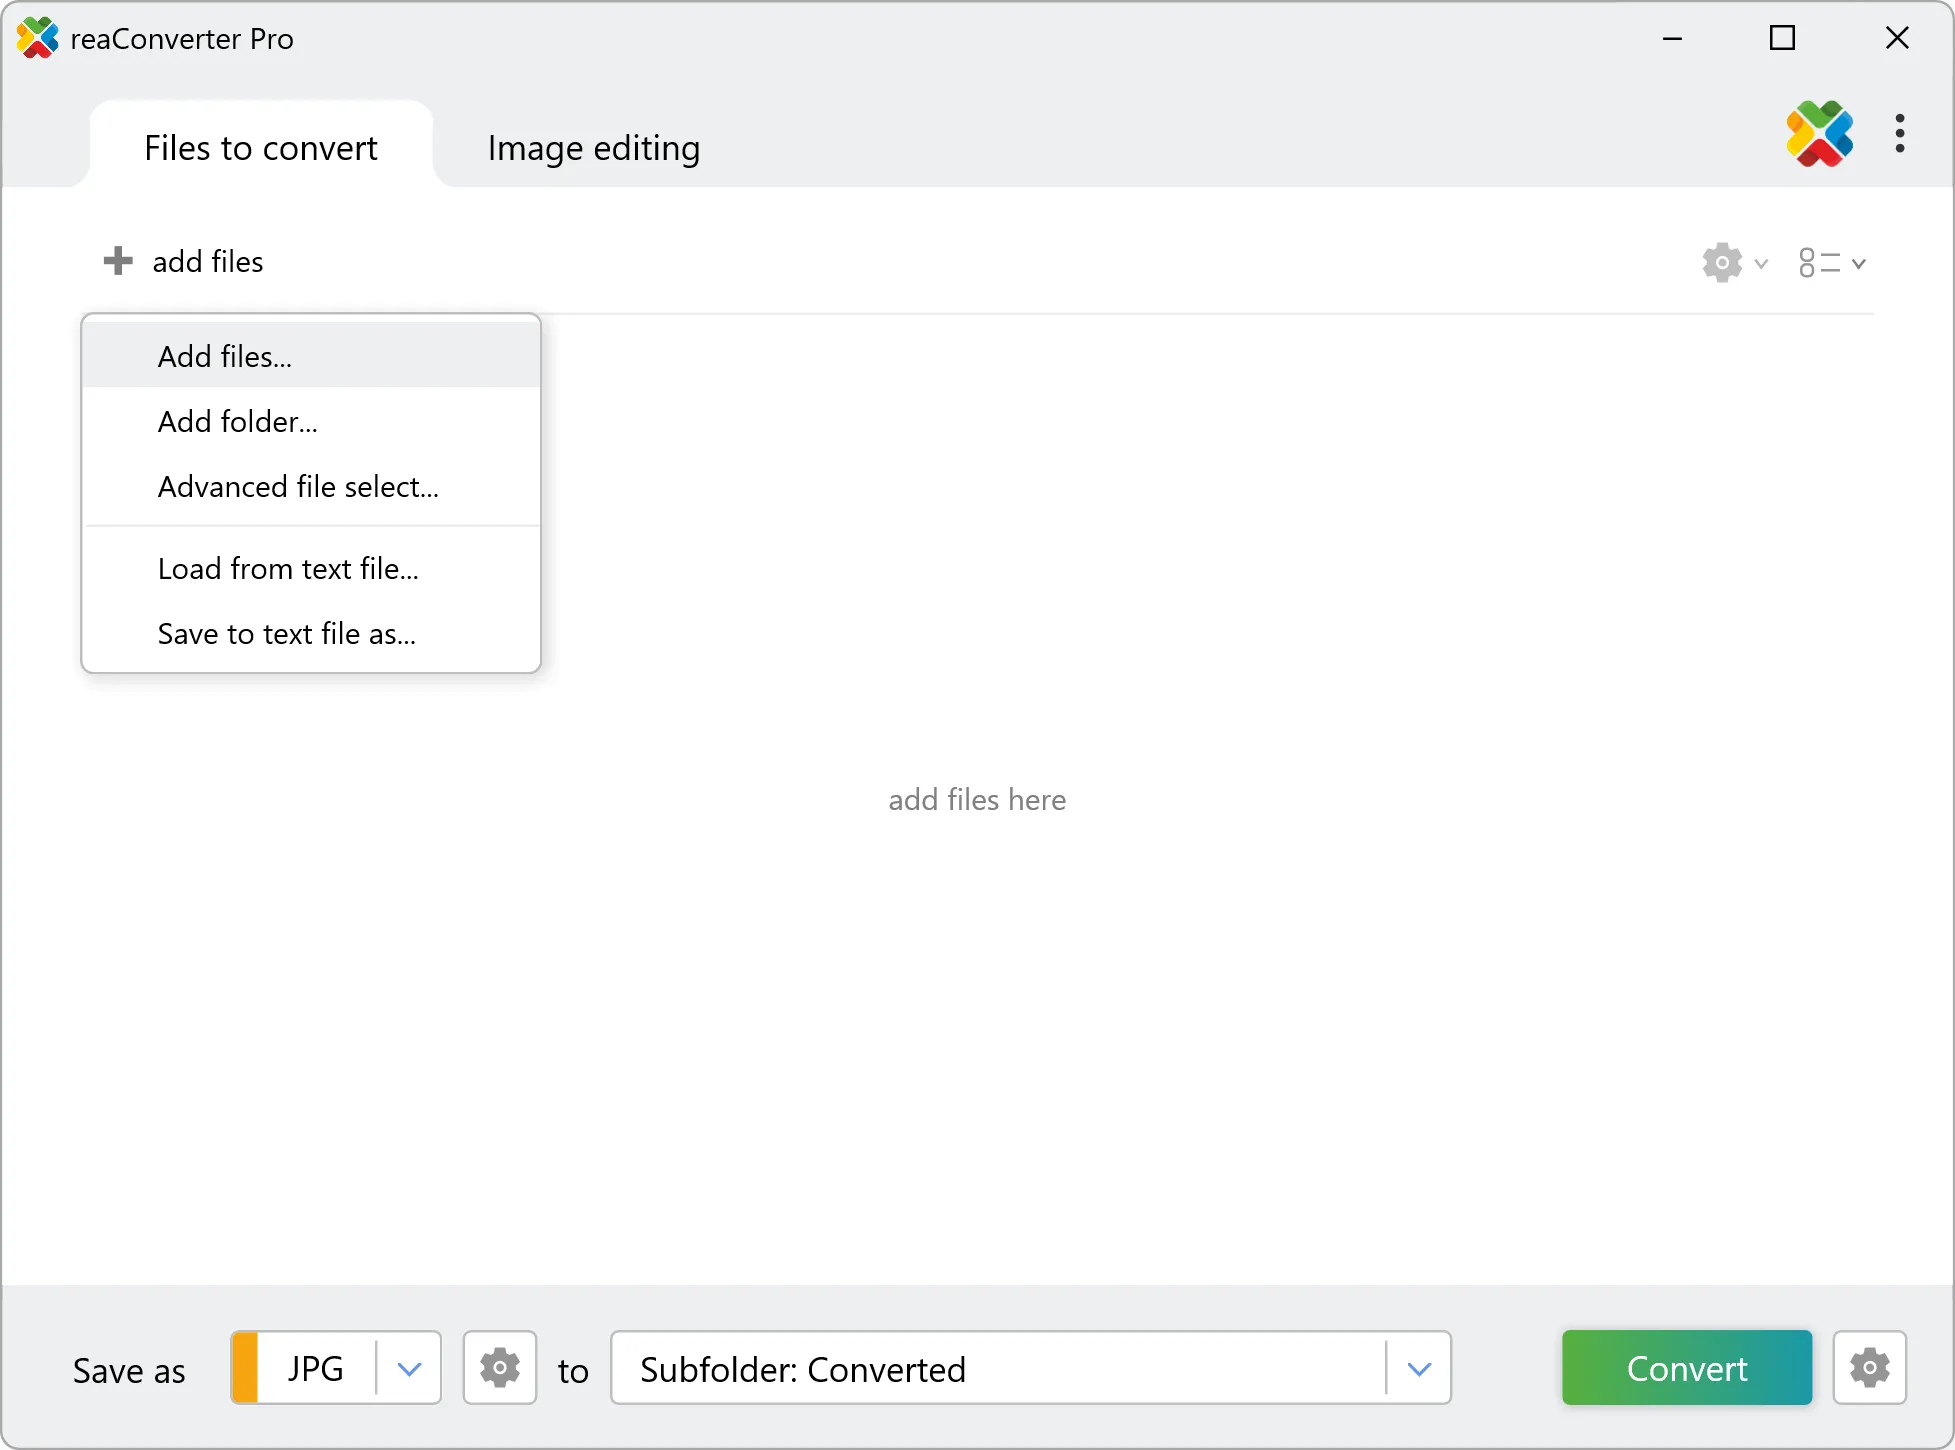
1. Open Images
Load one or more images that need editing. You can use the drag-and-drop tool or browse local folders to pick them manually.
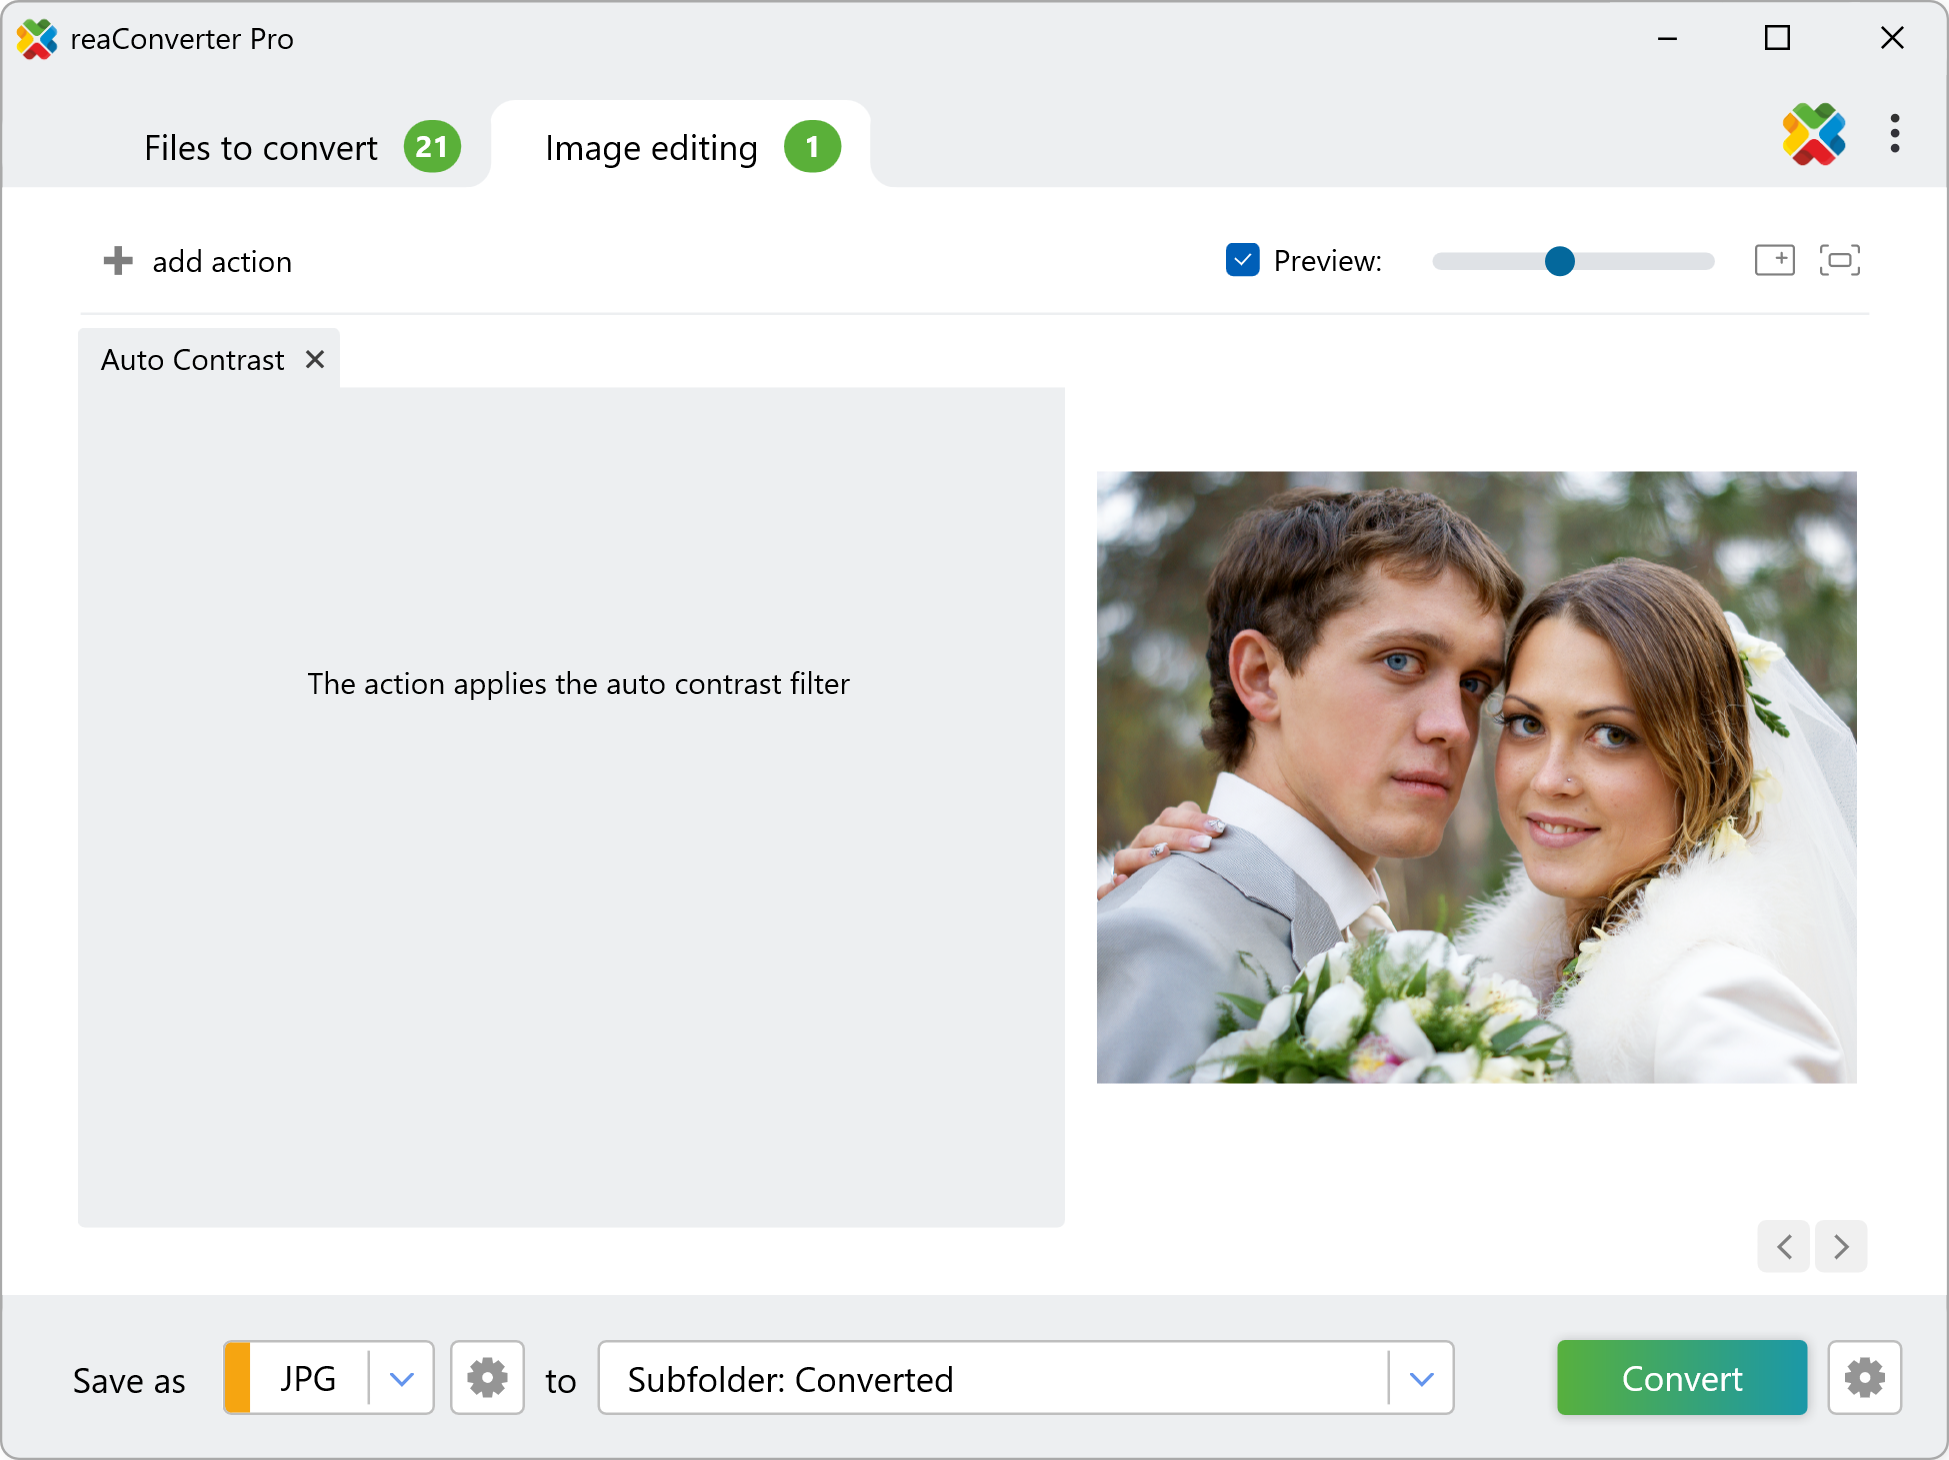
2. Add Auto Contrast Action
Go to the Image editing tab, click Add action → Color adjustments → Auto Contrast

After selecting this option, the color contrast in your images will be automatically corrected. You can check the real time effect by ticking the Preview button from the right side of the window.
3. Save the Result
Pick the location and format of the output images. You can choose among a wide variety of image formats.
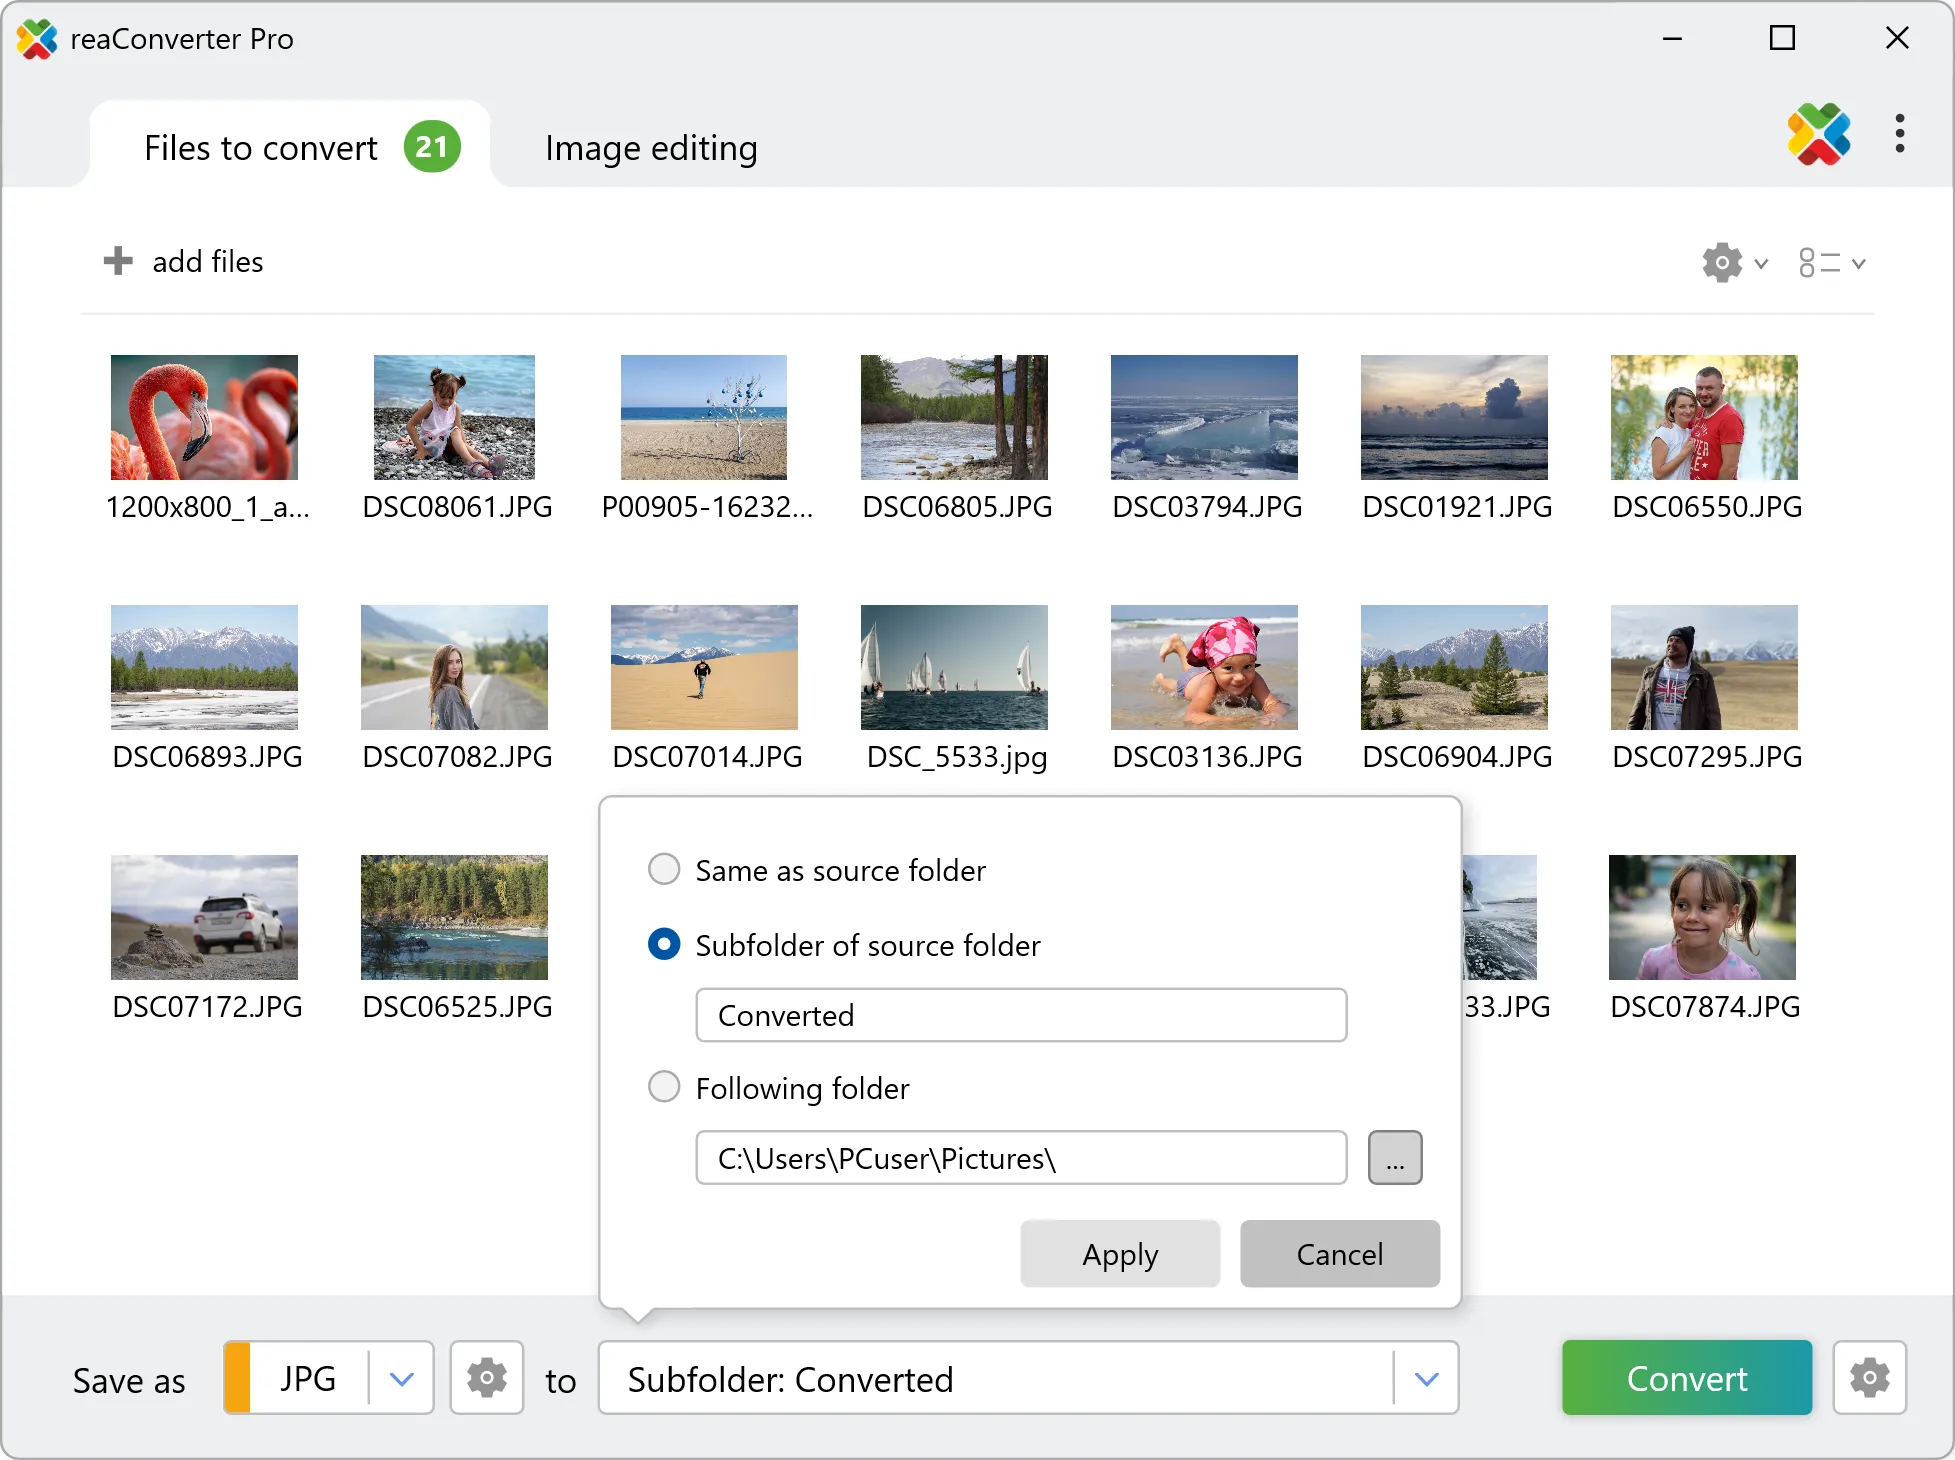
Finally, click the Convert button and your new images will soon be ready!
Change image contrast on your PC
The fast and easy way to automatically change image contrast on your PC is to use reaConverter. The software works in batch mode, completely offline saving your time and privacy.
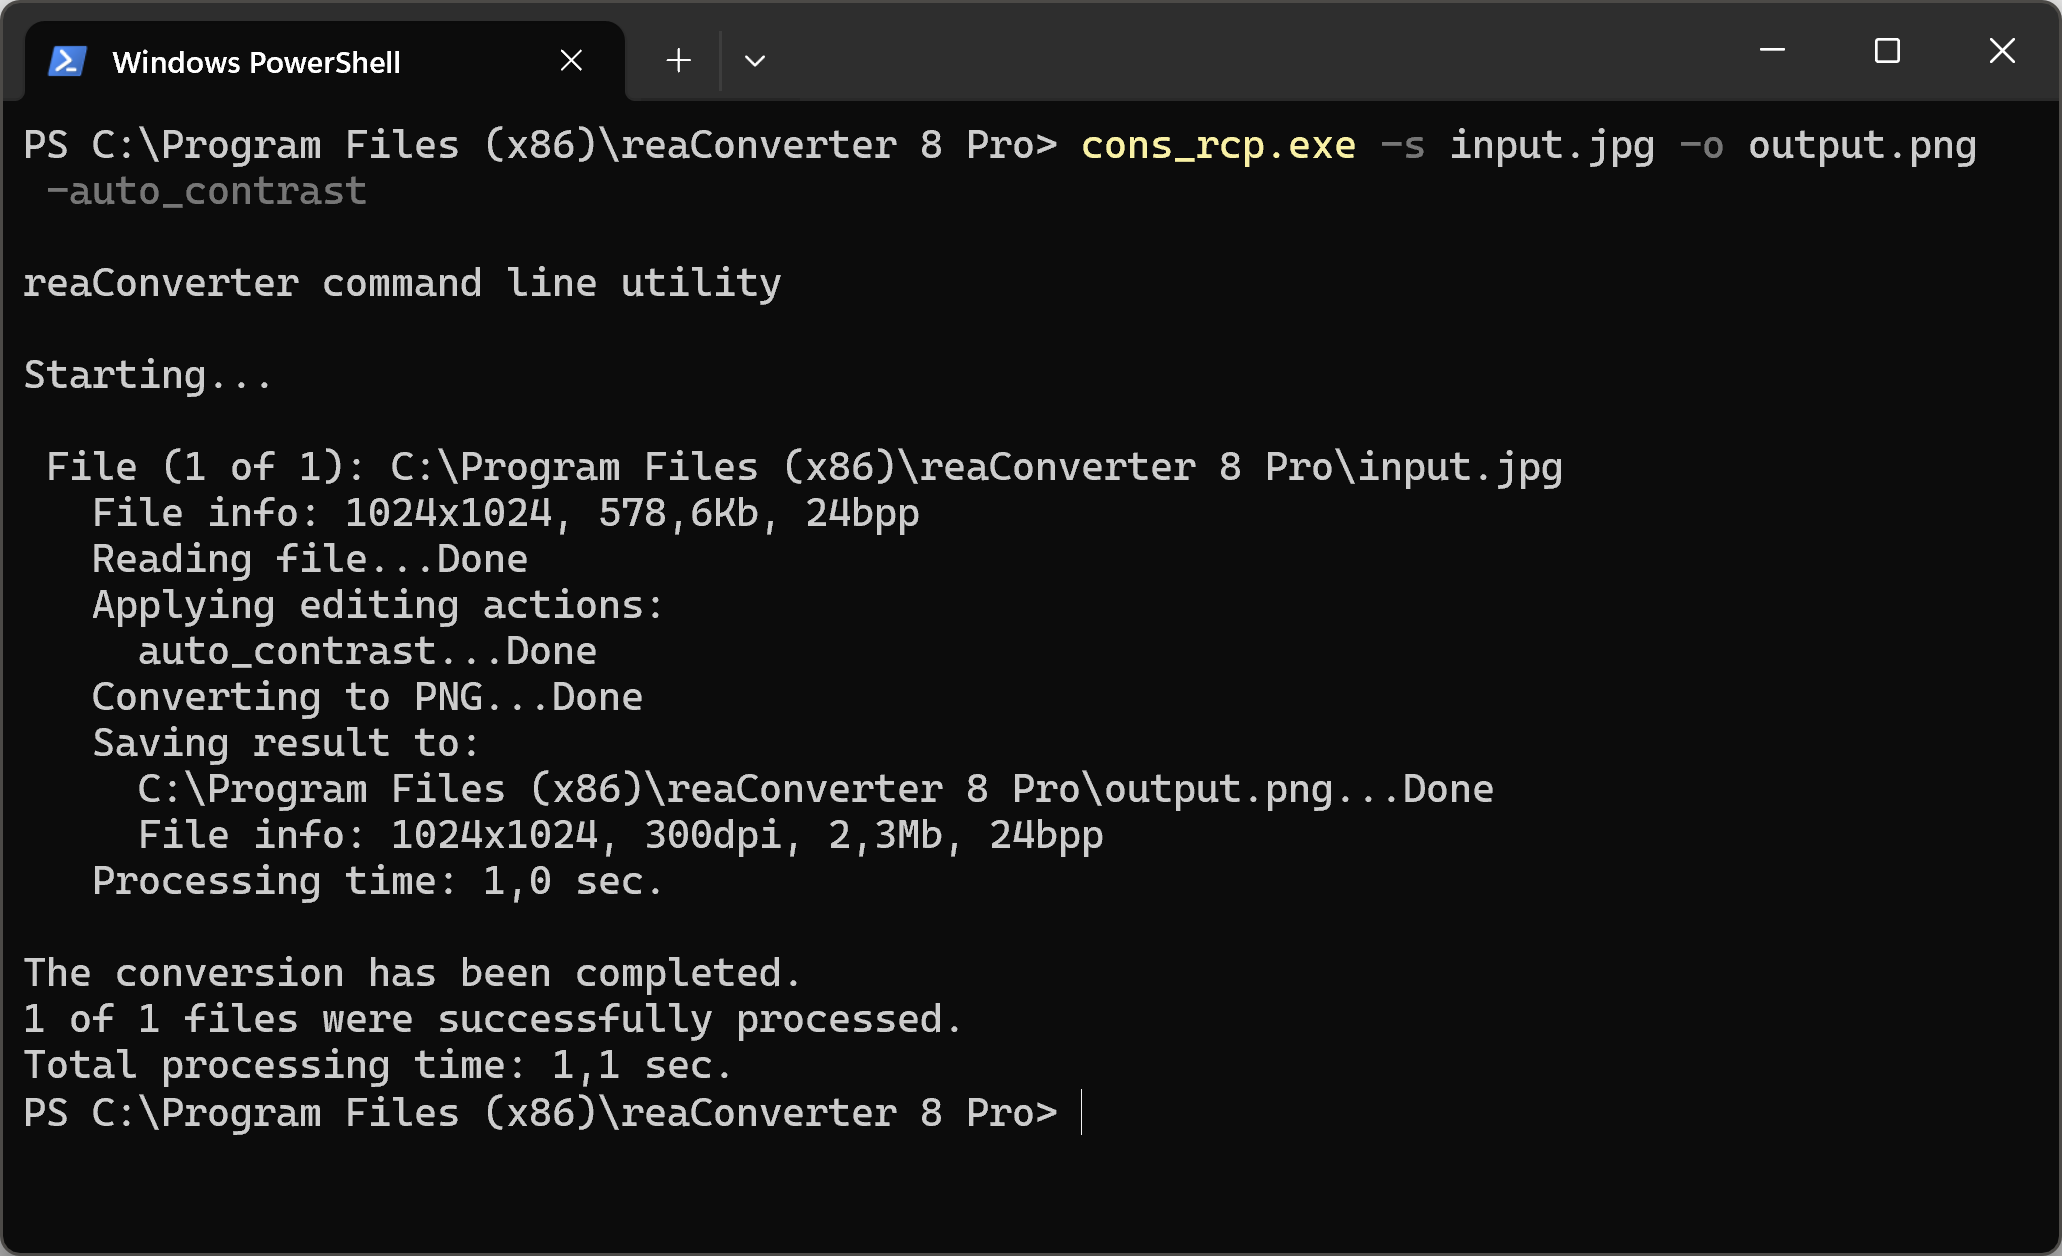
Apply auto contrast with command-line tool
You can also adjust image contrast using command-line, either manually or through automated scripts. reaConverter Pro includes a command-line tool called cons_rcp.exe — an advanced feature designed for professional use, available exclusively in the Pro edition.
Auto Contrast example:
cons_rcp.exe -s "C:\Path_to\input_file.jpg" -o "C:\Path_to\output_file.jpg" -auto_contrast
Manual
-auto_contrast (applies auto contrast filter)
You are welcome to contact our technical support when you have any questions about reaConverter.
Discover more