


How to Convert Multiple DDS Images to JPG?
1. Download and Install reaConverter
First, grab reaConverter from the download button below. Installation is fast, and the software runs offline — no account or signup needed. reaConverter also includes editing tools: resize, crop, rotate, and more.

2. Load your DDS files
Add DDS files to reaConverter. One file or a thousand, the process is the same. Everything runs locally on your machine.
You can drag-and-drop files, browse to a folder, or add entire directory trees including subfolders.

3. Select JPG as output format
Select JPG from the output format list and set your destination folder. You can also adjust quality and compression settings.
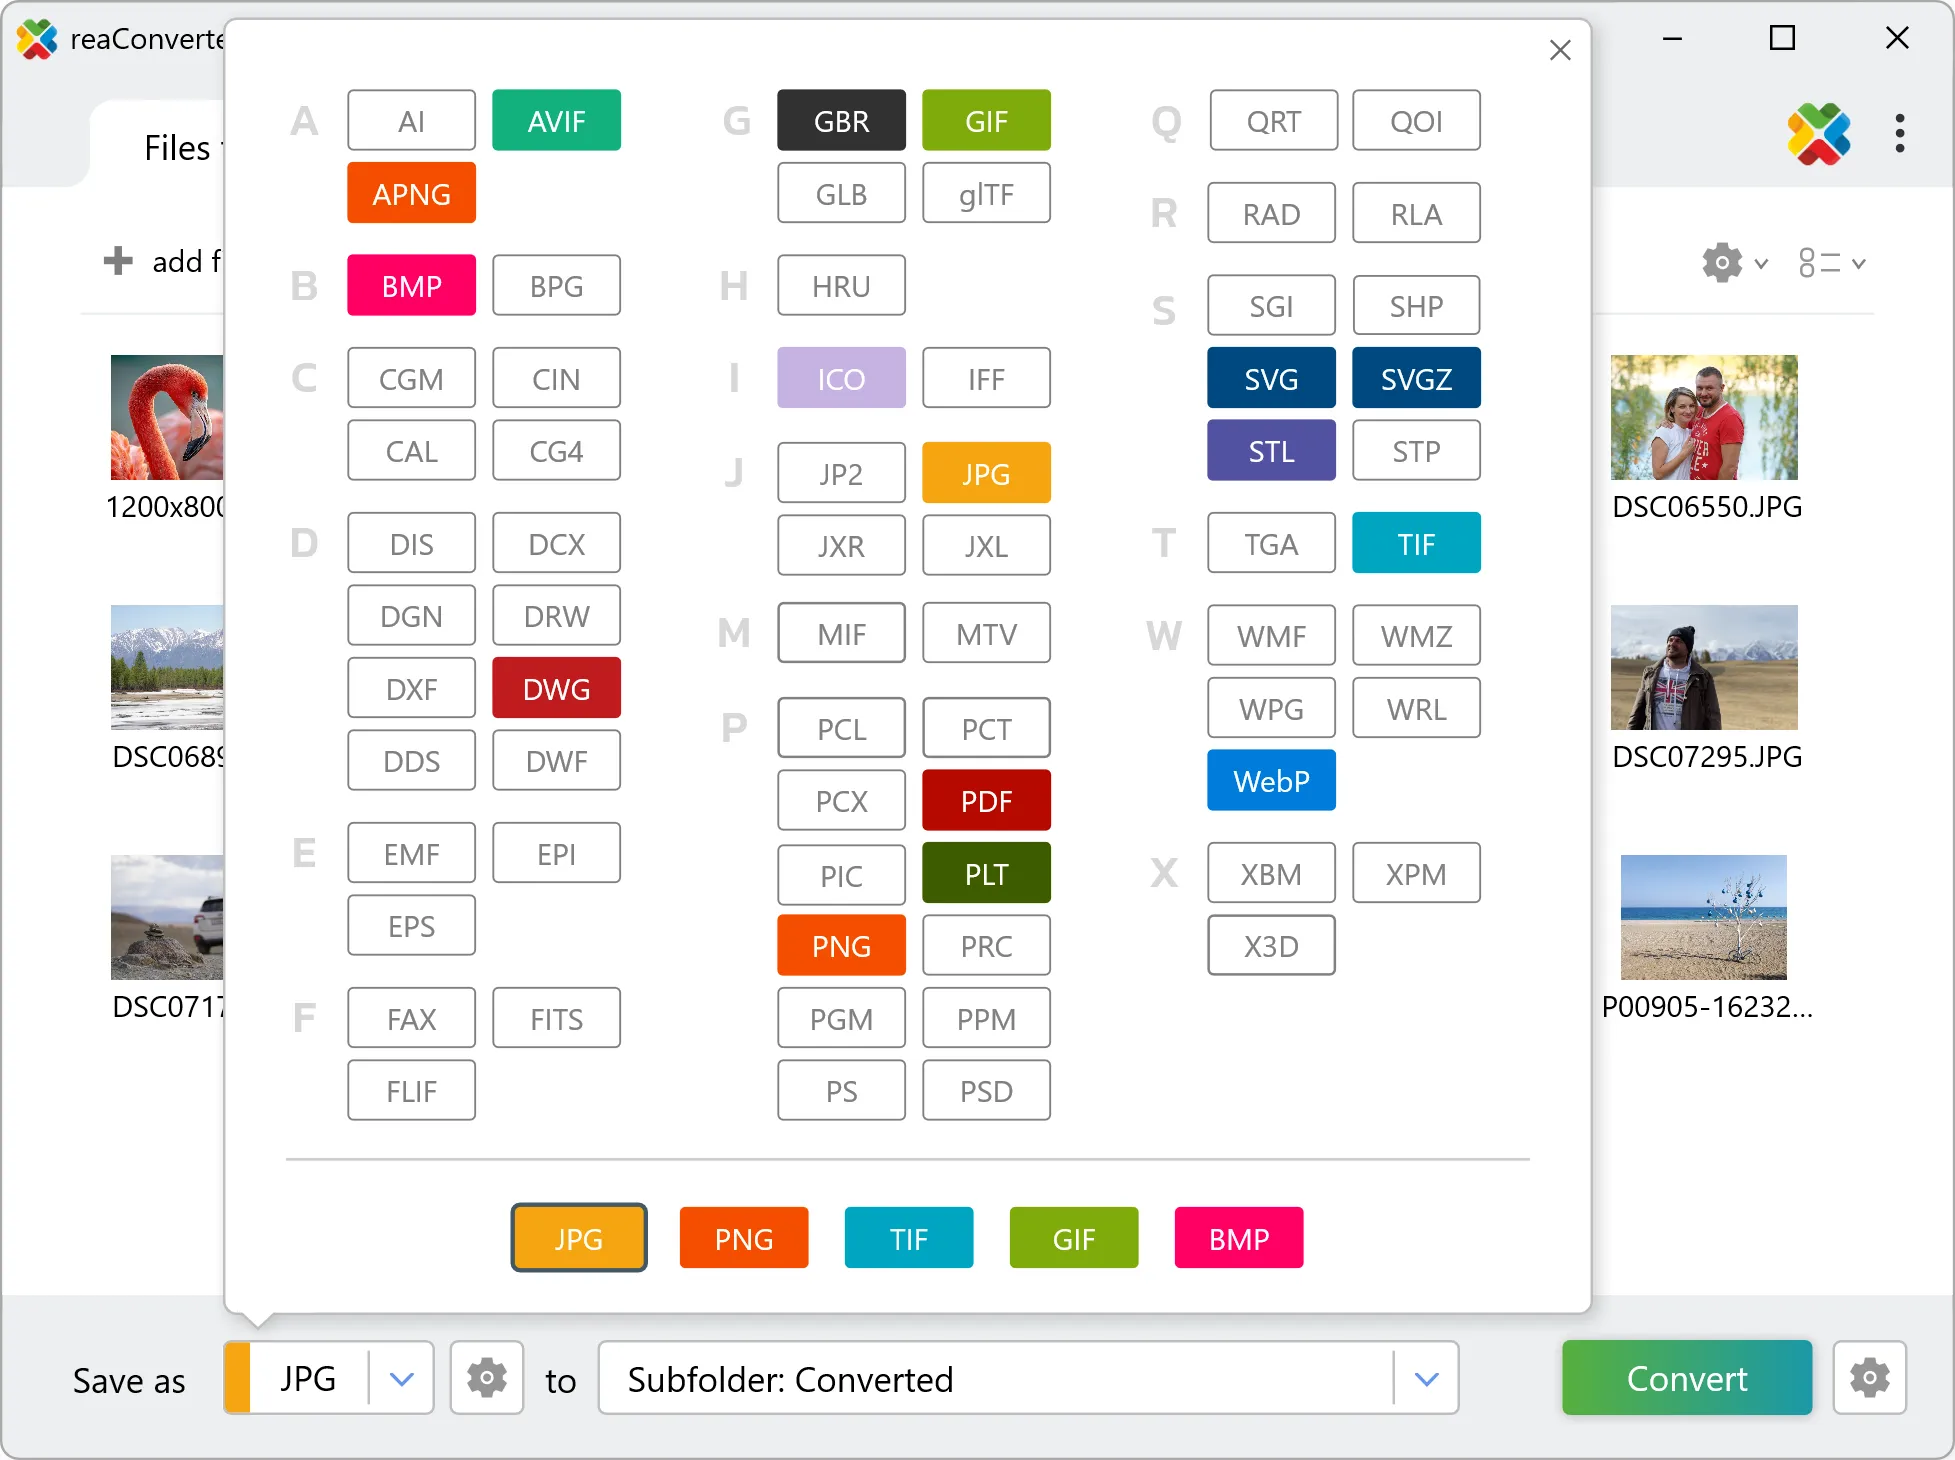
4. Start DDS to JPG conversion
Click the Convert button to start. reaConverter will process all your files with the settings you selected.

When finished, your new .jpg files will be waiting in the destination folder.