



How to Convert Multiple .ps Files to .jp2?
1. Download and Install reaConverter
Download reaConverter and install it in seconds. The setup is straightforward — no complex configuration, no extra software required.

2. Load your PS files
Open reaConverter and add your PS files. You can load individual files, entire folders, or even nested subfolders.
Drop your PS files into the window or use File menu to browse and select folders.

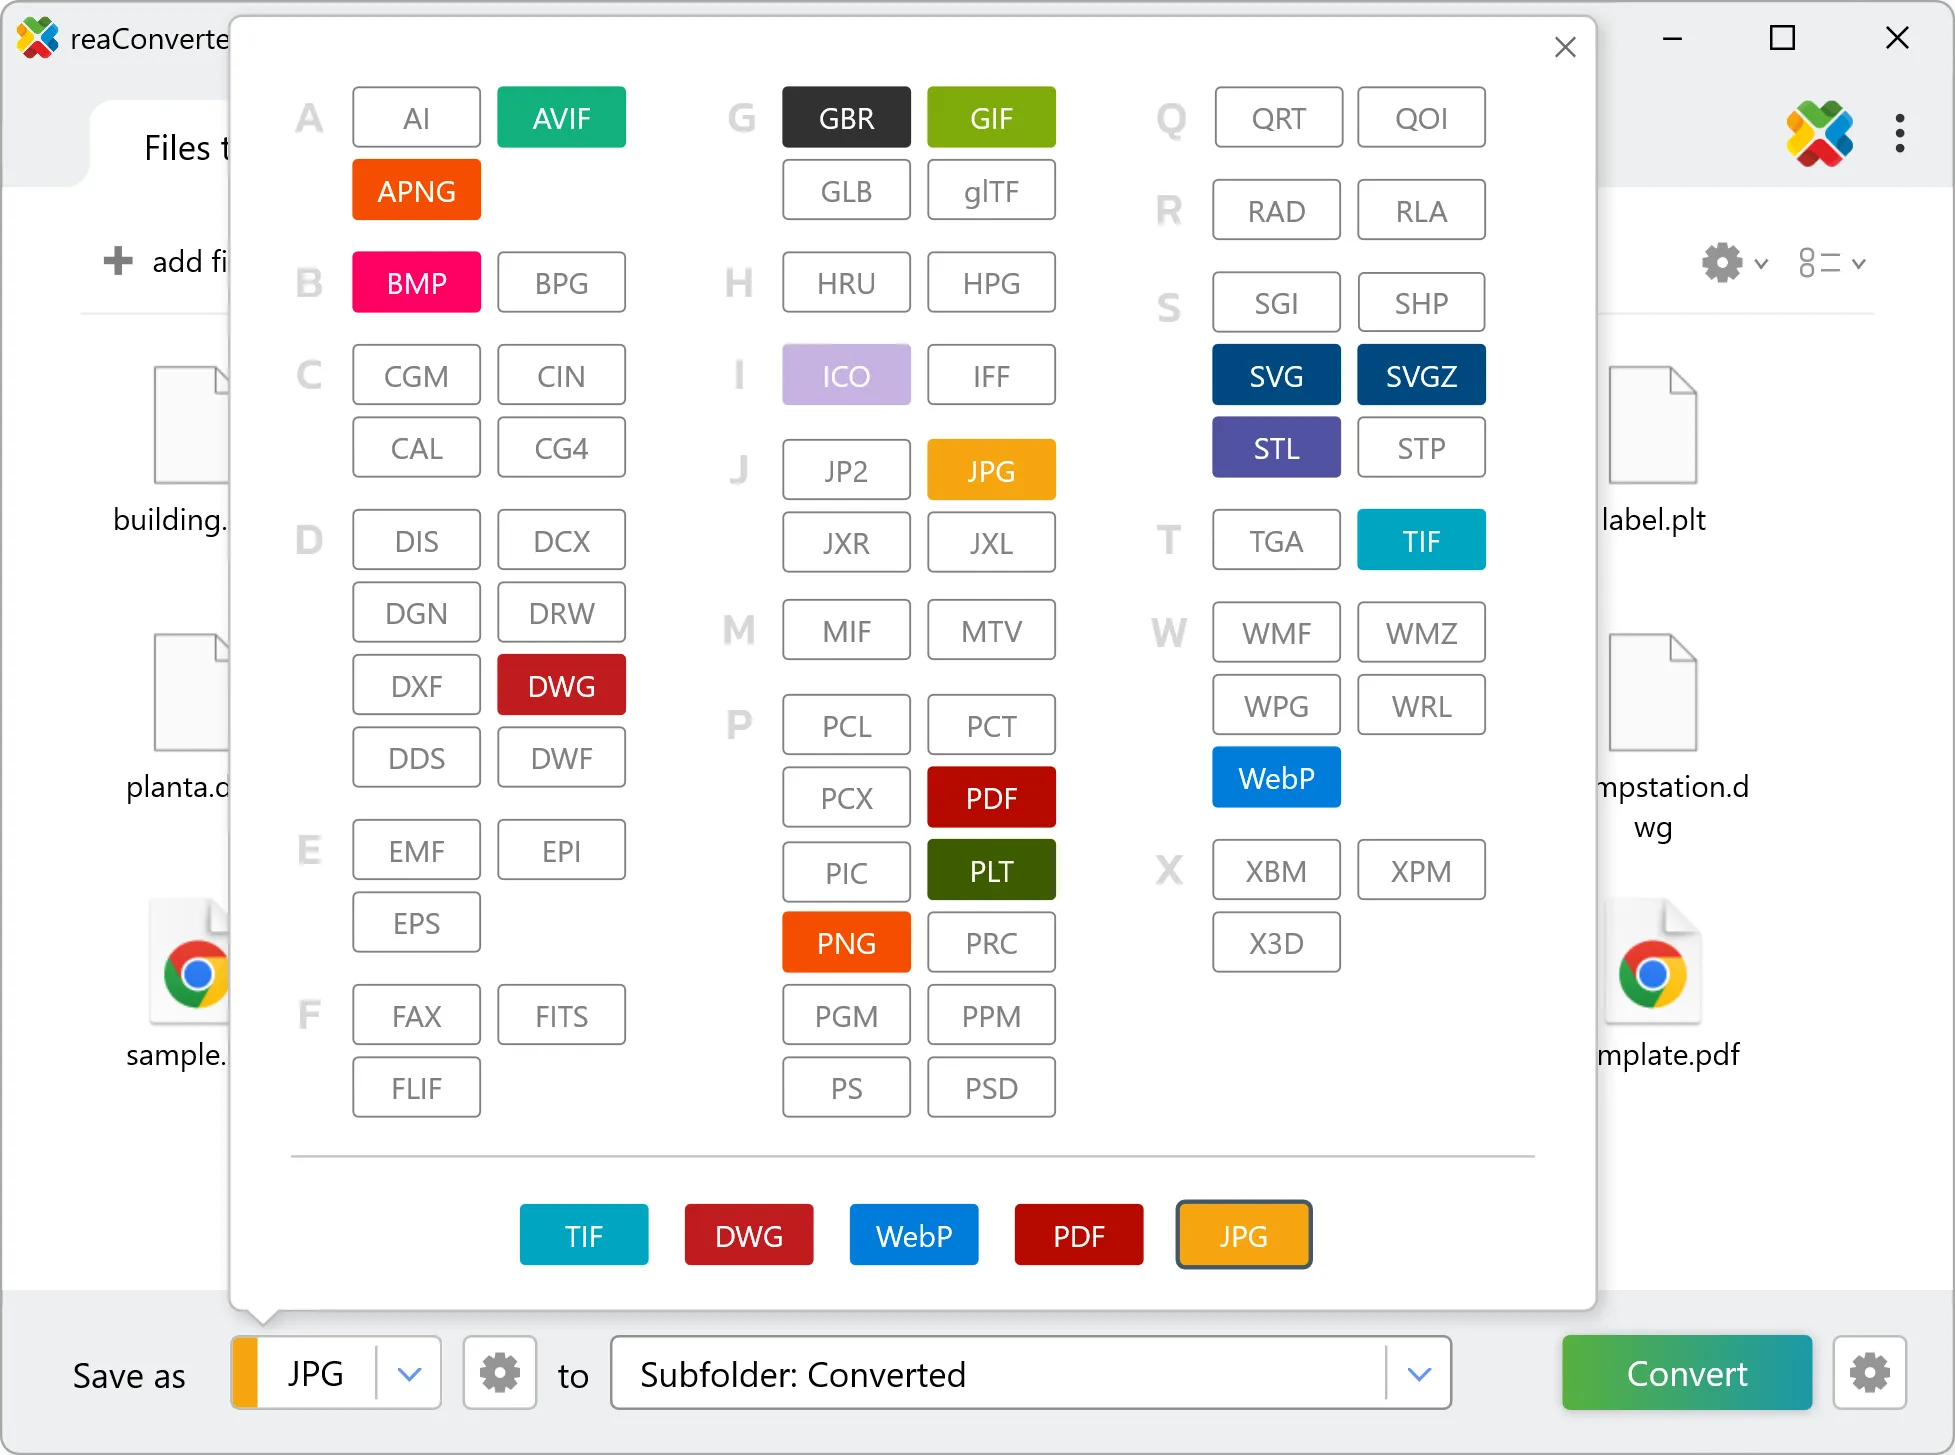
3. Select JP2 as output format
Choose JP2 as the target format. Pick a destination folder or let reaConverter save files alongside the originals.
4. Start PS to JP2 conversion
Hit Convert and let reaConverter do the work. The progress window shows status for each file in real time.

After conversion, find your JP2 files in the output folder. Click 'Show converted files' to open it directly.