



How to Convert Multiple .tiff Images to .dds?
1. Download and Install reaConverter
reaConverter is a standalone Windows app — download, install, and start converting TIFF files in under two minutes. reaConverter also includes editing tools: resize, crop, rotate, and more.

2. Load your TIFF files
Open reaConverter and import your .tiff files. No file limits, no slowdowns. Add as many as you need.
Drag files into the window, use the Add Files button, or select entire folders.

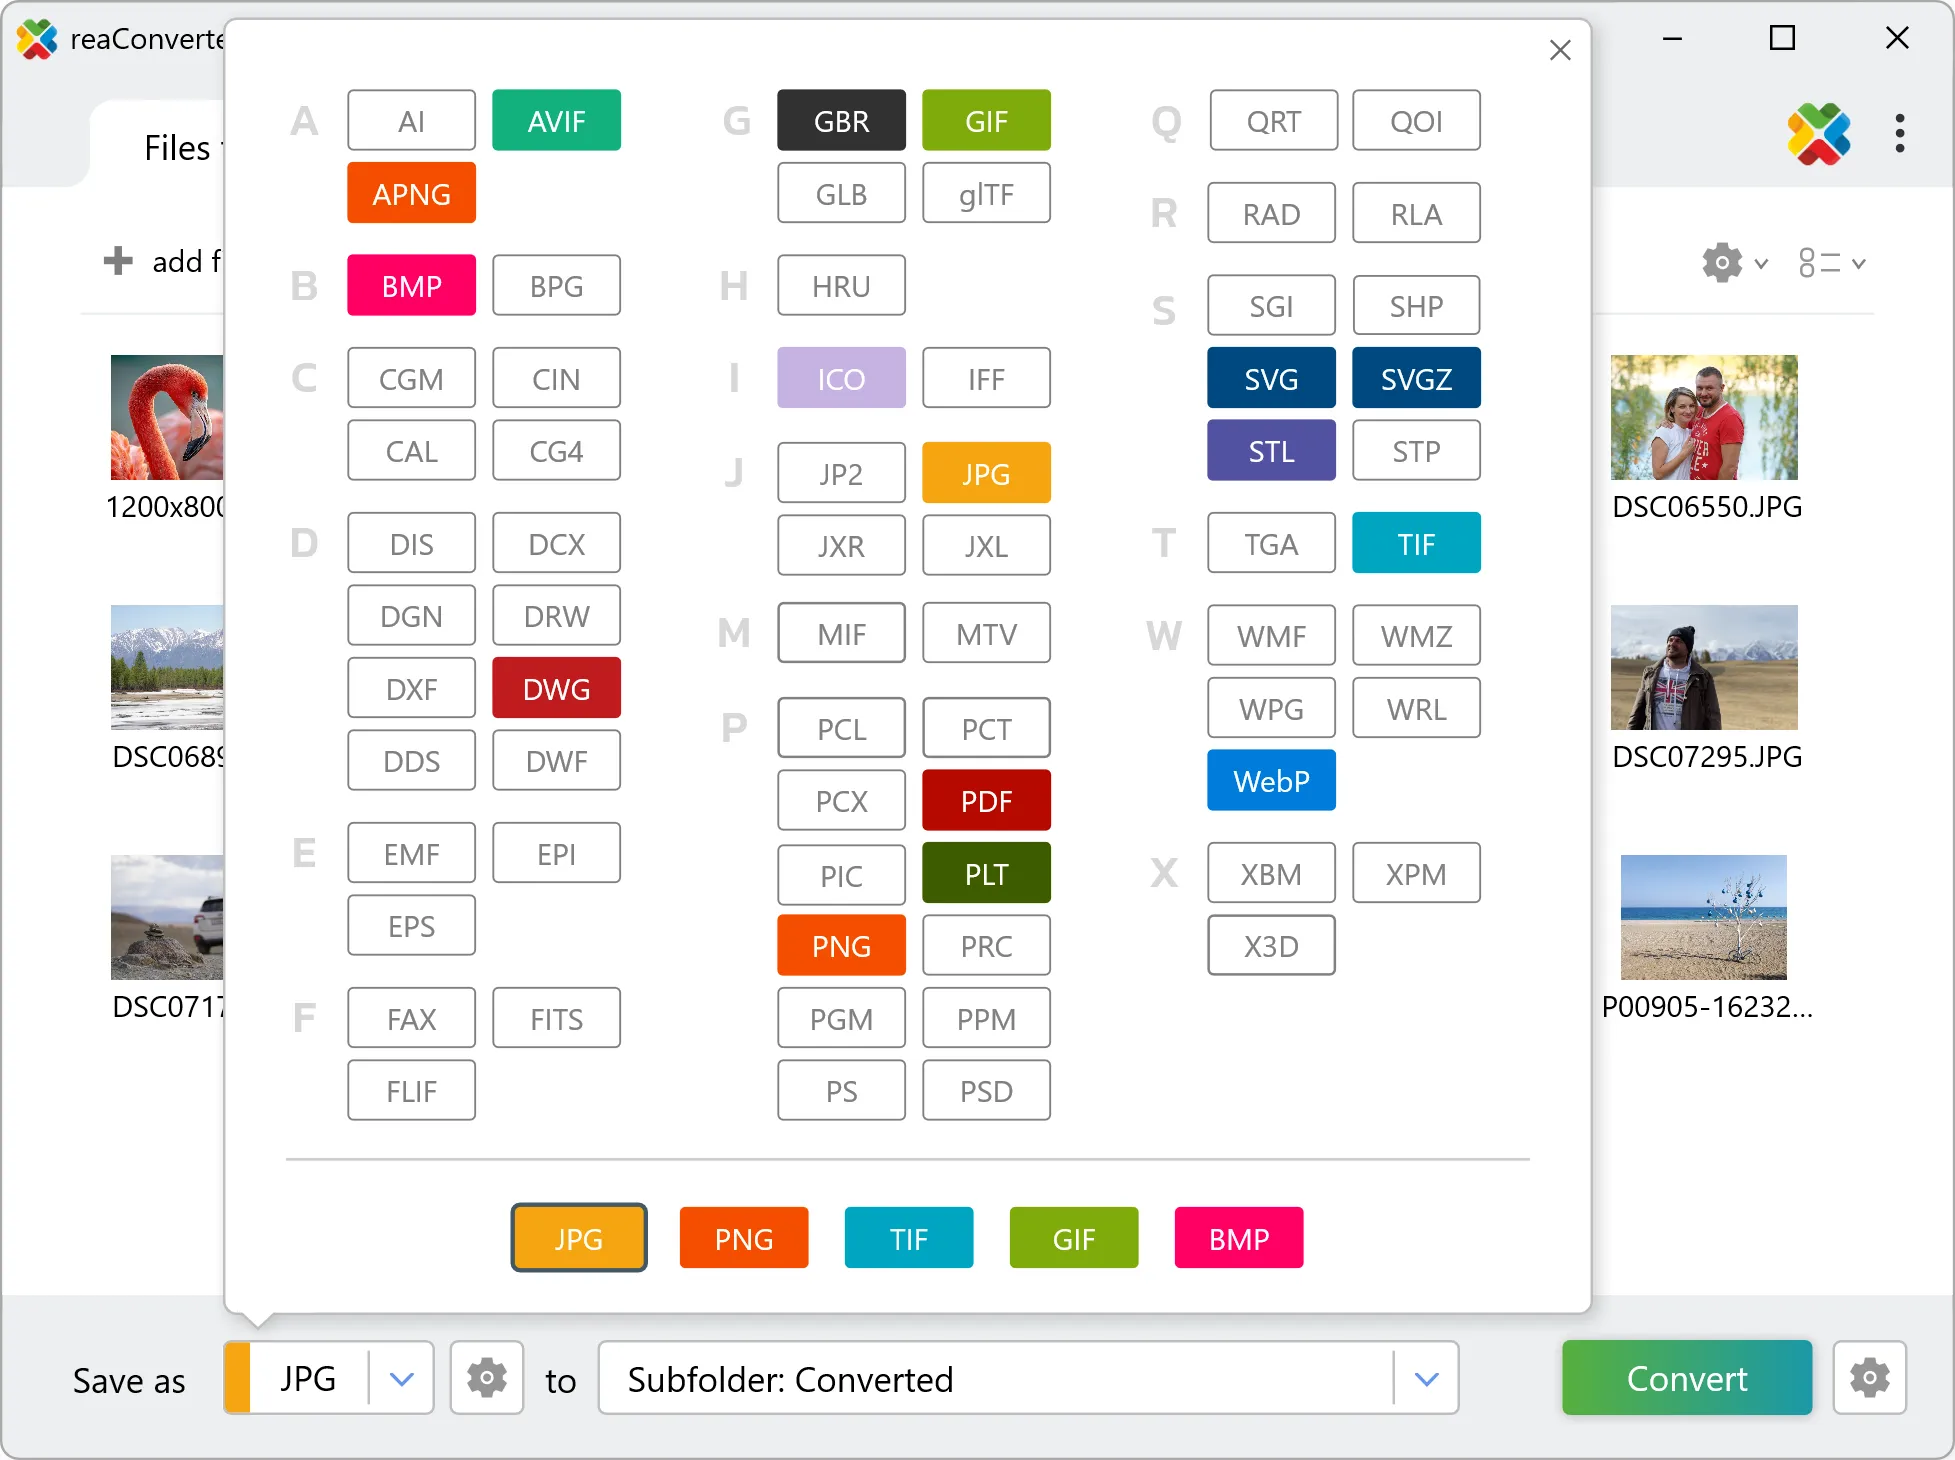
3. Select DDS as output format
Select DDS as target format and pick where to save results. You can keep default settings or fine-tune the output.
4. Start TIFF to DDS conversion
Hit Convert to process your files. The log window shows progress, timing, and status for every file.

Conversion complete? Your DDS files are saved to the destination folder, ready to use.