

How to Convert Multiple CZI Files to U3D?
1. Download and Install reaConverter
First, grab reaConverter from the download button below. Installation is fast, and the software runs offline — no account or signup needed.

2. Load your CZI files
Add your CZI acquisitions to reaConverter. Point it at the folder your microscope writes to and load the whole run at once.
Browse for files, drag them in, or add entire folders at once. reaConverter queues everything automatically.

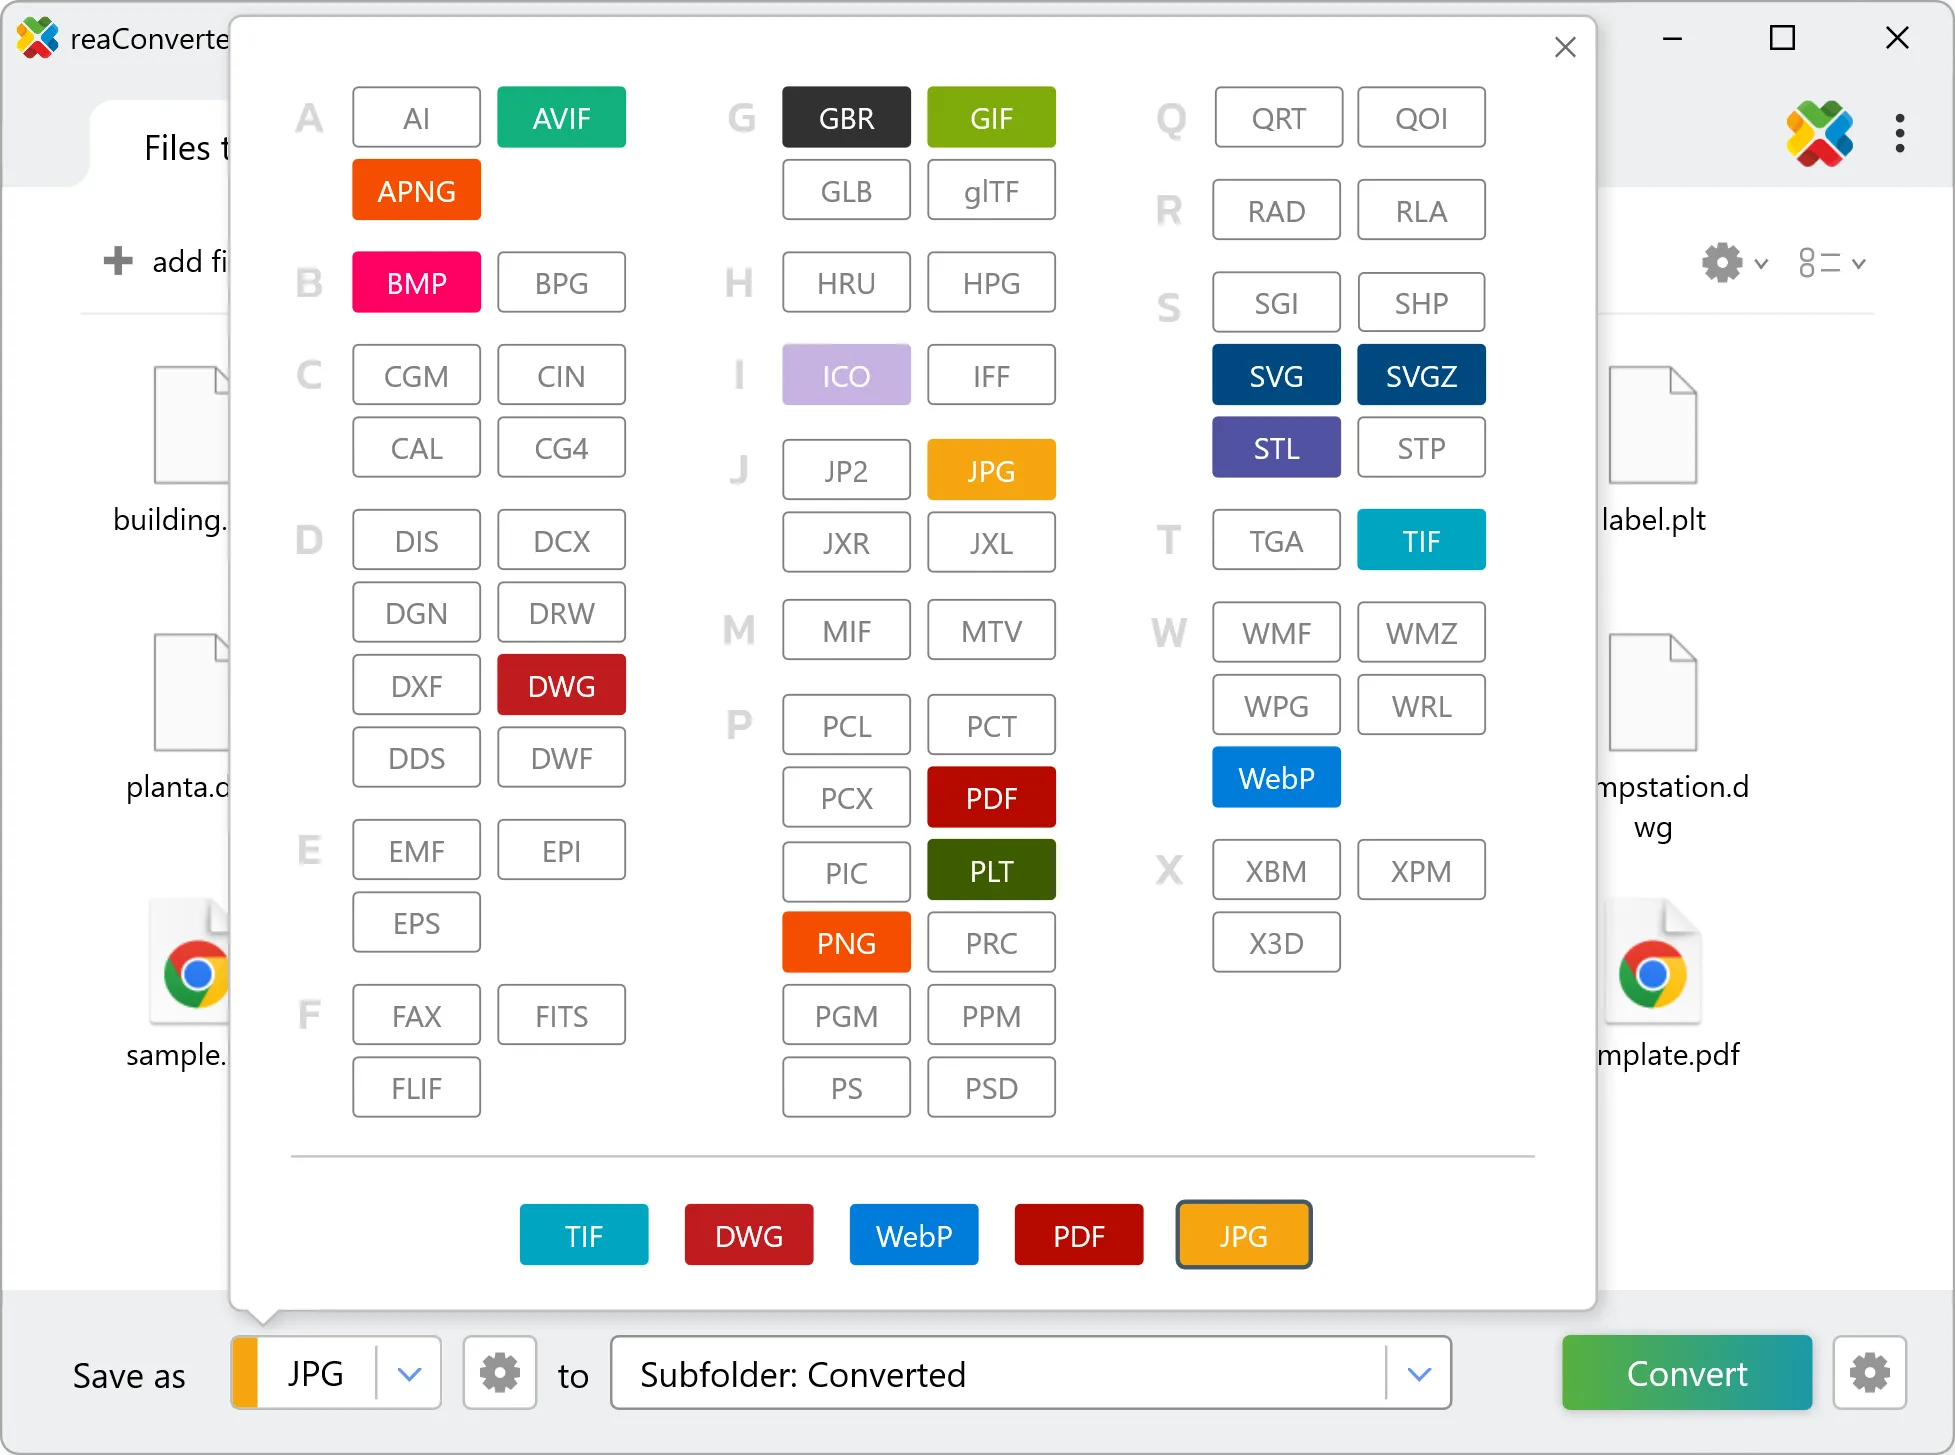
3. Select U3D as output format
Pick U3D as the output format. TIFF is the usual choice for anything heading into analysis or a journal submission, while JPG and PNG suit slides and the web.
4. Start CZI to U3D conversion
Start the conversion with one click. reaConverter handles everything and notifies you when it's done.

When the batch finishes, your U3D files are ready in the destination folder you chose earlier.