FAQ
GEOTIFF to JP2 Conversion
What are GEOTIFF files?
GeoTIFF (.geotiff) is a specialized raster image format that embeds geographic metadata directly into the file, enabling accurate geospatial positioning. It's commonly used in cartography, environmental analysis, and satellite imaging to associate each pixel with real-world coordinates. The format supports high-resolution imagery and is compatible with most GIS software.
What are JP2 files?
JP2 or JPEG 2000 is an improved version of JPEG, one of the most popular file formats for storing and transferring images. Compared to the latter, JP2 image files offer higher quality and smaller size images by using a different compression algorithm, which can be either lossy or lossless. JP2s are created using the JPEG2000 Core Coding application, but can also be obtained through conversion from other formats.
Can reaConverter convert GEOTIFF to JP2?
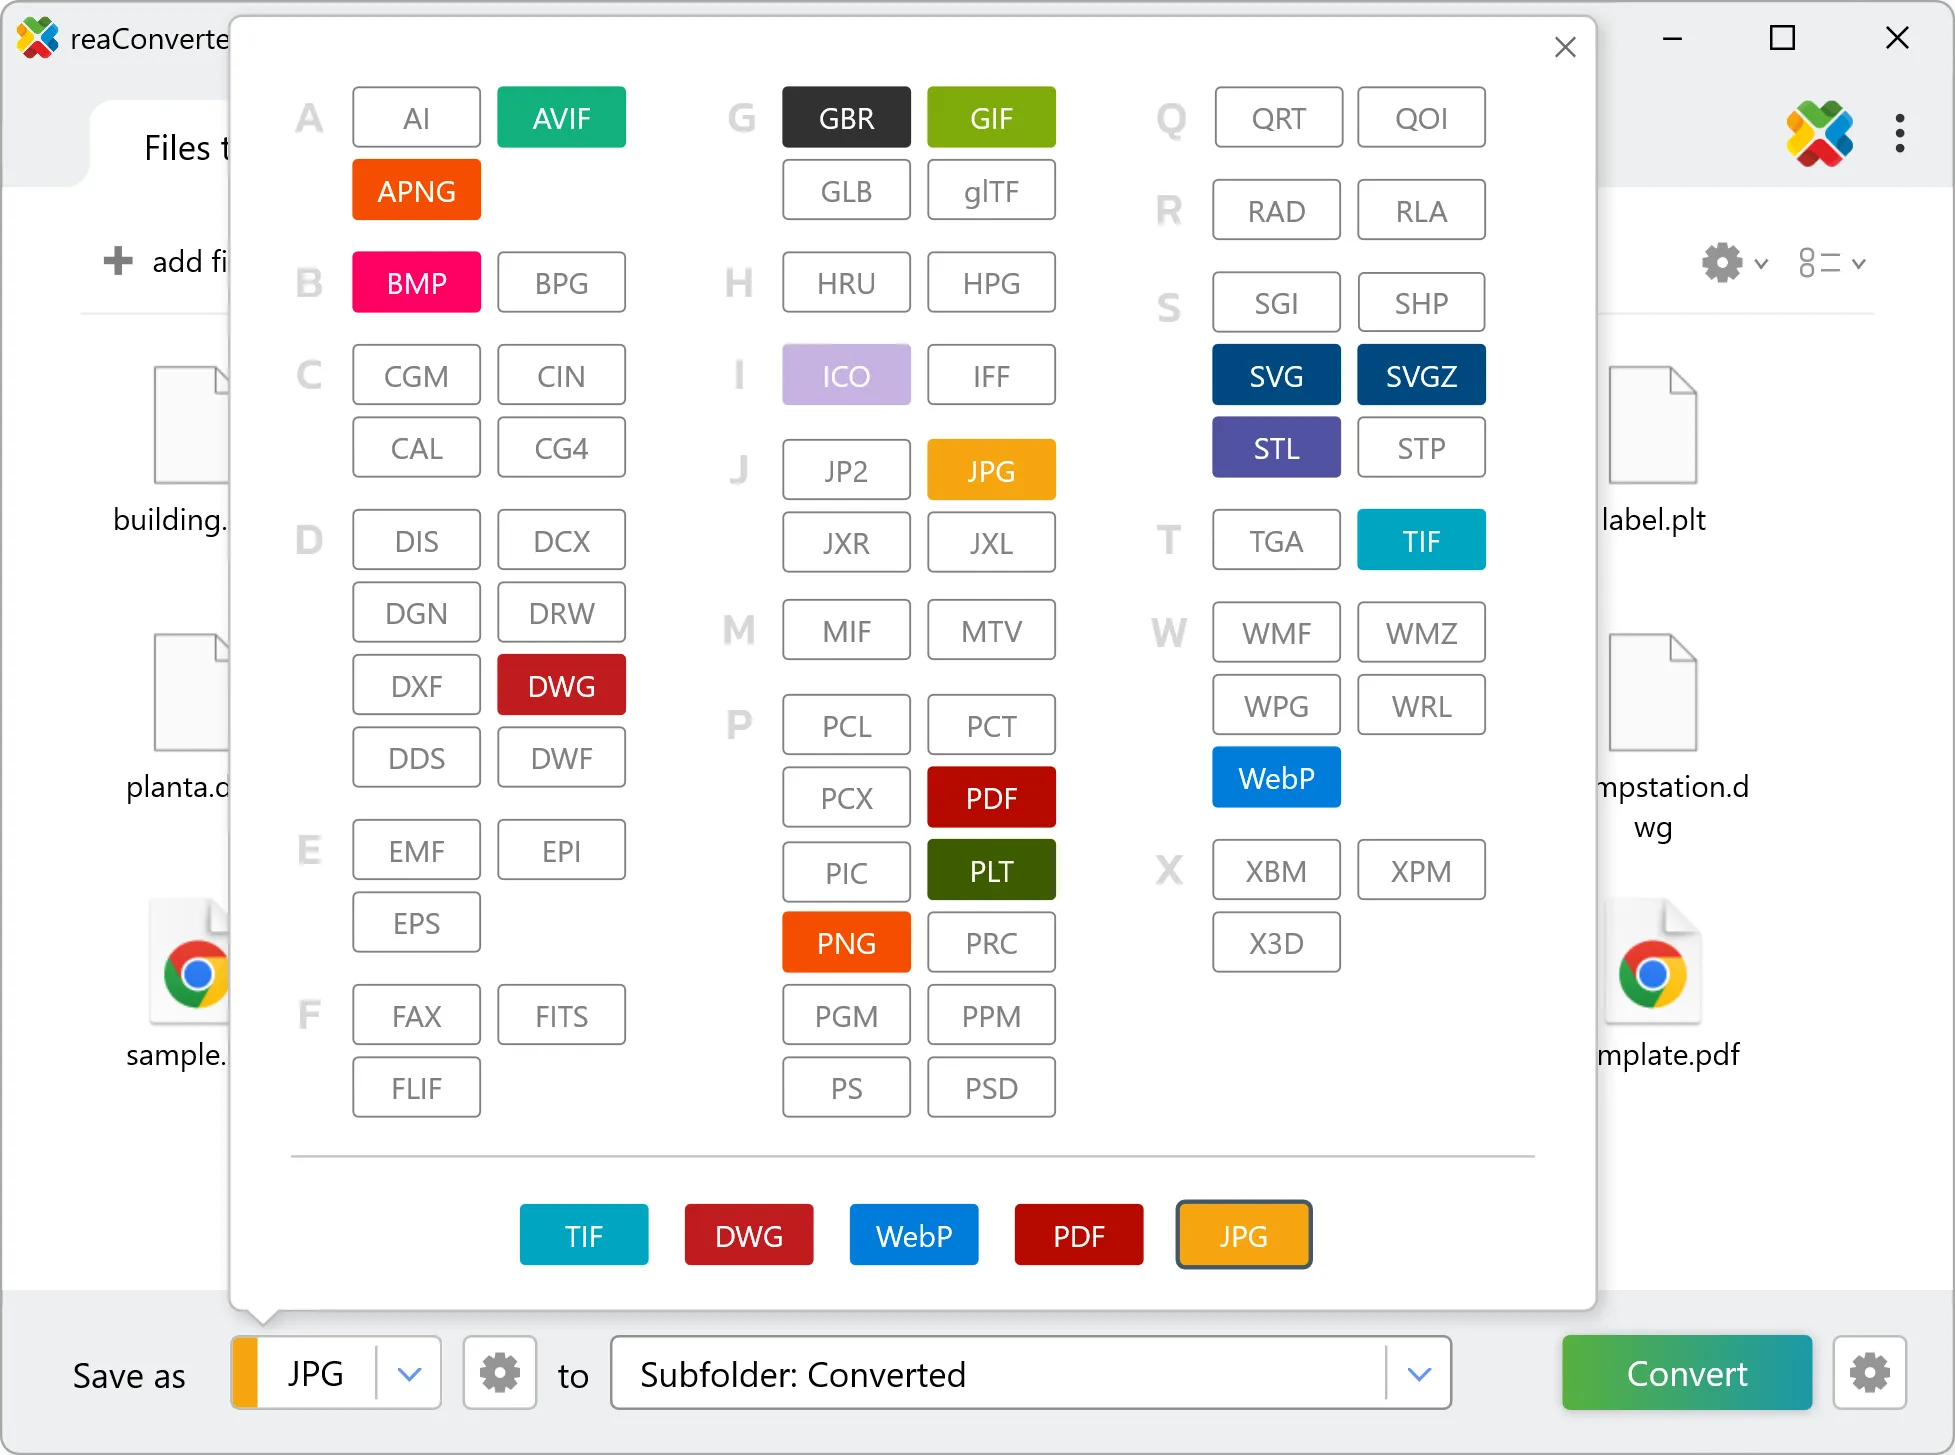
Yes! reaConverter instantly converts .geotiff to .jp2 with perfect quality preservation. With its batch processing feature, you can convert multiple files at once in just a few clicks. You can even convert GEOTIFF files directly from Windows Explorer using the right-click menu — fast and convenient.
What is reaConverter used for?
reaConverter is a Windows converter for 800+ formats, GIS data among them. For GEOTIFF to JP2 it replaces the usual detour through QGIS, ArcGIS or ogr2ogr: add the files, pick the output format, and the whole batch converts offline. Surveyors, planners and engineering teams use it to pass data between GIS, CAD and everyday document formats.
Why choose offline conversion with reaConverter?
reaConverter is a software program that is used for offline files conversion. Your proprietary documents never leave your computer – essential for architects, engineers, healthcare and government contractors handling classified projects. Meets GDPR, HIPAA, CCPA, and corporate security policies by ensuring files never cross borders or third-party systems.
Can I convert GEOTIFF to JP2 in my browser?
Yes — with our free web-based GEOTIFF to JP2 converter, you can convert .geotiff files instantly, right in your browser. No installation, no uploads — perfect for quick, local conversions.
How can I turn GEOTIFF files into JP2 on my computer?
The best way to change GEOTIFFs to JP2s on your PC is to install a quality piece of software, such as reaConverter. This software is extremely efficient in managing a wide range of batch files conversions, including conversion from GEOTIFF to JP2.
How can I automate GEOTIFF to JP2 files conversion?
reaConverter supports all the most useful automation features such as right-click сonversion and Watch Folders for the most efficient automated files conversion in any software of this type.
Is there a way to convert GEOTIFF files to JP2 using the command prompt?
reaConverter provides full access to all its features via Windows command line, including a high-performance command-line geotiff to jp2 converter for batch processing.
What else can I do with reaConverter?
Change format settingsCopy metadata (EXIF, IPTC)Convert RAW photosConvert medical imagesChange photo size
Related conversions
Other ways to convert GEOTIFF files, and other sources that convert to JP2.